February 04, 2023 925 words 3 minutes to read
How do I stack comets in PixInsight?
Summary
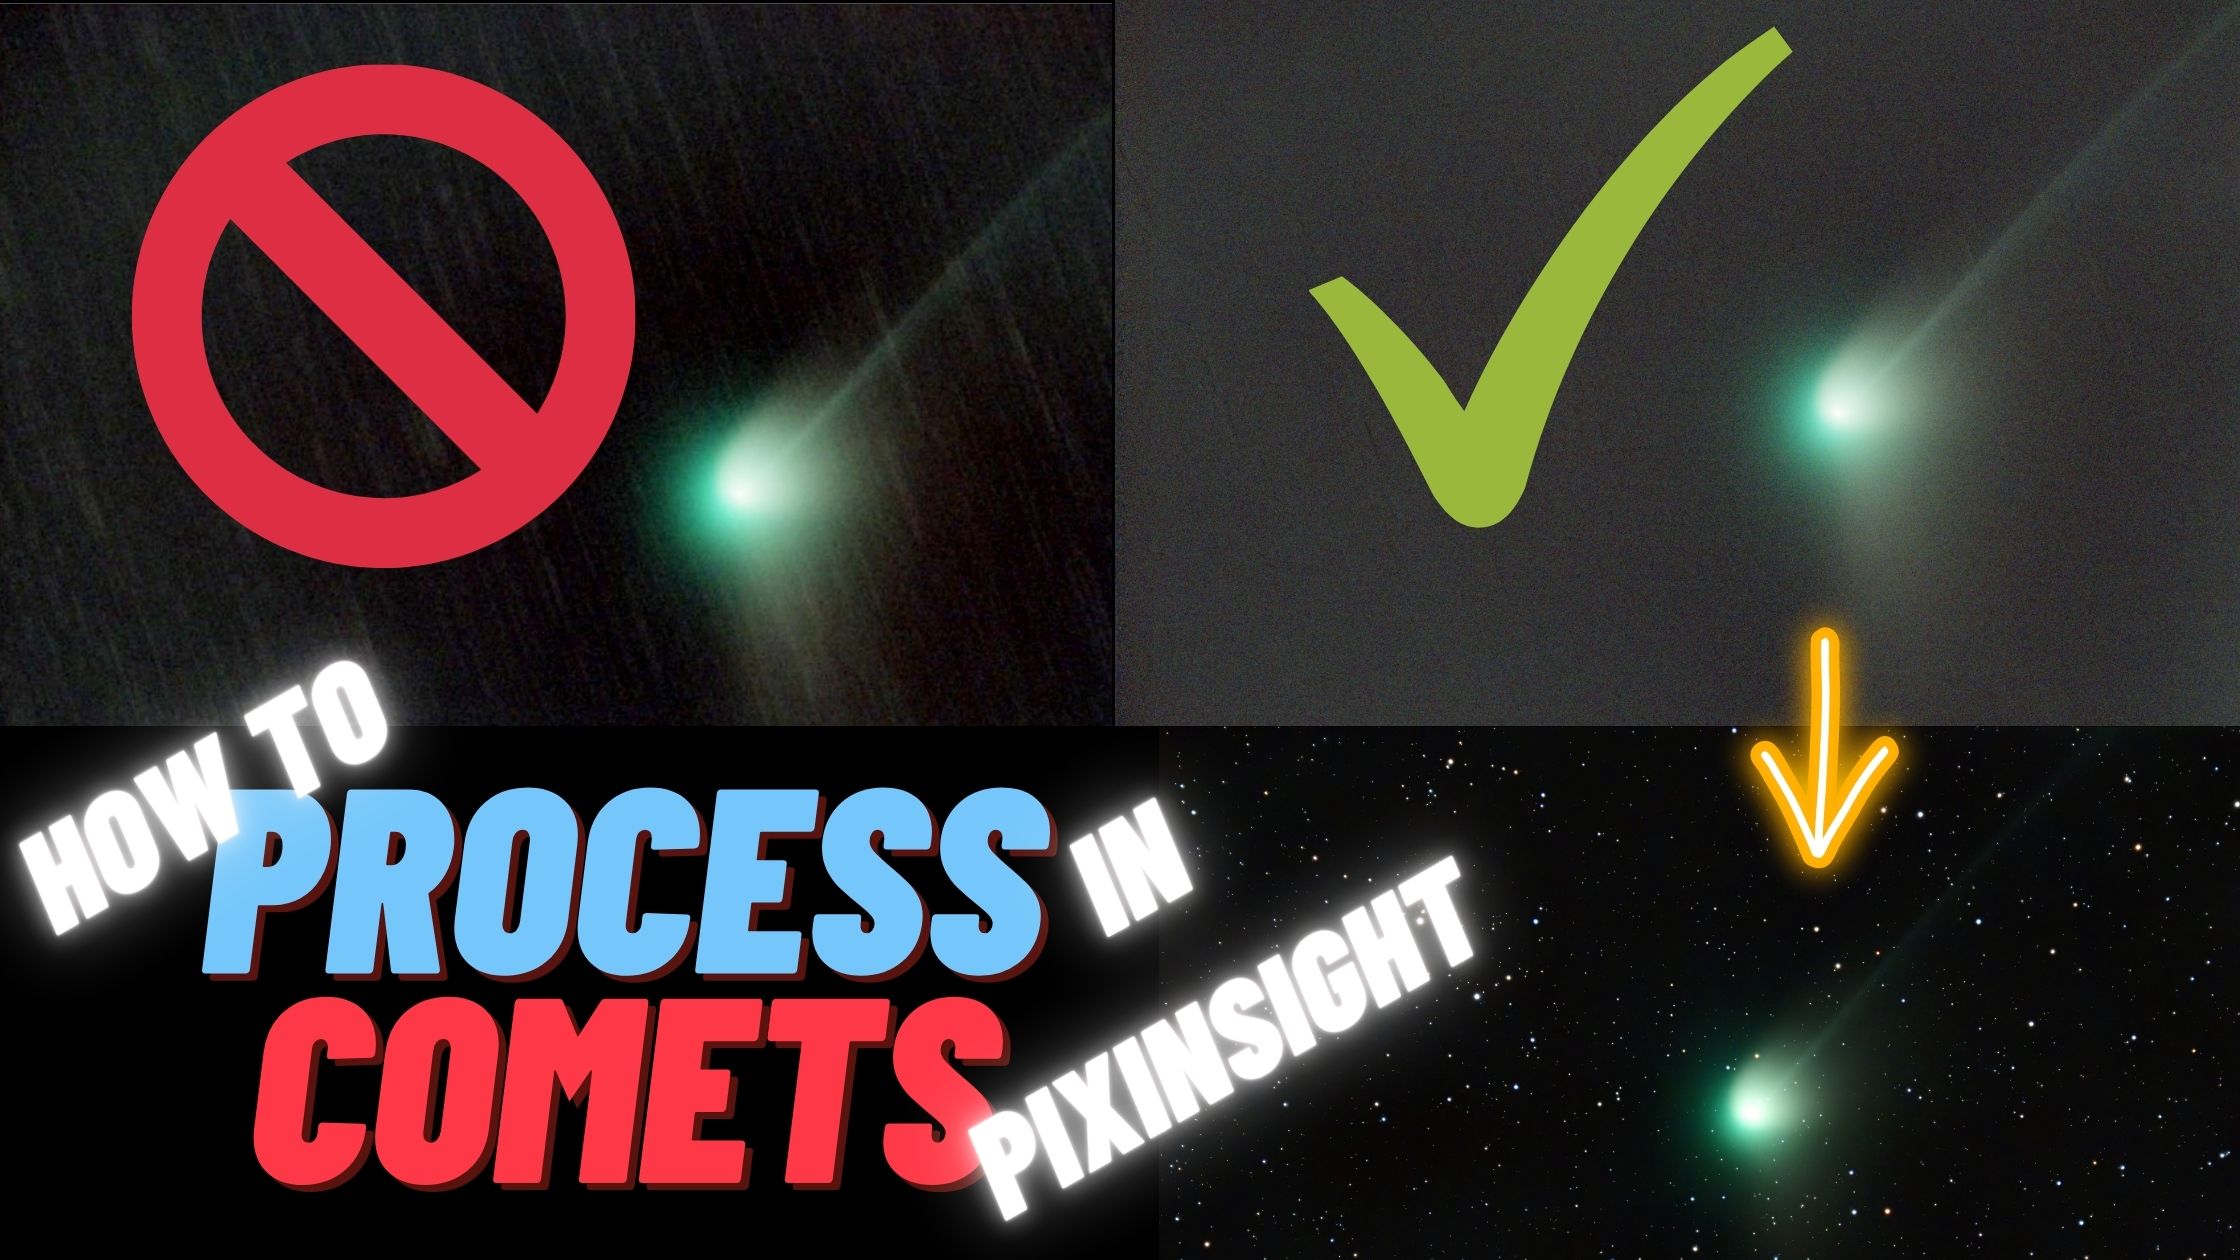
This post will dive straight into the solution. Everything covered here is shown in the video, How to Process a Comet in PixInsight.
Weighted Batch Preprocessing
This step will calibrate, debayer, star-align and integrate your data. You can also do this manually. If you’re not familiar with calibration, read my quick and dirty intro to calibration frames for astrophotography. If you go the manual route, you’ll do something like this depending on what data you have.
- Integrate bias frames to create a master bias per ISO/Gain.
- Integrate dark frames for a master dark per exposure and ISO/Gain.
- Subtract the master bias from the master dark to calibrate it.
- Subtract the calibrated master dark from the dark flats to calibrate them.
- Integrate the dark flats into a master dark flat.
- Subtract the master dark flat from the flat frames to calibrate them.
- Integrate the flat frames into a master flat.
- Subtract the master dark from the lights to calibrate them.
- Divide the lights by the master flat to calibrate them.
- Optionally apply cosmetic calibration to the lights.
- Debayer (de-mosaic) the lights.
- Star align (register) the lights.
- Integrate the the registered lights.
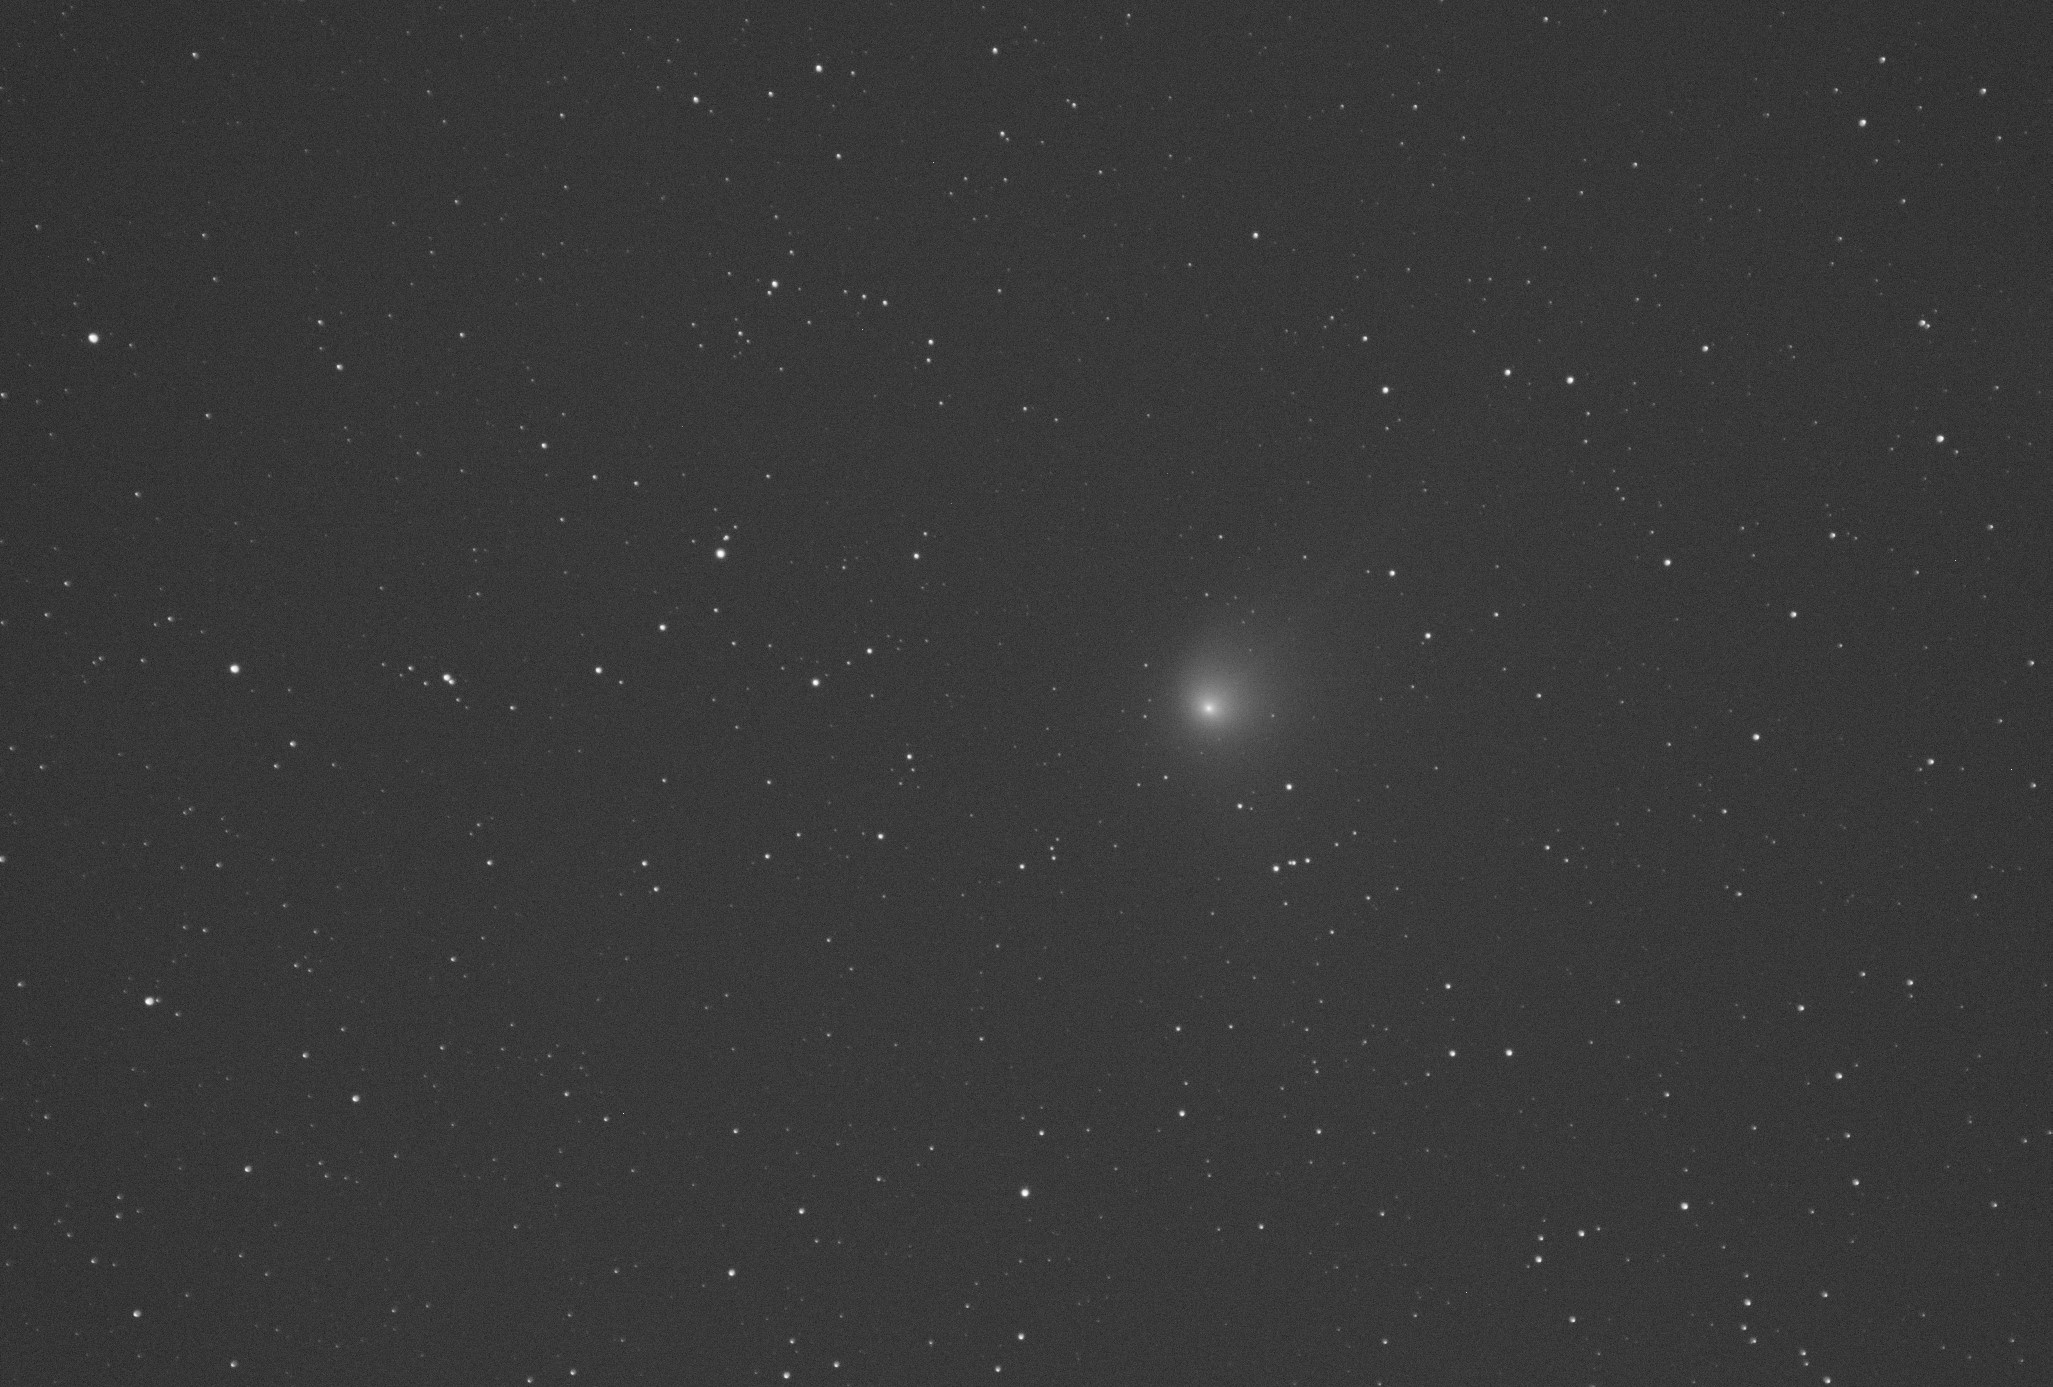
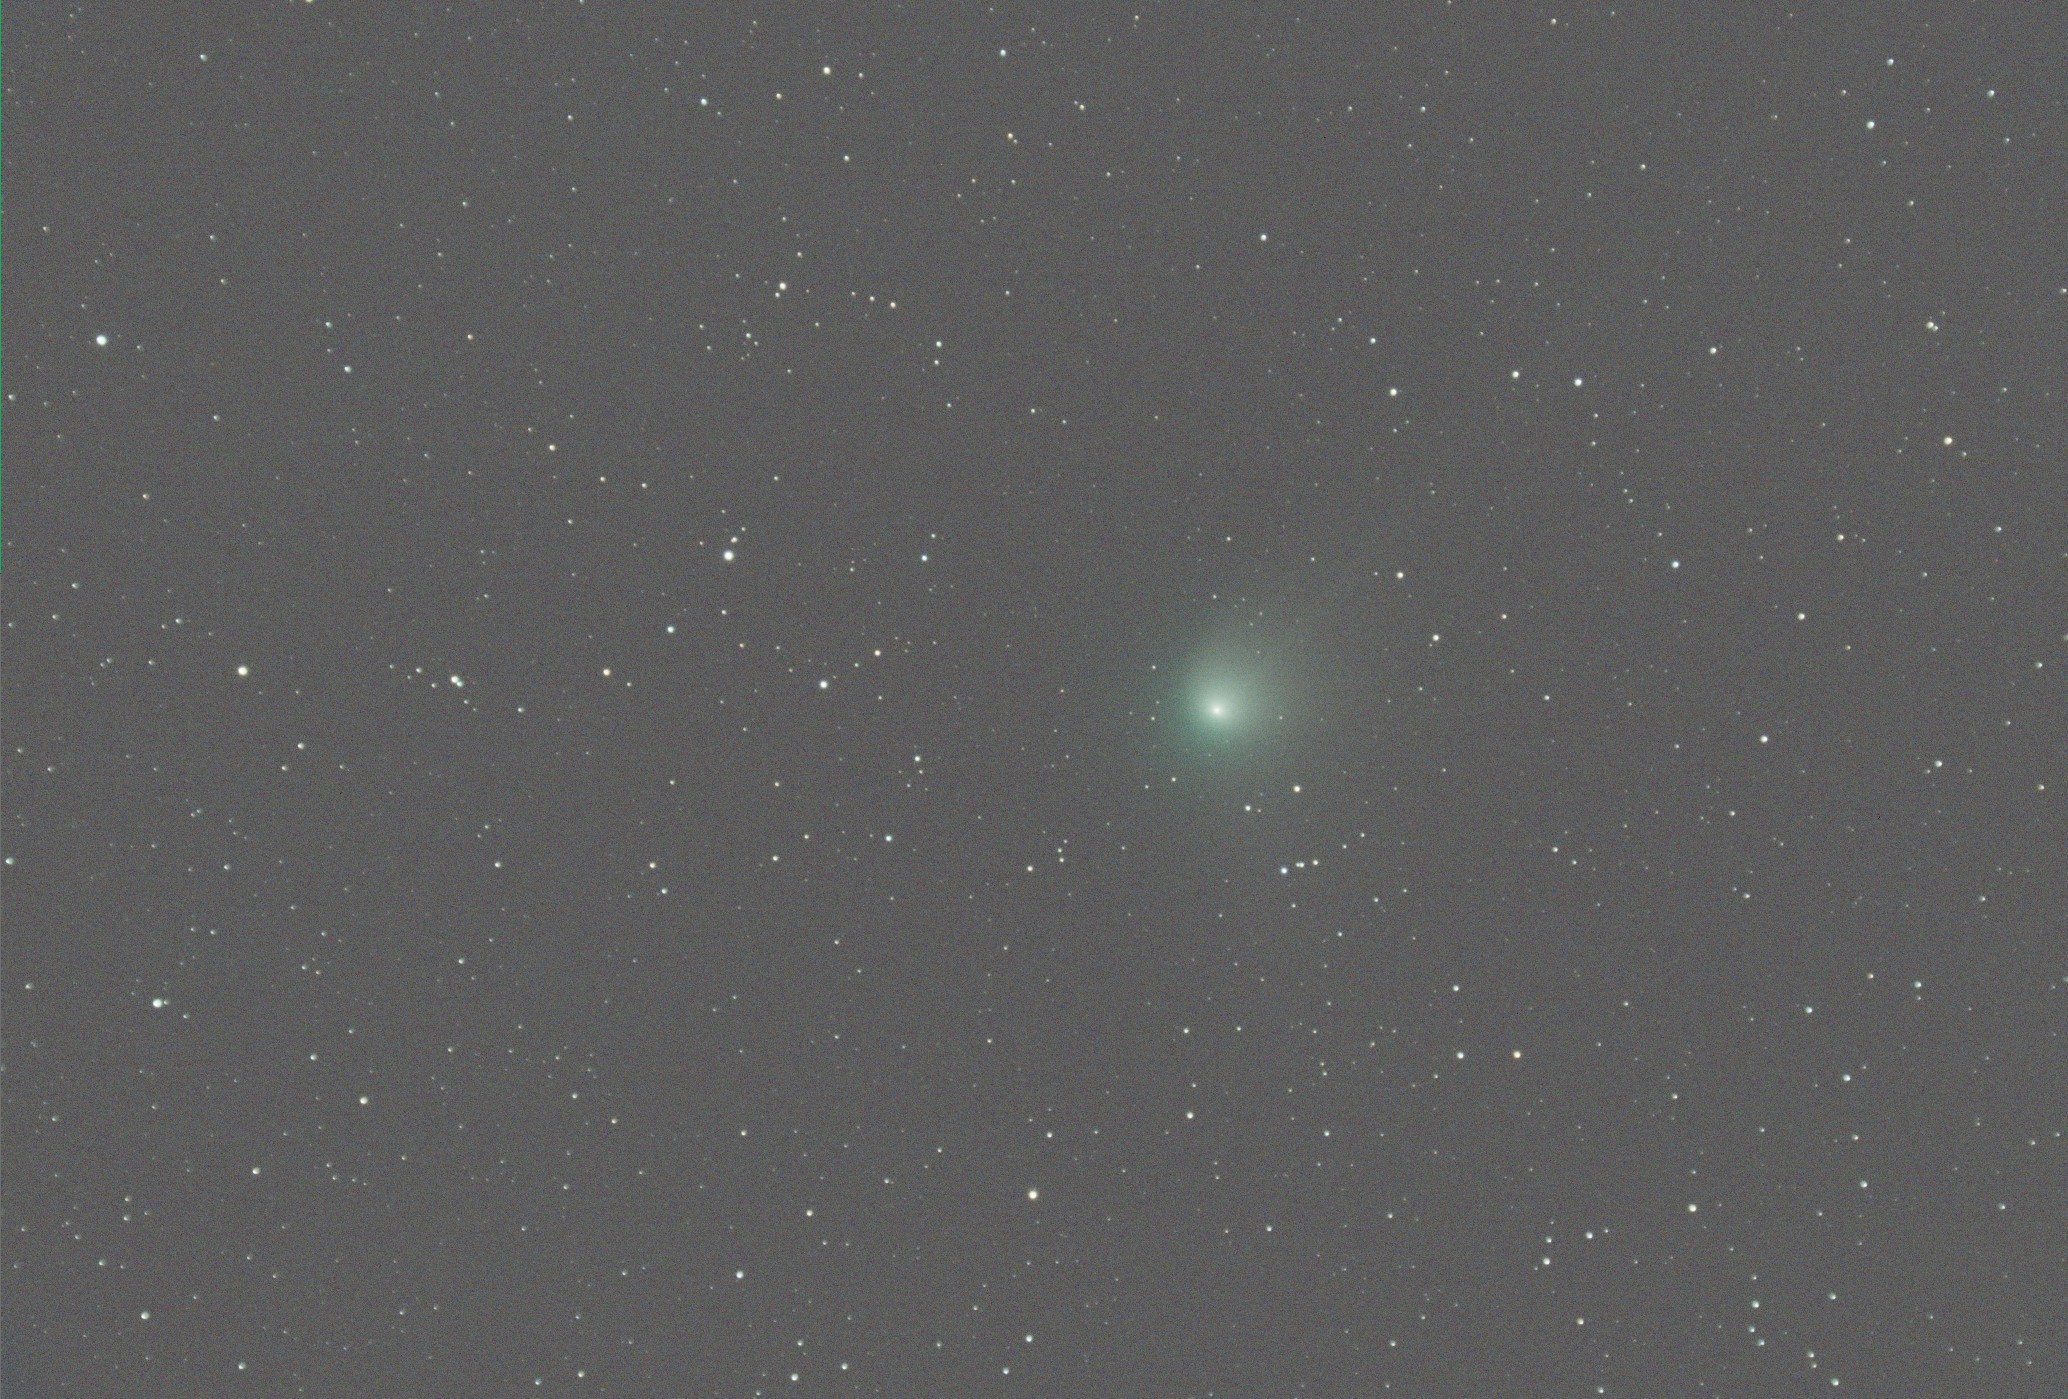
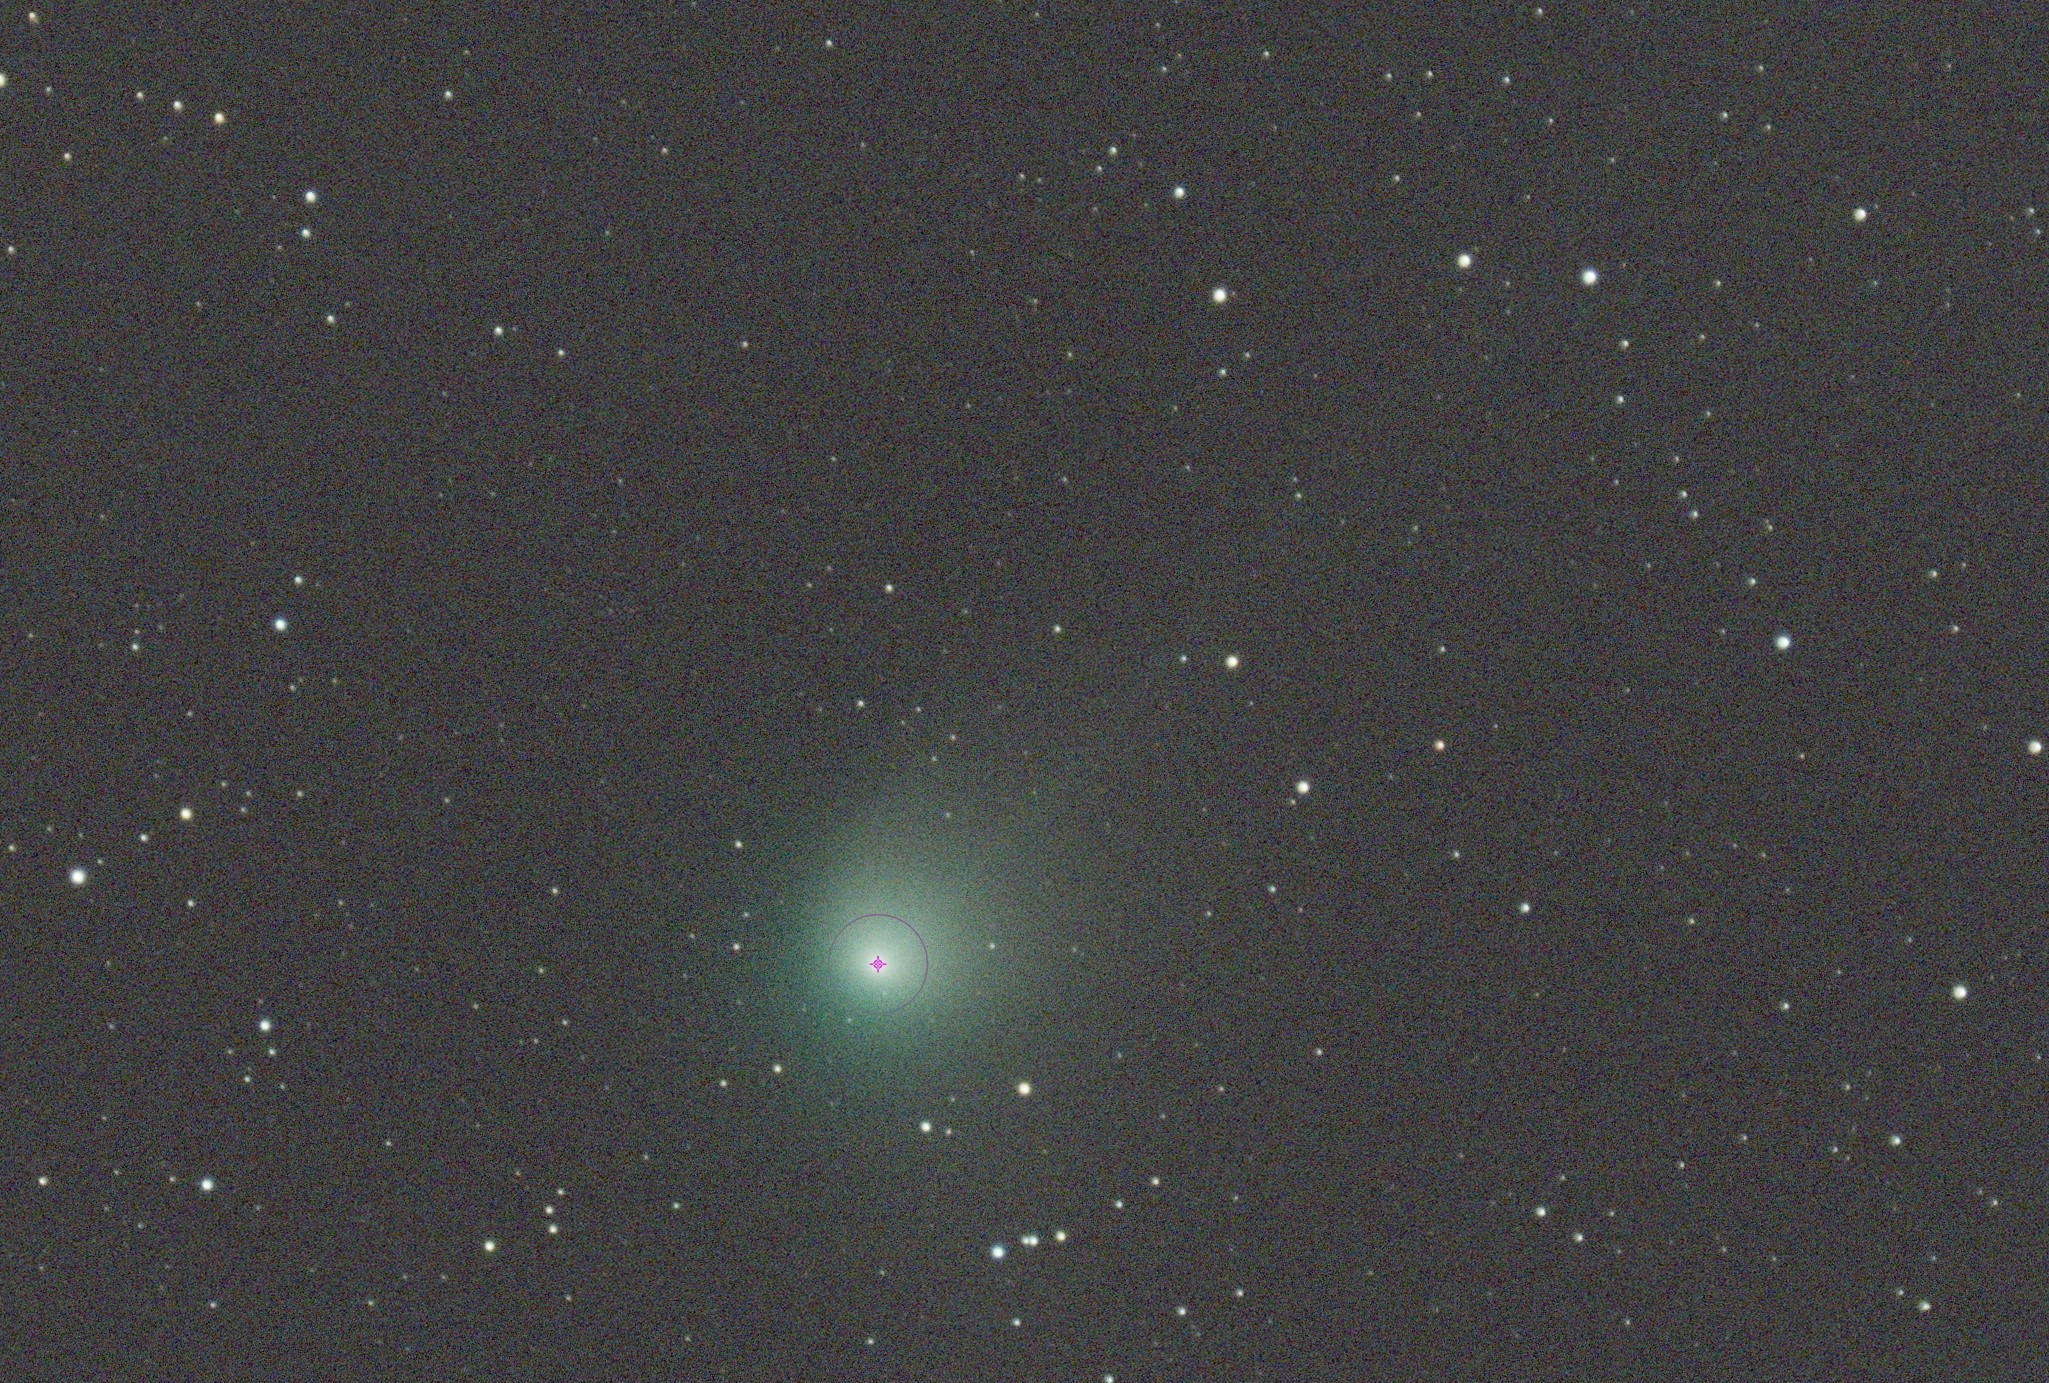
At the end of the process you should have an image with perfect stars but a seriously smeared comet. We’ll call this one star-integrated.
Star extraction
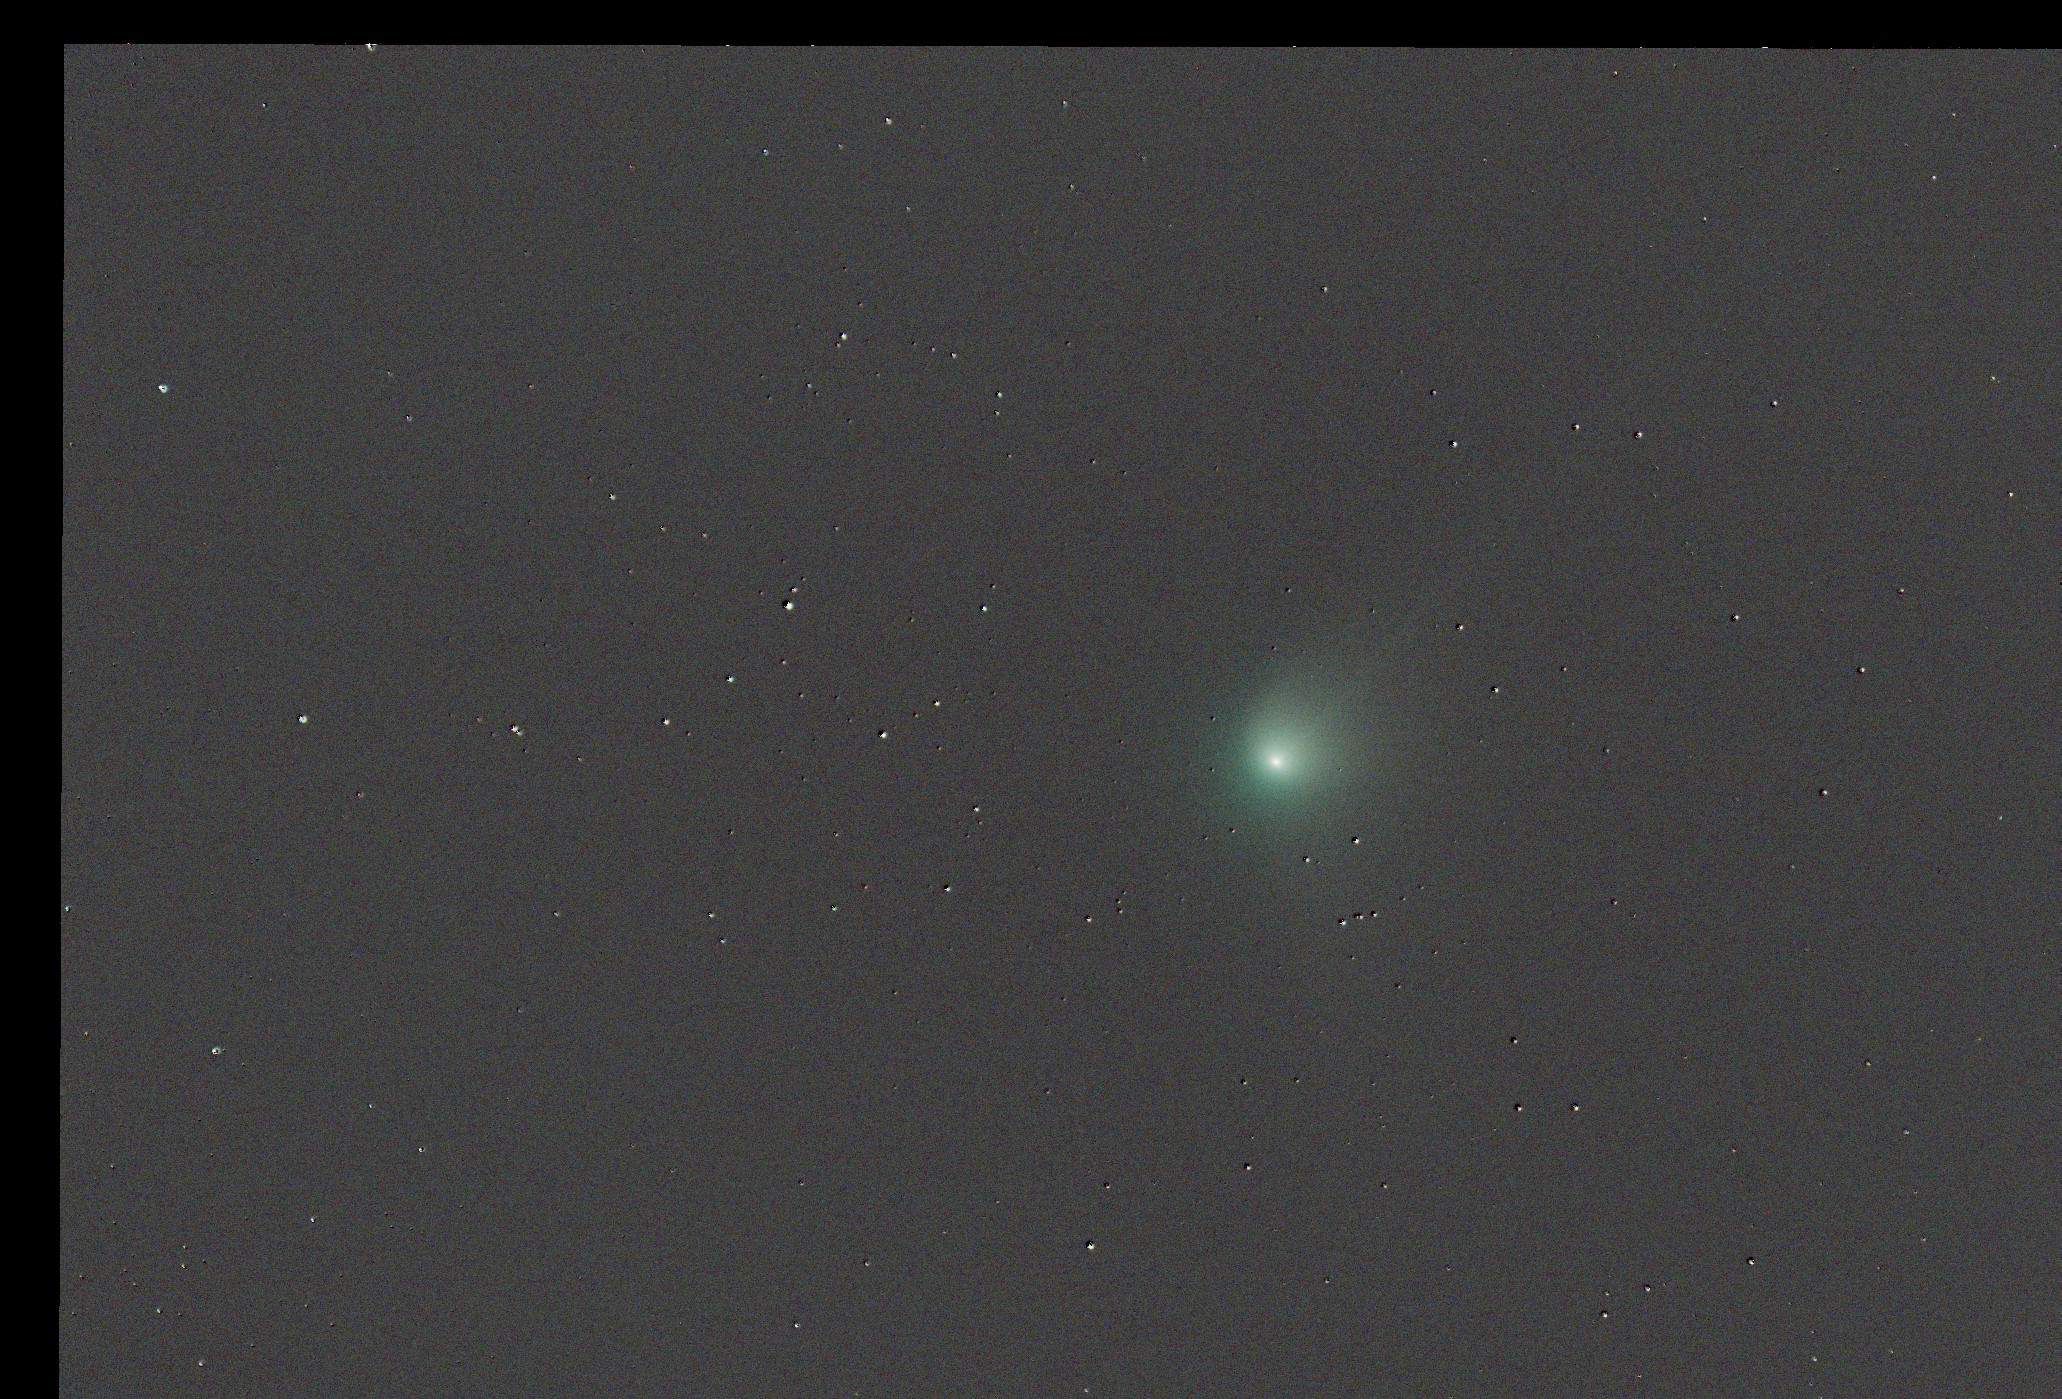
The next step is to steal the stars. The stack came from the star-aligned frames. The resulting stars will align perfectly. We can use that to ignore the stars and focus on what changes, i.e. the data for the comet. If you have StarXTerminator run that and use the option to generate a star image and unscreen the stars. An alternative is to run StarNet++. Save the stars to a fits or xisf and call it stars.
TIP If you notice some of the comet came along for the ride due to its bright core, use the CloneStamp tool to remove it by cloning the background over it. We just want stars here.
Comet alignment
Now you can run the CometAlignment process. The steps here are:
- Load the registered frames (these are the same ones that were integrated in the first step).
- Click on the nucleus/core of the comet in the first frame. You can either double-click on the first file in the list or use the button to load it, then stretch it and click.
- Repeat the step for the comet in the last frame. The alignment tool will use the distance between these two points to compute the comets position in the other frames based on their timestamp. You can also manually update other frames.
- Here is the key that most people miss. In the subtract section you can specify the stars file you saved earlier and pick stars aligned as the type. The result is that the stars will be subtracted from each frame, essentially leaving just the comet behind. The residual star “ghosts” will be averaged out by the stacking algorithm. This is how to a void star trails and streaks.
- Align!
Comet integration
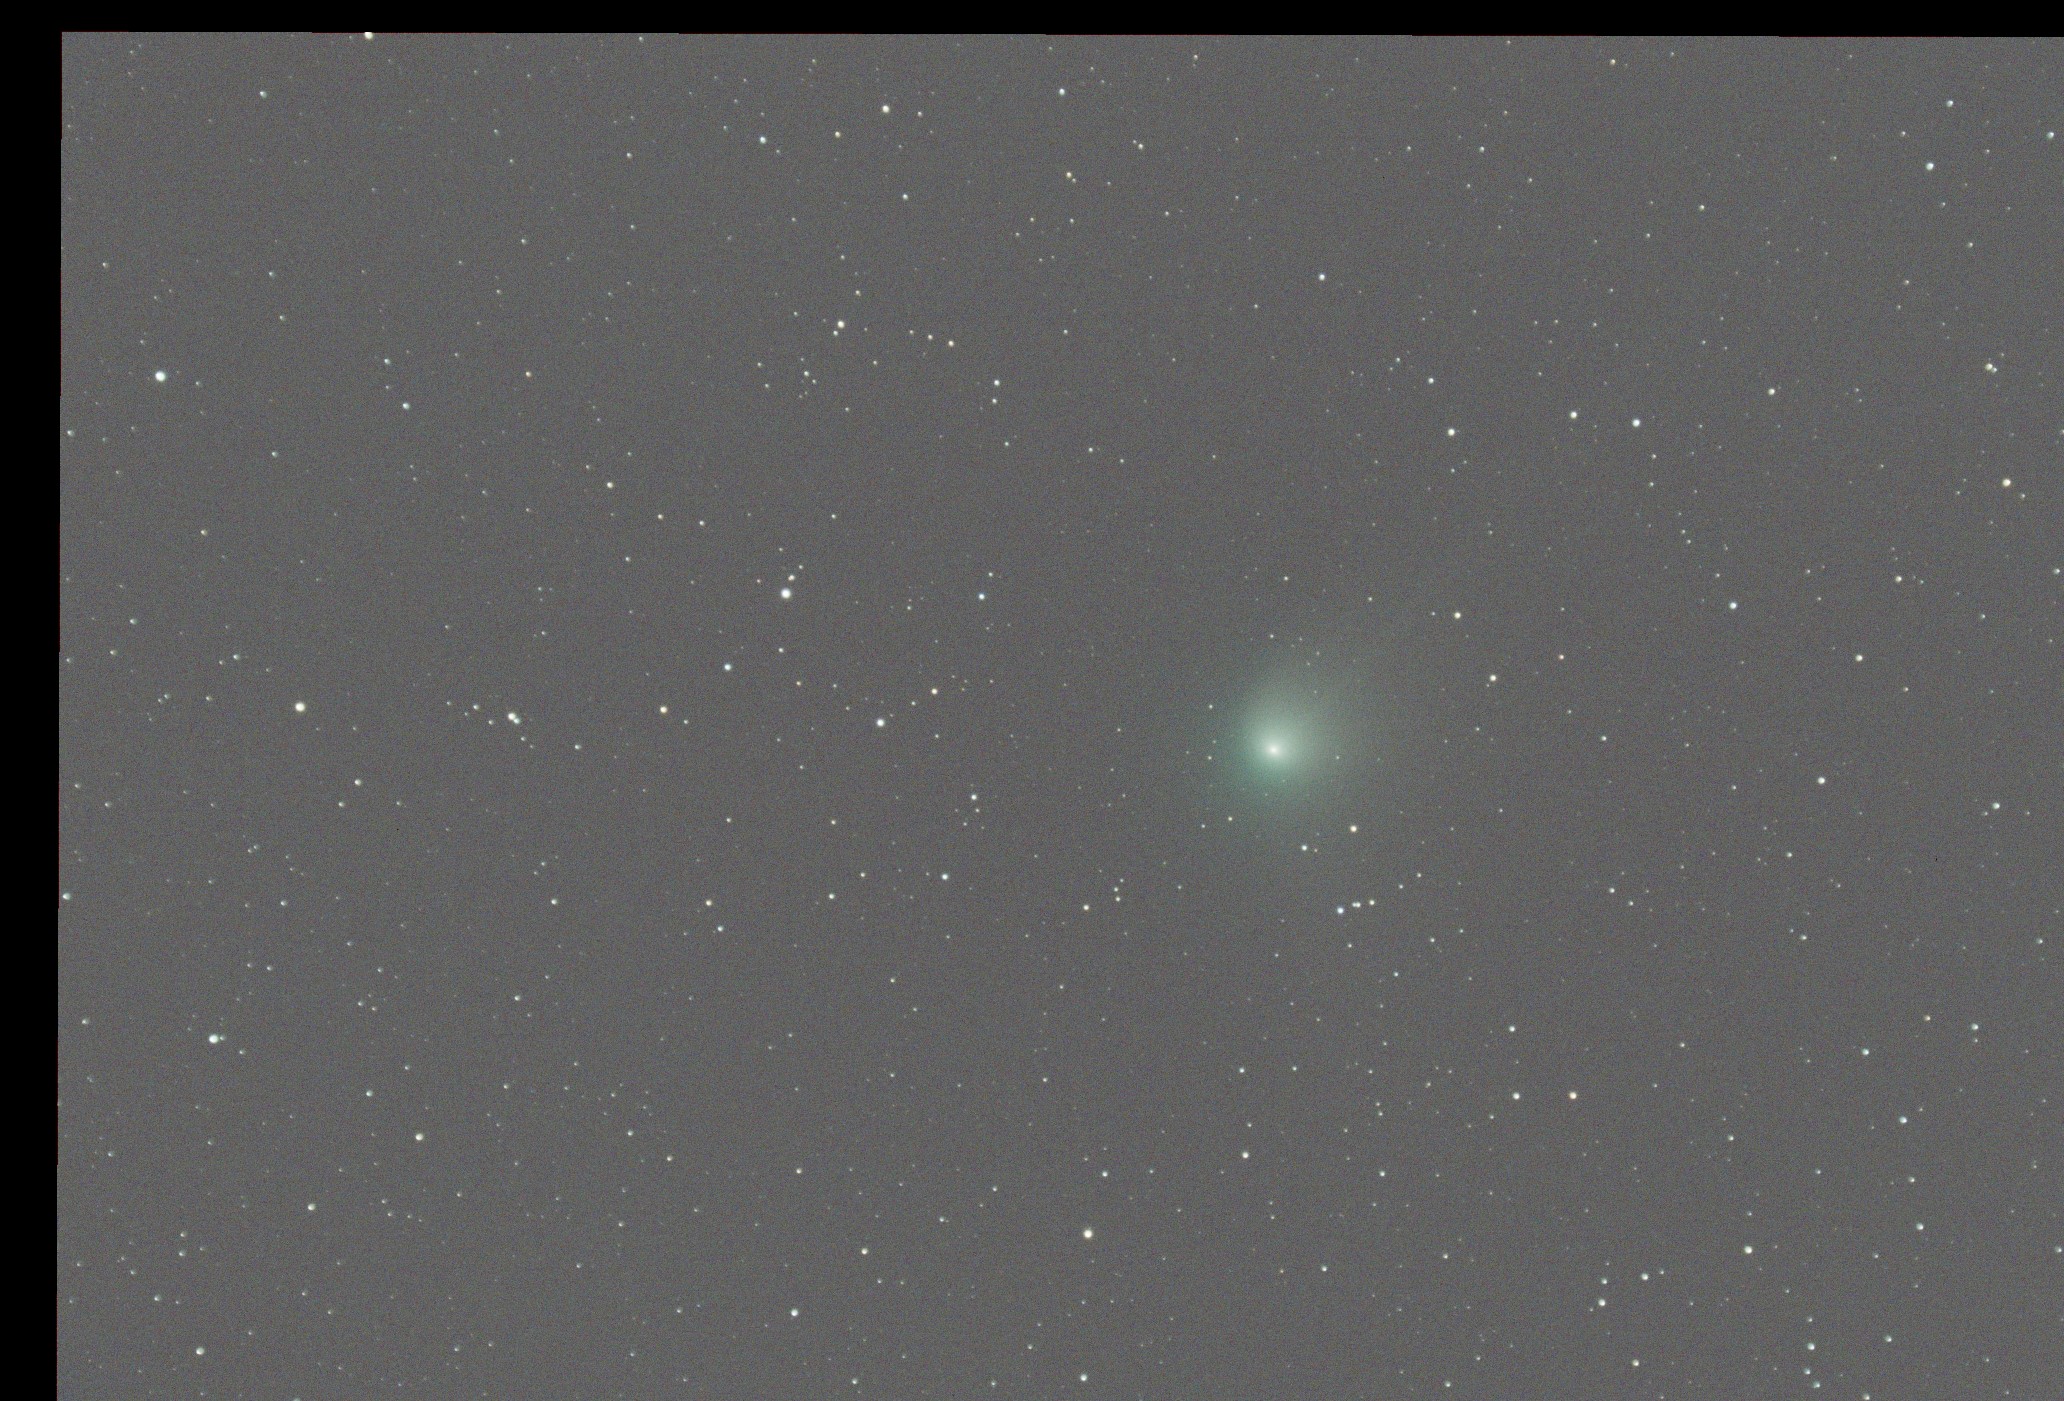
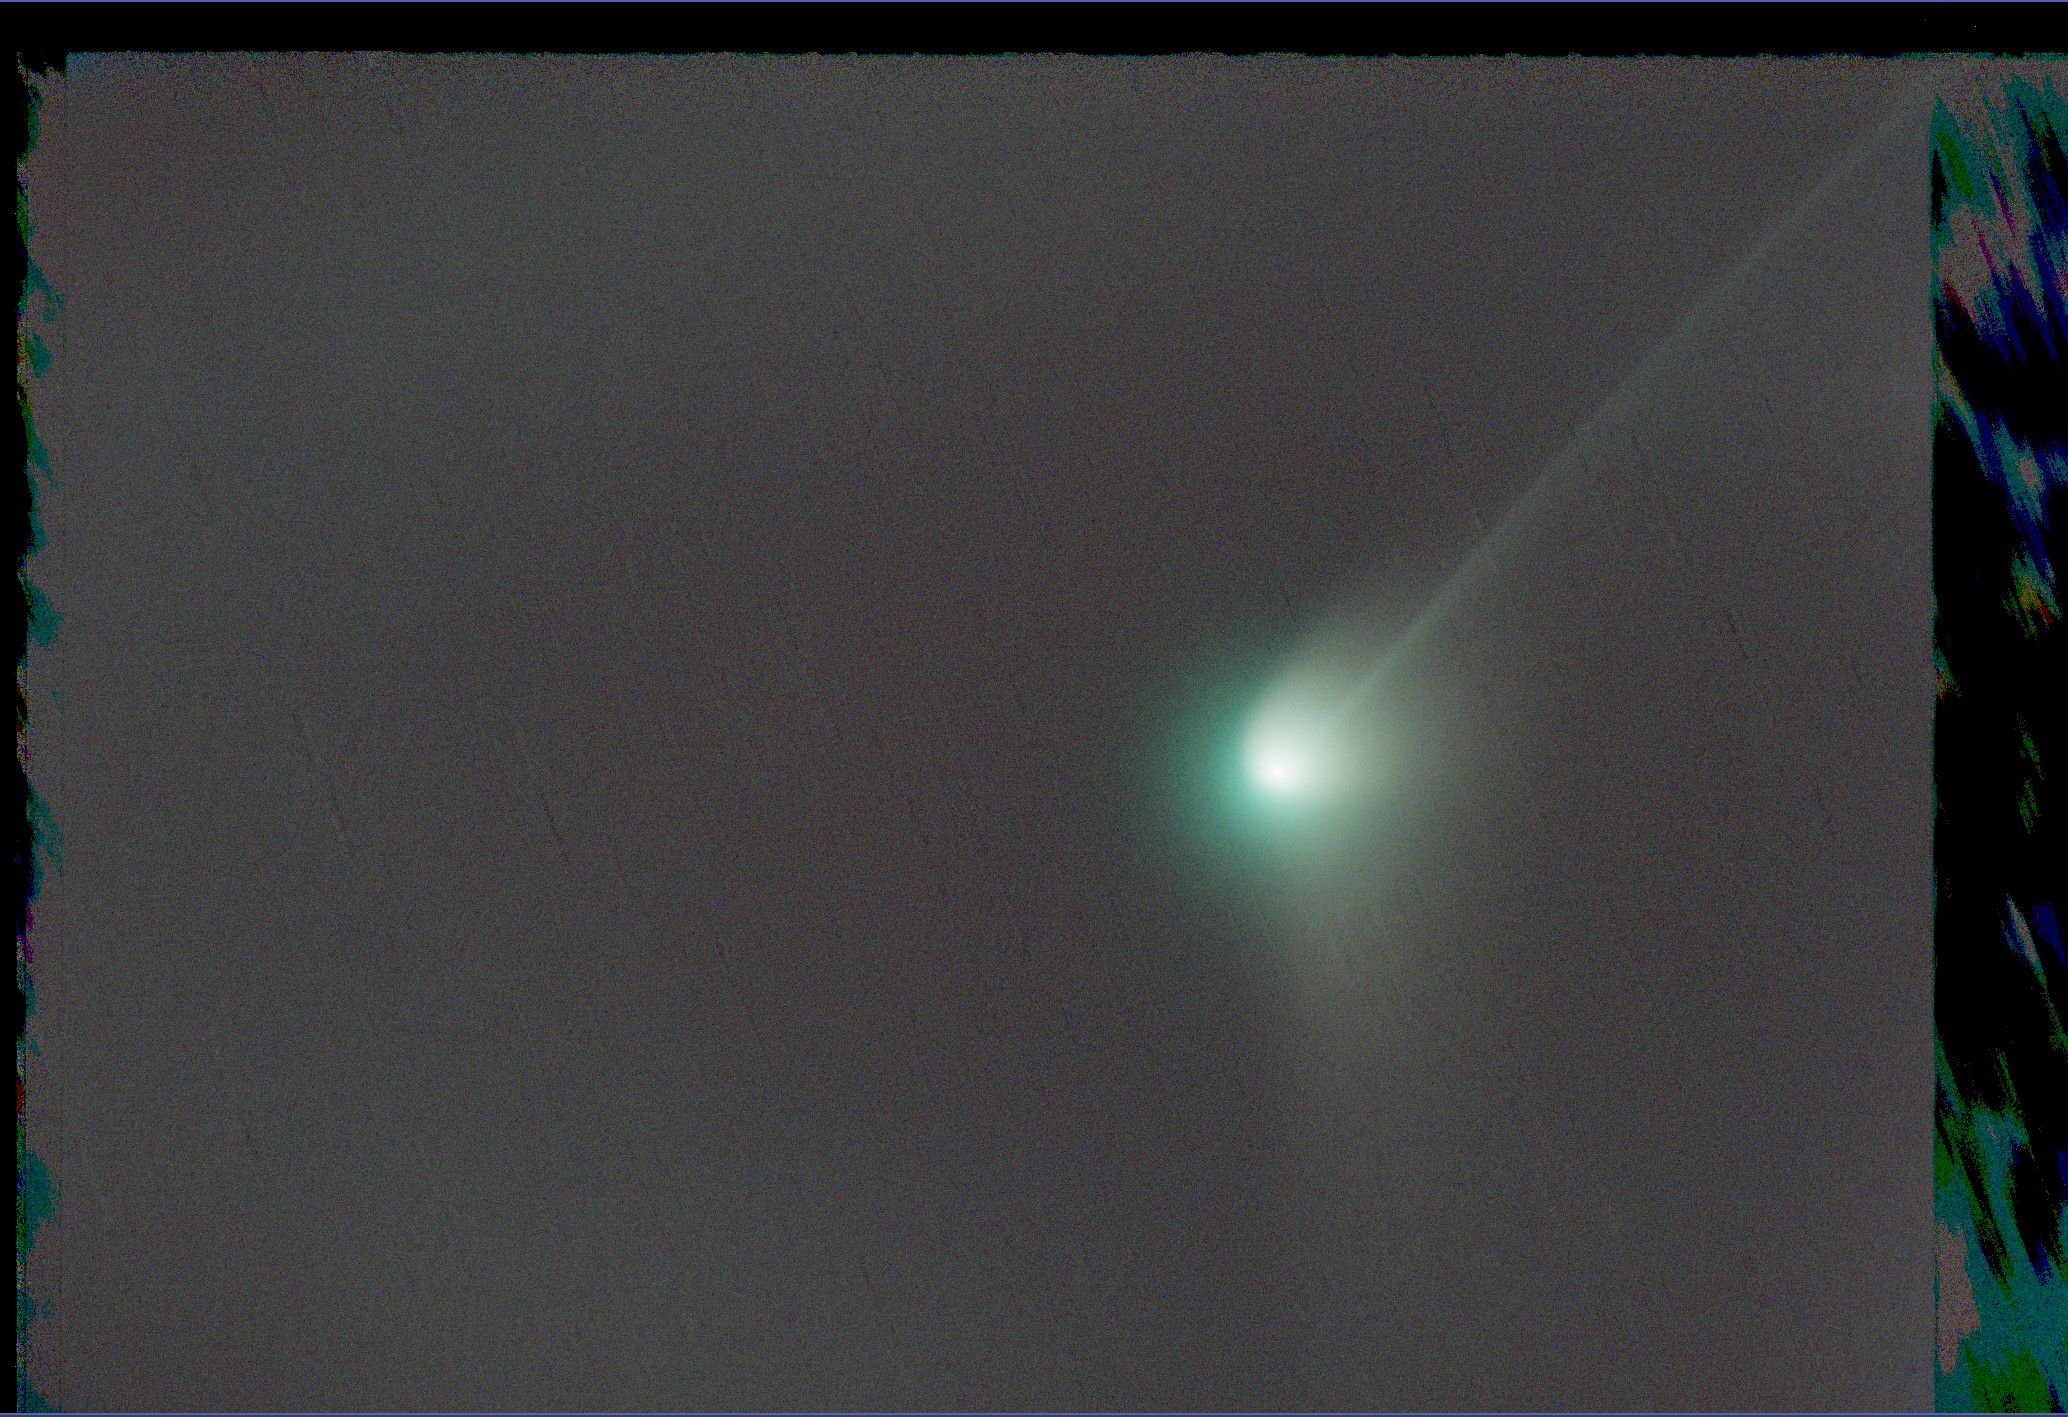
Now run ImageIntegration on the comet-aligned frames. You should get the comet and some noise along the edges where comet alignment had to crop the frame.
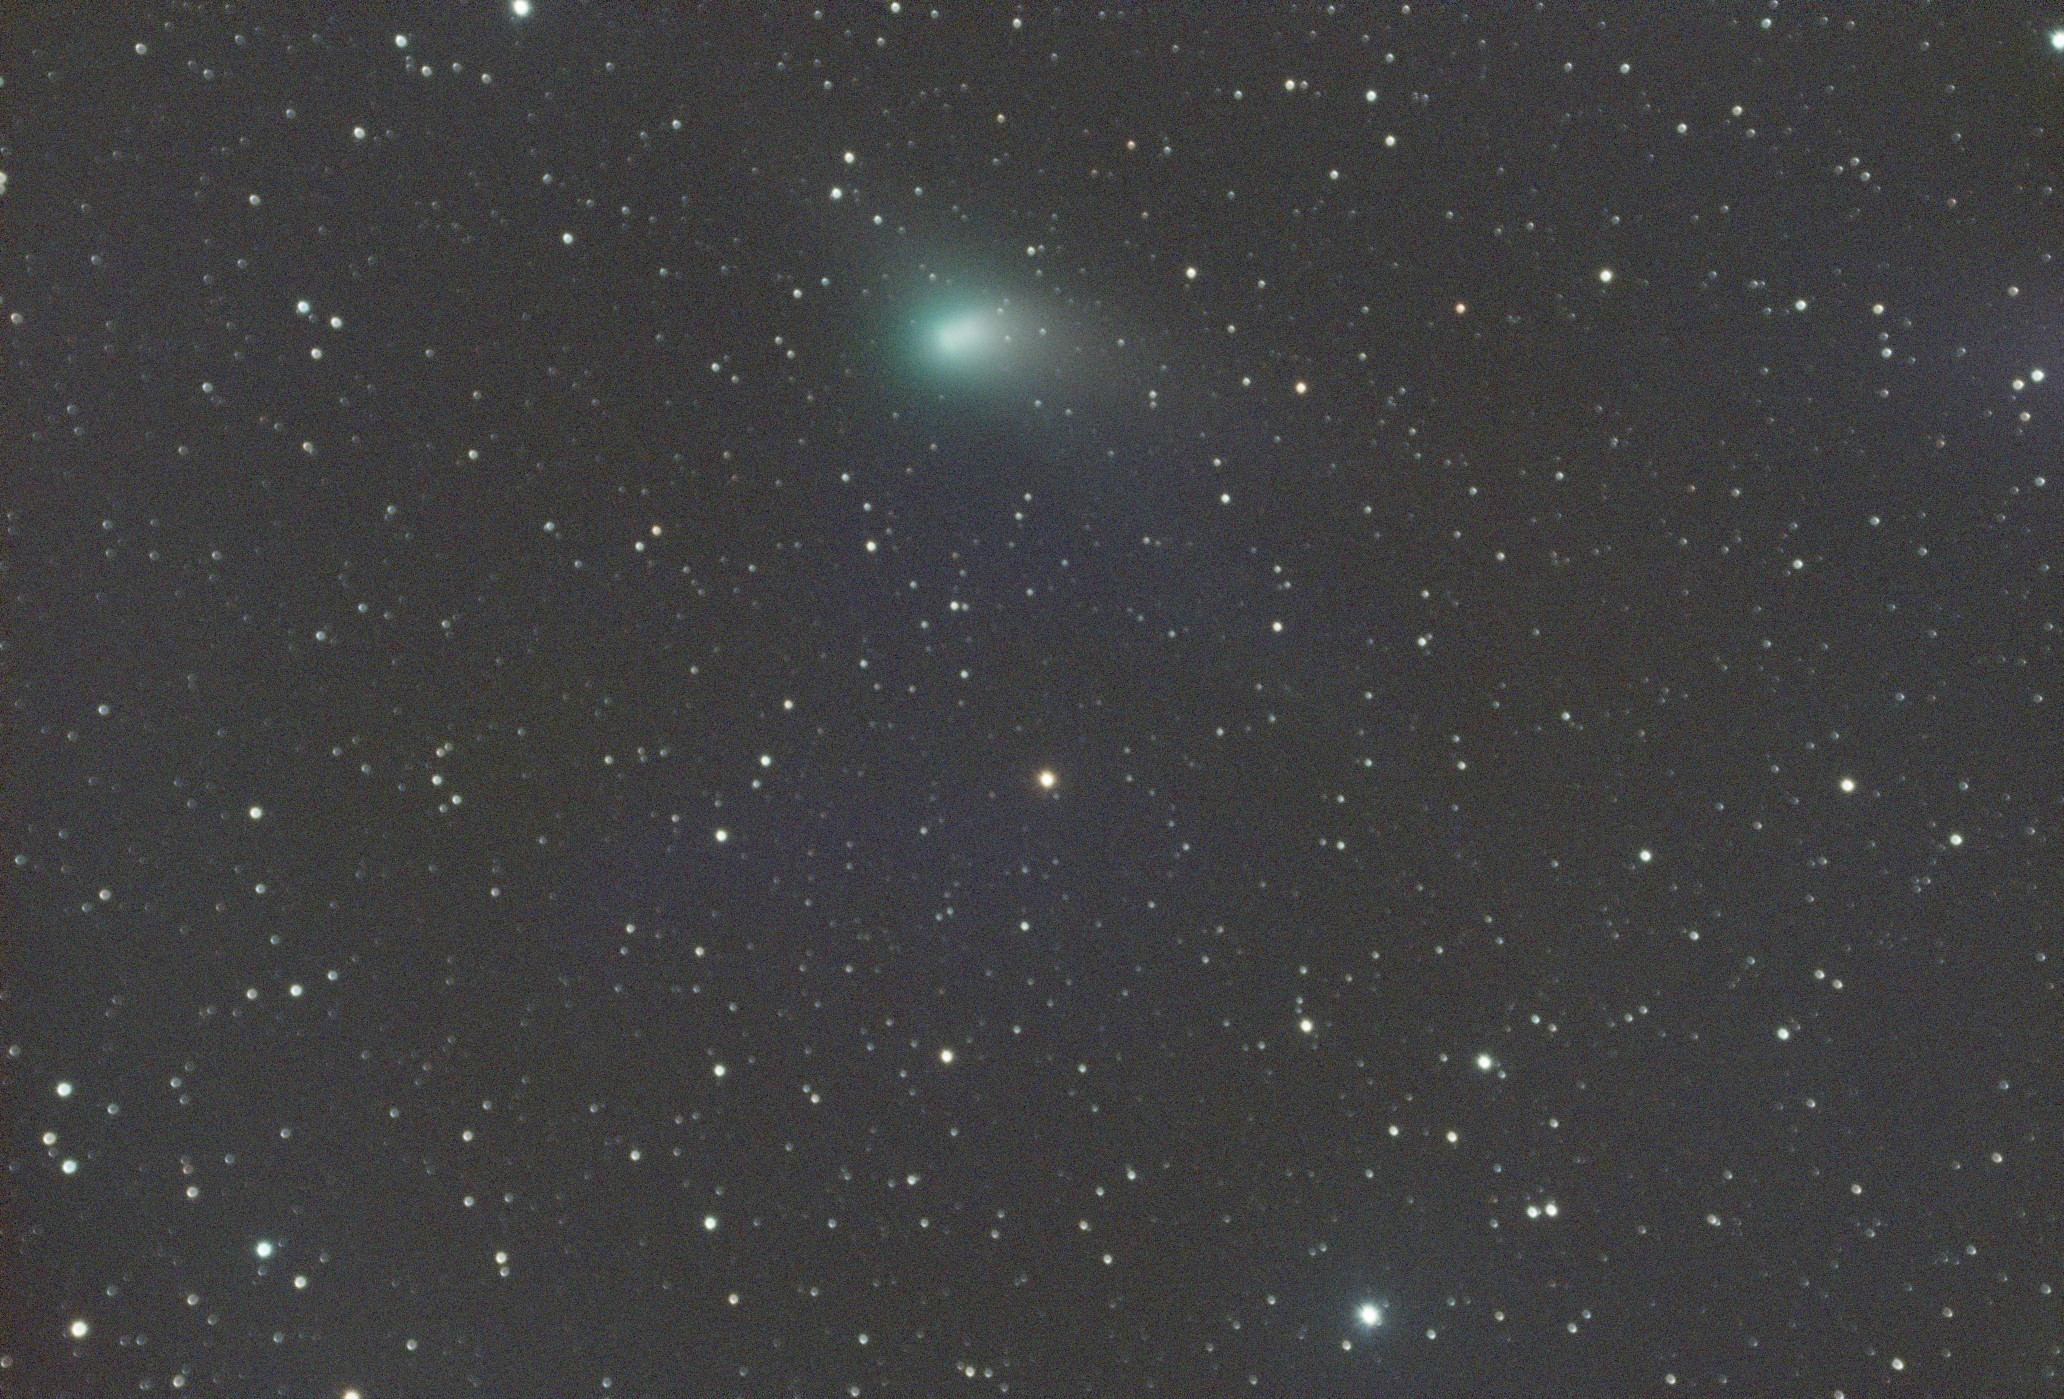
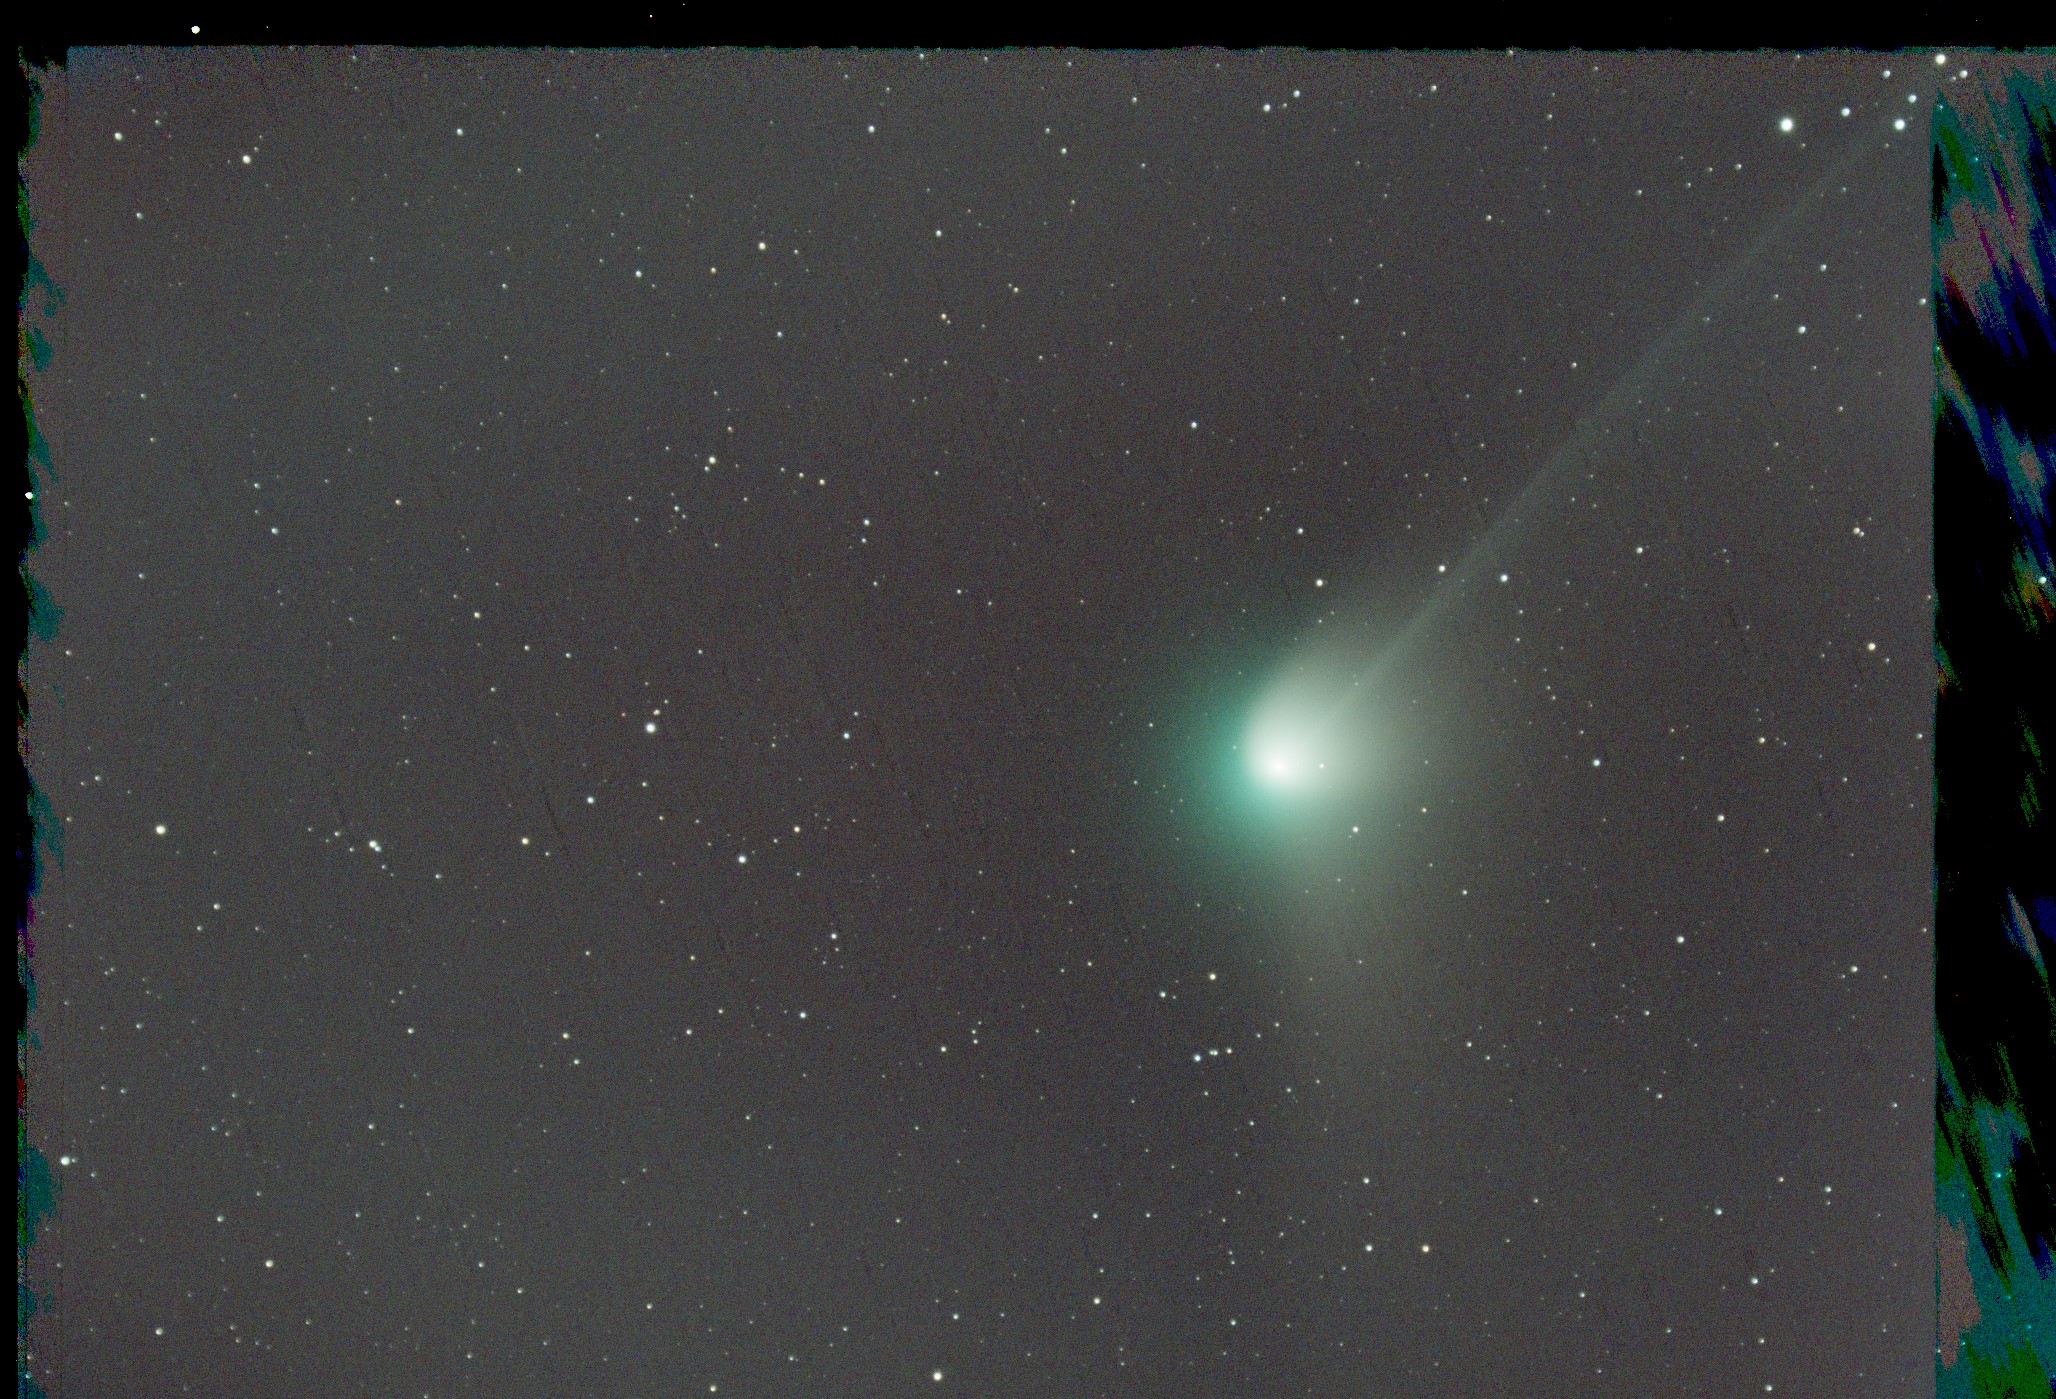
You might be tempted to crop out the noise, but not yet. To finish the integration, we need to put the stars back. Using some simple PixelMath we’ll blend the inverse of the two images and then invert the result. This makes for a smooth integration. If you used something besides stars for your stars file, replace it in the following equation. This equation can be dropped onto the integrated comet (which will serve as the target, or $T in the formula) to integrate the stars.
1
~(~$T*~stars)
Post-processing
Now we can process it like any other deep sky object. The process I usually follow is this:
- Dynamic Crop
- Automatic Background Extraction
- Dynamic Background Extraction
- ImageSolver if not already plate-solved
- SpectrophotometricColorCalibration
- BlurXTerminator
- EZ Soft Stretch
- Miscellaneous tweaking of curves, noise, and generation of masks to help bring out the comet detail.
Q.E.D.
Post categories: Related tags:
