
November 28, 2021 2763 words 11 minutes to read
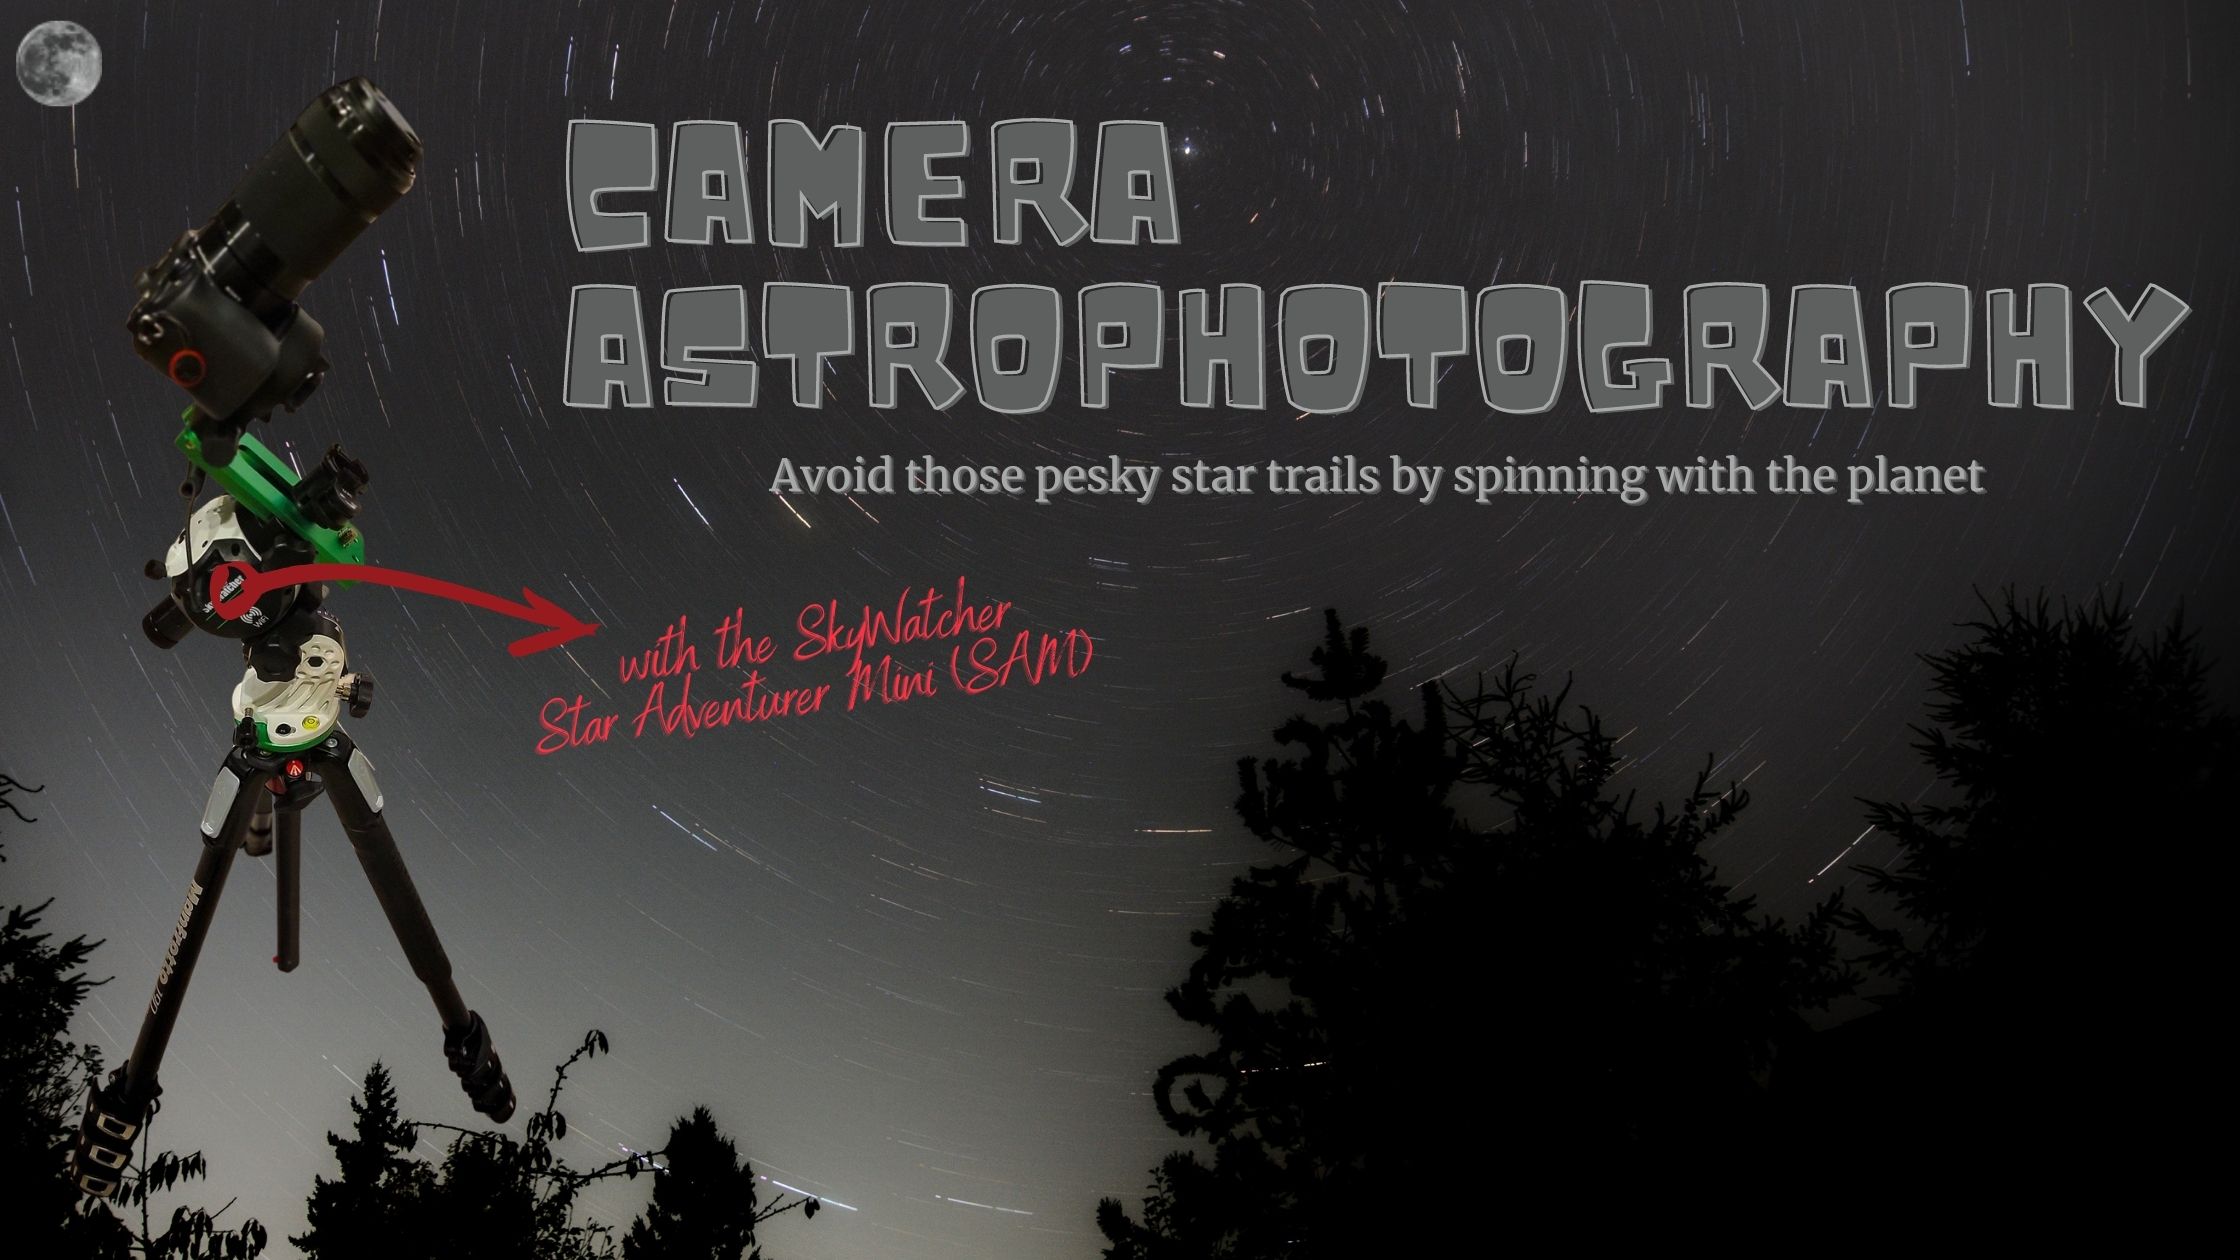
Camera Astrophotography with Tracking: Star Adventurer Mini (SAM)
Summary
- A question of exposure
- What a tracker does
- If you can’t beat them then join them
- The test run: single shots
- Conclusion
A tracker is a device that rotates slowly at the same speed the Earth spins around its axis. This allows you to aim your camera at a fixed location in the sky and capture long exposures. Astrophotography requires longer exposures to draw out faint details like nebulosity. Depending on the focal length of the camera, you are limited in how long you can keep the shutter (sensor) “open” before the Earth’s rotation results in the star visibly moving through the frame and leaving a star trail. Star trails aren’t all bad. Here’s an intentional star trail I created by combining several 2-minute exposures without a tracker.

Star trails aren’t as fun when you’re trying to capture intricate details in a cluster or nebula.
A question of exposure
If you search online, you’ll find a lot of discussion around ideal exposure times. There’s the “rule of 500” and other complex formulas with impressive write-ups. Personally, I think it’s easier to skip the theory and go straight to the real-world data. For each focal length and aperture (f-stop) setting in my camera, I take exposures of different lengths to figure out what my reasonable maximum is. I’m looking for the longest exposure I can take without the stars elongating to form star trails. Here’s what I found works for my Sony ILC-6300 mirrorless camera.
- 16mm at f/3.5 — This is the wide-field, bright light lens. I can usually get away with up to a 20-second exposure before I see issues.
- 55mm at f/4.5 — At this zoom level I can get away with 6-second exposures. Anything more results in trails.
- 212mm at f/6.3 — The longest focal length I own tops out at 1 - 2 seconds.
I’ve heard that the color and detail you get in sky photo is far richer with long exposures. Stacking 300 one-second exposures won’t compare to the level of detail and color you can obtain from five two-minute exposures. After realizing I have access to some amazing nebulae and galaxies right from my own yard, I decided that it was time to invest in a tracker.
What a tracker does
The earth rotates and this gives the illusion of stars moving. It doesn’t take long in astrophotography for targets to leave the field of view. The solution is to orient the base of your mount so that “up” is an imaginary line that travels through the true North Pole. Once you are aligned, you can point to any object in the sky using a celestial latitude and longitude. Instead of the lines crossing the earth, imagine them projected into the sky. The first coordinate is declination, a sort of celestial latitude. My Northern Hemisphere-centric way of thinking about declination is the angle I need to make to draw an imaginary line through Polaris, the north star. It’s not “true north” but it gets us close. It’s easy to remember because it sounds a little like inclination, or incline, meaning “how high?” The second coordinate, like longitude, is a measure of where in “orbit” the target is. Imagine a set of circles drawn on our celestial sphere with Polaris in the middle (or another set of stars if you’re in the Southern Hemisphere). Each circle has tick marks and every star, nebula, and galaxy appear to orbit in that circle. This is right ascension.
Declination is measured in angle degrees, so if you live at 47 degrees North latitude, you need an angle of 47 degrees to point a laser directly at Polaris. Only, don’t point lasers. It’s not nice. Right Ascension can be measured in degrees, but is more often measured as time. That may seem confusing at first, but it makes sense. Divide those circles into 24 hours and you have your measurement. The Earth rotates every 24 hours, so that means celestial objects move about 15 degrees every hour (24 x 15 = 360 degrees or a full circle). The right ascension starts at zero at what’s called the vernal equinox, or the point in the sky the Sun rises on the first day of Spring. If you are viewing an object low in the horizon in your back yard at 8pm, it will be more or less directly behind you in your front yard by 8am.
M42 is a bright nebula that can be seen with the naked eye and is called the Orion Nebula. Its coordinates are -05° 23’28” Declination (Dec) and 05h 35m 17.3s Right Ascension (RA). Now imagine you’ve rigged a record player to slowly spin with your camera setting on it to take pictures. First, you need to tilt the platform it’s on so the surface is pointed at Polaris. Then, you need to tilt the turntable down just over 5 degrees so it is parallel with M42’s path. You turn the record until you’re pointed about 1/4th of the way from “center” and then make sure it spins once every 24 hours. Now you’ve got perfect pictures!

The diagram may help visualize what is going on. I’ll explain the device, called an “Equatorial Wedge,” in a moment. The red arrow is the platform, the yellow arrow is the tilted turntable and the top red circle is the turntable. The yellow star is Polaris but more technically should be the north pole. The mount is aligned at the latitude of 47 degrees to point directly at true north. The other two stars are targets at different declinations. For example, the purple star is at the declination represented by the yellow dashed arrow, so the camera will have to be tilted that much relative to the wedge in order to be tracked. The red circles are right ascension, so to get to the purple star requires the camera to be rotated to that position.
This is a concept that can be tough to master, but there are really just two pairs of coordinates to be concerned with. First, the base of your tripod should match the declination and right ascension of the north or south pole. That is fixed. After your base is pointed the right way, it shouldn’t move. This is called “polar alignment” and is how you set up the tripod so that everything is parallel to the sky’s apparent motion. The next set of coordinates is for the target you’re observing, which will be offset from the base of your tripod. For example, Polaris is at 89° 15’50.8” Dec and 02h 31m 49.09s RA. After the tripod is aligned, to get from Polaris to M42, the camera will need to be offset just over 90 degrees (the difference between the tripod aligned to Polaris and the circle M42 travels on) and rotated about 45 degrees (3 hours difference x 15 degrees). To make things even more interesting, the RA changes based on time of day which makes sense because it’s a coordinate “at a point in time.” Fortunately, most software can guide you there if it knows your current location so it can compute offsets.
Whew! Hopefully this explanation was helpful and should make more sense as we build our system.
If you can’t beat them then join them
To beat the stars, you have to spin with them. I recently purchased a product for my “turntable” that is a simple, lightweight solution I can take on the road.
Note: As an Amazon Associate, I earn from qualifying purchases. I only link to products I’ve personally purchased and used.
It’s called the Sky Watcher Star Adventurer Mini. Most astrophotographers refer to it by its acronym, “SAM.” I purchased a SAM kit that came with several accessories. The unboxed items and descriptions follow.

Let’s go from the bottom of the stack up.
I also produced a complete guide to the Star Adventurer Mini (SAM) video:
Equatorial wedge
The equatorial wedge is the base of the structure that must be aligned. It has knobs to fine tune the declination and right ascension of your whole setup. This is a key piece of the polar alignment as it forms the stable base that allows the rest of the setup to move freely so you can sight your targets and start tracking. The front of this should point to true north (or south) and the surface should be at an angle so that a perpendicular line will go through the north pole.
Tip: You don’t have to be perfectly polar aligned to take great shots. You can use what you know about your latitude to adjust the angle of the wedge, then use a compass to orient the tripod to north or south. Note that if you use a traditional compass, you need to make the appropriate adjustments to offset “true north.” Search for it online and you’ll see many pointers and tips for this. My wedge is already set to my latitude, so I’ll often just use the compass to position it for 16mm - 35mm shots at exposures of up to one minute.
Everything above the wedge is “relative” and can move freely in its own dimensions and still maintain tracking.
Main unit: SAM
The main unit, that I affectionately refer to as “the cube,” goes on the wedge. This is the turntable that spins the record. When turned on, it will rotate at a speed called “sidereal” that matches the Earth’s rotation. The SAM can act as a Wi-Fi hotspot or join an existing network and is controlled by a smart app on your phone. It has a snap port which means you can attach it to your camera with a cable that lets the unit take pictures and control their exposure.
TIP: Want to use your own software or intervalometer to take pictures? No problem. I’ll use the app to set up “astrophotography” with 99 exposures of 999 seconds without the snap cable connected. This ensures the motor continuously rotates and then I’ll use other software like N.I.N.A to control the pictures.
Here you have several options such as mounting the camera directly to SAM or using the ball head adapter to attach, well, a ball mount of course! This is useful to help move the camera for framing. I prefer to add a few other accessories that I’ll get to in a minute. First, let’s talk about polar alignment.
Polar scope and illuminator
The polar scope slides directly into the cube and can be in place at the same time as other accesories. It is used to sight Polaris for polar alignment. An attachment on the end provides a red light to illuminate a grid. For wide angle photos, getting Polaris in the scope is fine. However, if you want precision, longer exposures, or more magnification with a longer focal length, you’ll need a more precise alignment. That’s because although Polaris is close to the North celestial pole, it’s not exactly there. In fact, Polaris orbits around the north pole like other stars. This means that when you are pointing at true north, Polaris will be offset and have a different position depending on the time of day.
To solve this, the alignment scope has a built-in clock diagram that matches the apparent width of the orbit of Polaris. An app that comes with SAM shows you the position Polaris shoud be in relative to the clock. For example, this is how I might align it when the position is 11:18:

Of course, we could only wish Polaris is that bright. I don’t have a screenshot of an actual session, so I asked the brilliant star Vega to stand in. The picture is a staged reenactment using a screenshot from the phone app. You get the point! The Equatorial Wedge has fine tune adjustment knobs so you can dial in the alignment.
Once aligned, I took a test shot. Unfortunately, I didn’t capture any amazing nebulae or galaxies. I did, however, prove that you can get round stars with a 2-minute (120 second) exposure. This field of view features Cassiopeia and several of its brightest stars and a few distinctive clusters. It is a single 2-minute shot taken right after I finished polar alignment.

You have to be careful to keep the base in the same position as you are adjusting for targets! I found out the hard way when I bumped the tripod and knocked it right out of alignment. Not fun!
Declination bracket
The declination bracket allows you to mount your camera so you can perform the fine adjustments necessary to find your targets. As the name suggests, it sits on the declination plane. This allows you to move to the target’s declination (the yellow dashed area) independent on your polar alignment (red arrow). There is a knob that allows fine-tuned adjustments, and a “clutch” you can loosen to swing to a general area. With this configuration, you can theoretically access any portion of the sky. Loosen the platform on the SAM unit to change your right ascension (the SAM app has manual adjustments for fine-tuning) and use the declination bracket to dial in declination.
Here’s the fully assembled unit:

The only thing missing is a counterweight that is on backorder. That will help counterbalance the weight of the camera, resulting in less strain and smoother operation of SAM’s motors.
The test run: single shots
I live in the beautiful Pacific Northwest, which for part of the year is more fondly known as, “wet.” It has been raining nonstop for weeks now. I was ecstatic when there was a brief window of clear skies around 3 AM one week day. I dragged my gear outside and achieved a fairly precise polar alignment. Unfortunately, I then whacked the tripod as I was slewing to a different target. Once I started imaging, the clouds rolled in. I probably won’t publish these shots as “official pictures” in my gallery, but they were learning opportunities. All of these pictures are single frame, long exposure to illustrate what is possible before even stacking.
I aimed to a random spot in the sky for my first shot and managed to miss any nebulae or clusters and instead captured a LOT of stars. That is the two-minute exposure I shared earlier.
Next, I pointed my camera lens at M45: The Pleiades and zoomed in to a 212mm focal length. This is a single one-minute exposure at 212mm.

I caught another shot of sky; this time capturing the famous Double Cluster in Perseus. This is a 45-second exposure.

Orion is a popular target and for a good reason. It is teeming with colorful stars and nebulae. Here’s what’s possible with a single 45-second shot.

Conclusion
So far I love the SAM and what it is capable of. In addition to astrophotography, it has some pretty incredible features for time lapse photography. I am eagerly awaiting the next clear night that I can polar align and produce some long exposure shots. Until then, I wish you clear skies! Have any tips to share? Leave them in the comments below!
Post categories: Related tags: