September 19, 2021 310 words about 1 minute to read
Processing NGC2174: The Monkey Head Nebula

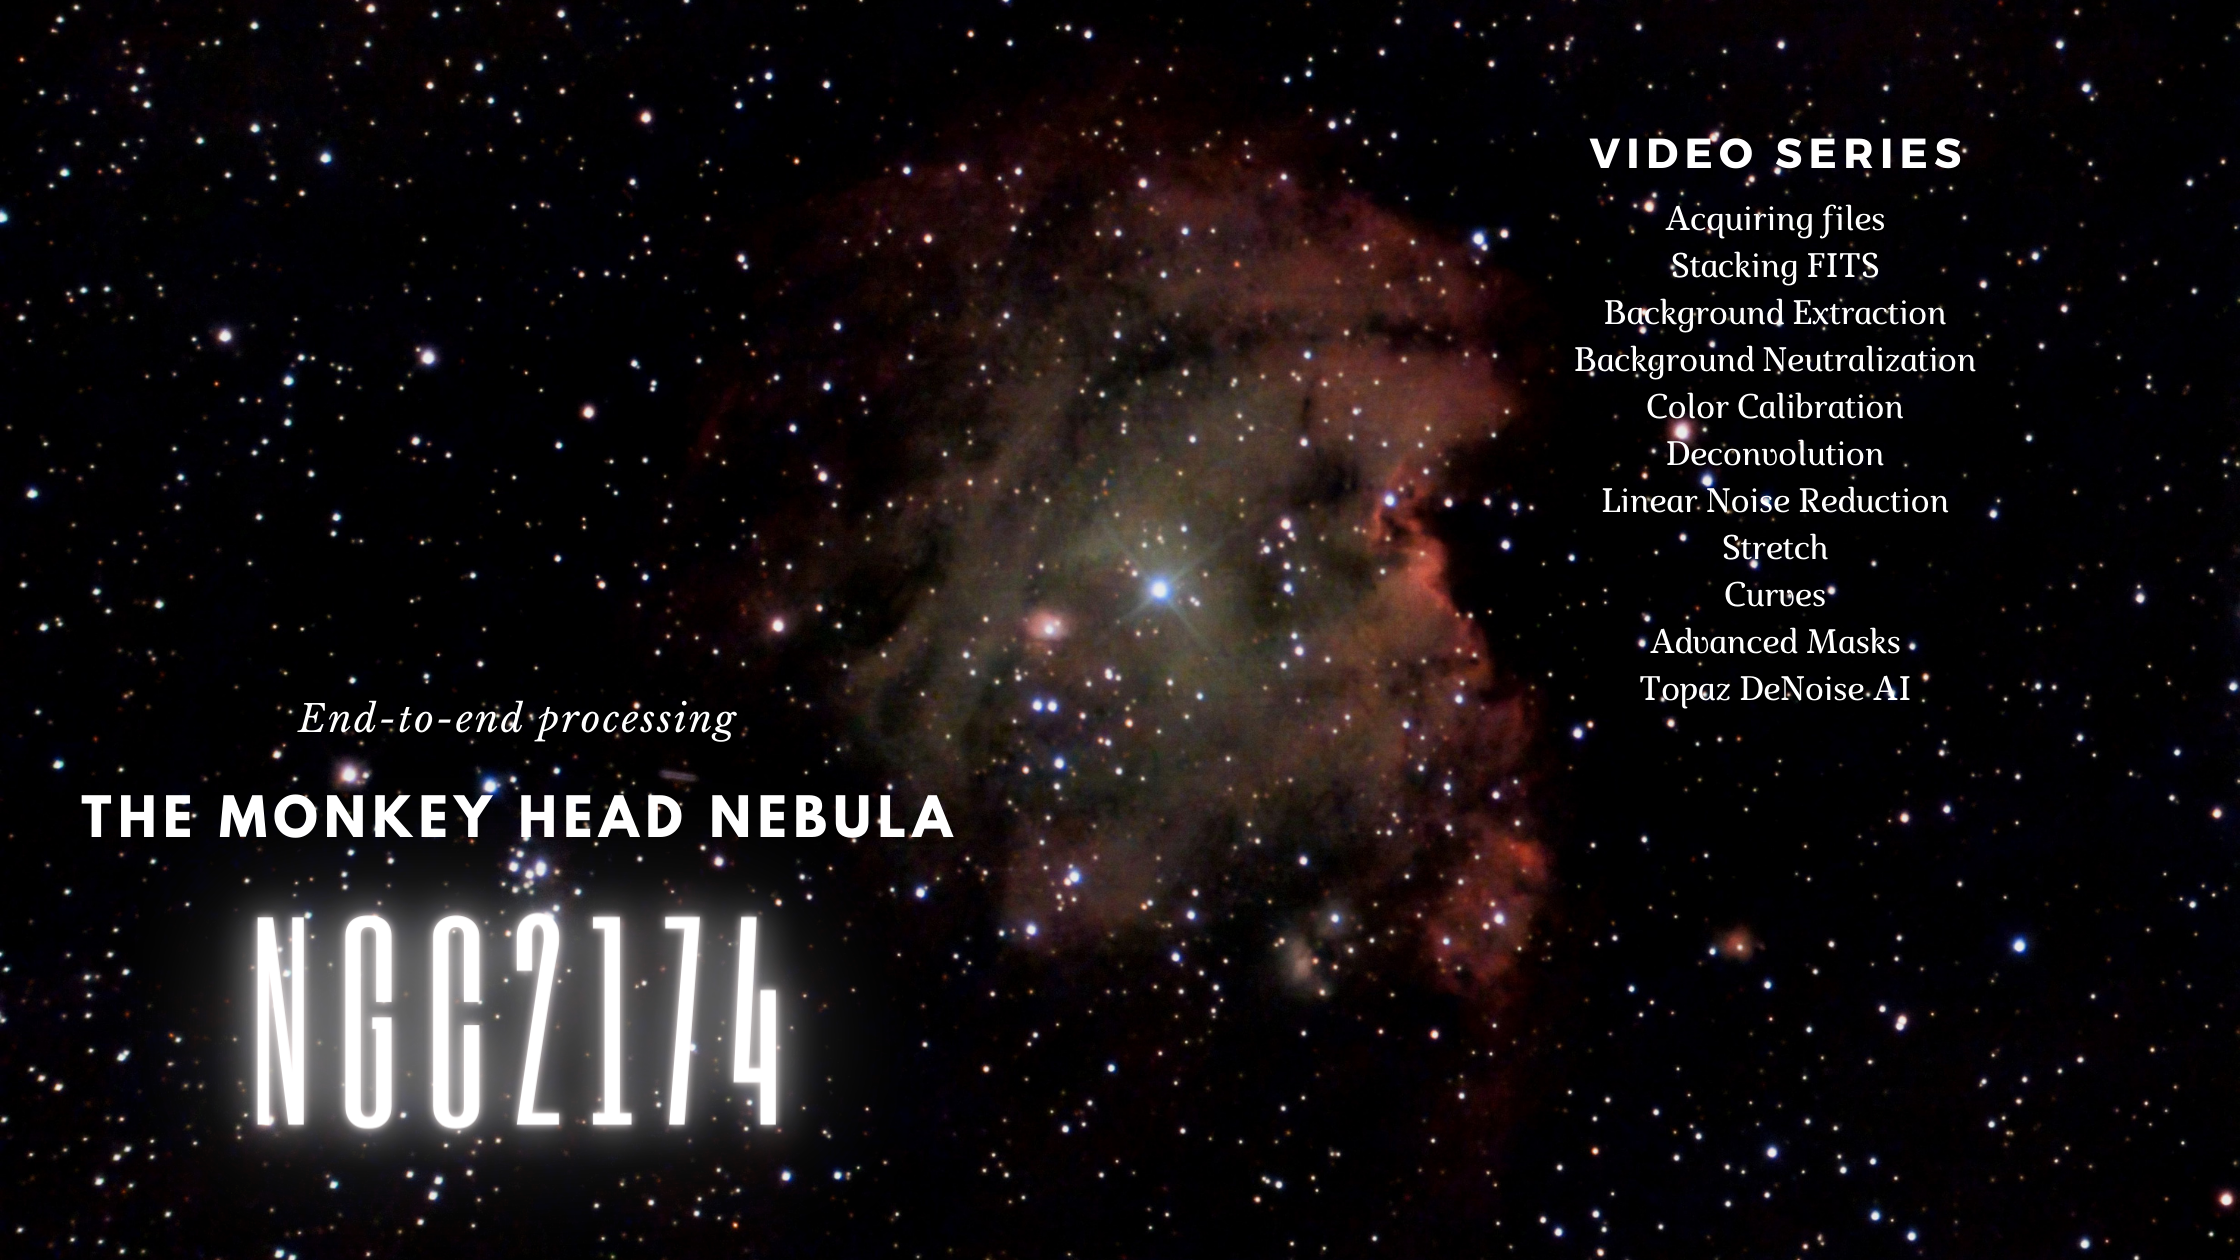
I recently ran a poll asking what my next video should be, and the response was near-unanimous: a full walkthrough. So, here it is. I processed NGC2174 from two sessions and recorded the entire process end-to-end. This is what it looked like:
- I started with showing how to use Stellinator to organize the files from Stellina’s thumb drive.
- Next, I used the Blink tool to remove bad images.
- Finally, I stacked the images with AstroPixel Processor.
- Next, I applied background extraction and background neutralization, then ran color calibration.
- Finally, I ran my deconvolution script to generate special masks to improve the quality of stars in the image.
- To clean up noise I used the EZ Processing Suite EZ DeNoise feature.
- I used the same suite to apply a soft stretch to the nebula.
- I created some special masks to tweak the contrast and saturation and darken the background.
- I experimented with Local Histogram Equalization and HDR Multiscale Transform but decided they weren’t right for this workflow.
- Finally, I created a range mask to remove the last bit of noise from the background.
- I used Topaz Labs DeNoise AI to smooth the final image.
- Back in PixInsight, I scaled the image and added my signature.
- I pulled into Google Photos for some final tweaks.
I’m very happy with the final result.
Let me know your thoughts!
Post categories:Imaging session Learning Processing Stacking
Related tags: