June 16, 2022 846 words 3 minutes to read
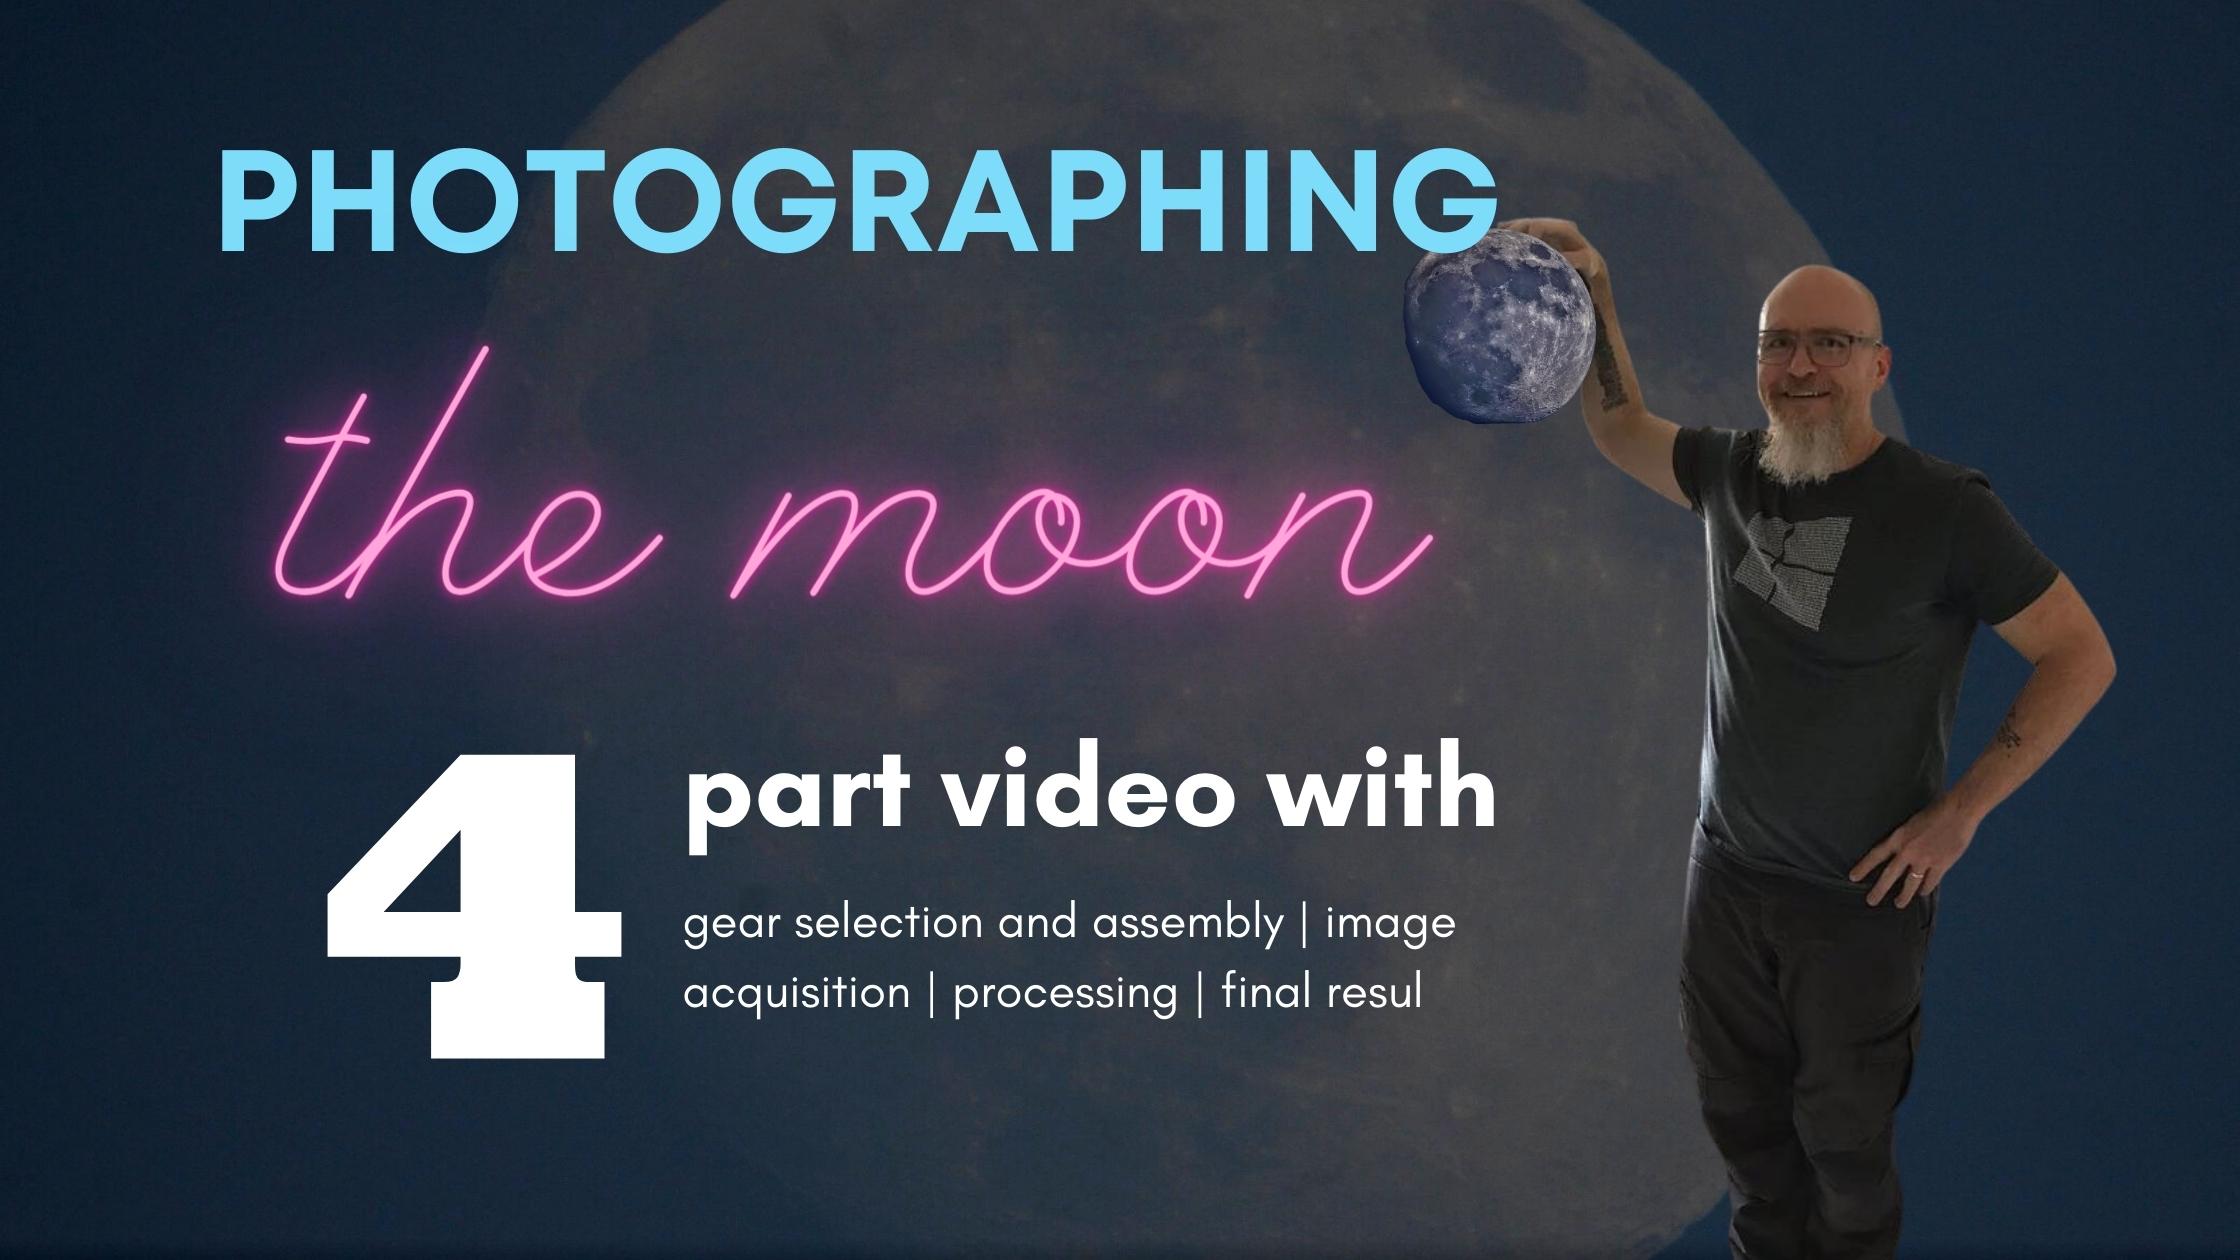
Video: Photographing the Moon
Summary
I named this website after the fact that most images in astrophotography are the result of a workflow to process multiple source “frames” into the final result. As a beginner, I would often get frustrated when videos showed part of the process but glossed over the important steps. This video covers the whole process from assembling my gear to producing the final photograph. This is “Photographing the Moon”.
Gear list
These are the exact items I used in the shoot. Everything was purchased by me and no sponsors were involved in this video. I am sharing my affiliate links and if you use them I may receive a commission should you choose to make a purchase. That commission helps me pay for equipment and software to keep Deep Sky Workflows going, so “thank you” if you choose to support me that way.
| Part | Description | Est. Cost (USD) |
|---|---|---|
| SVBony SV503 70ED | Doublet refractor telescope with a focal length of 420mm at f/6. | $400.00 |
| 2” Compression Ring | Adapter for 2” sleeve, came with scope. | |
| Zhumell 2x Barlow | Lens that can double or even triple magnification to 800mm or higher. | $60.00 |
| M42 to M48 adapter | Extender to “step down” from larger M48 threads to smaller M42. | $12.00 |
| 1.25” extensible Camera adapter | This tube slides to change the distance between the Barlow and the camera lens. This in turn changes the magnification (not the focus). | $24.00 |
| E-mount adapter | Allows connecting the Sony E-mount to an astrophotography component. | $35.00 |
| Tether tools battery | “Infinite battery” to power the camera from a power brick with higher capacity than the camera’s battery or even connect to continuous power. | $35.00 |
| Tether tools power management | The cable needed to power the infinite battery. | $120.00 |
| Sony Alpha ILCE-6300 | Mirrorless camera. | $850.00 |
| Mounting plate | Small plate that the image train mounts to that can be attached to a tripod. | |
| Mounting screws | Connectors for the plate (this came with my mounting brackets). | |
| Star Adventurer Mini | This is an incredible star tracker, but here I’m using it with the equatorial wedge and counterweight to make it easier to manually track the moon. For other uses, checkout my SkyWatcher Star Adventurer Mini (SAM) full review and guide. | $430.00 |
| Manfrotto tripod | It’s a tripod. This is my favorite model. | $160.00 |
| RAVPower power brick | Just one of many options for power “in the field.” |
Software list
All the software that I use with the exception of PixInsight and Topaz DeNoise is free. These are links to every app I use.
| Software | Description | Free? |
|---|---|---|
| Planetary Imaging PreProcessor (PIPP) | This software reads images and normalizes them. It can center or crop, adjust the histogram, align based on outline or features for close-ups, filter by quality and create files or videos for output. Think of this as registration or star-alignment for solar system targetes. | Yes |
| AutoStakkert! | This is stacking software that can align images based on features then uses a grid of points to average the signal over the input frames. Creates sharp images out of your source input. | Yes |
| PixInsight | The “bees knees” or best of the best (in my humble opinion) software for processing astrophotographs. | No |
| RegiStax | Image processing software used mainly for sharpening and bringing out detail. It can work wonders with a blurred image. | Yes |
| Topaz DeNoise | AI-assisted noise reduction? Yes, please! This works as advertised and is almost always my final step. Superb noise reduction. Worth every dollar I spent. | No |
Image
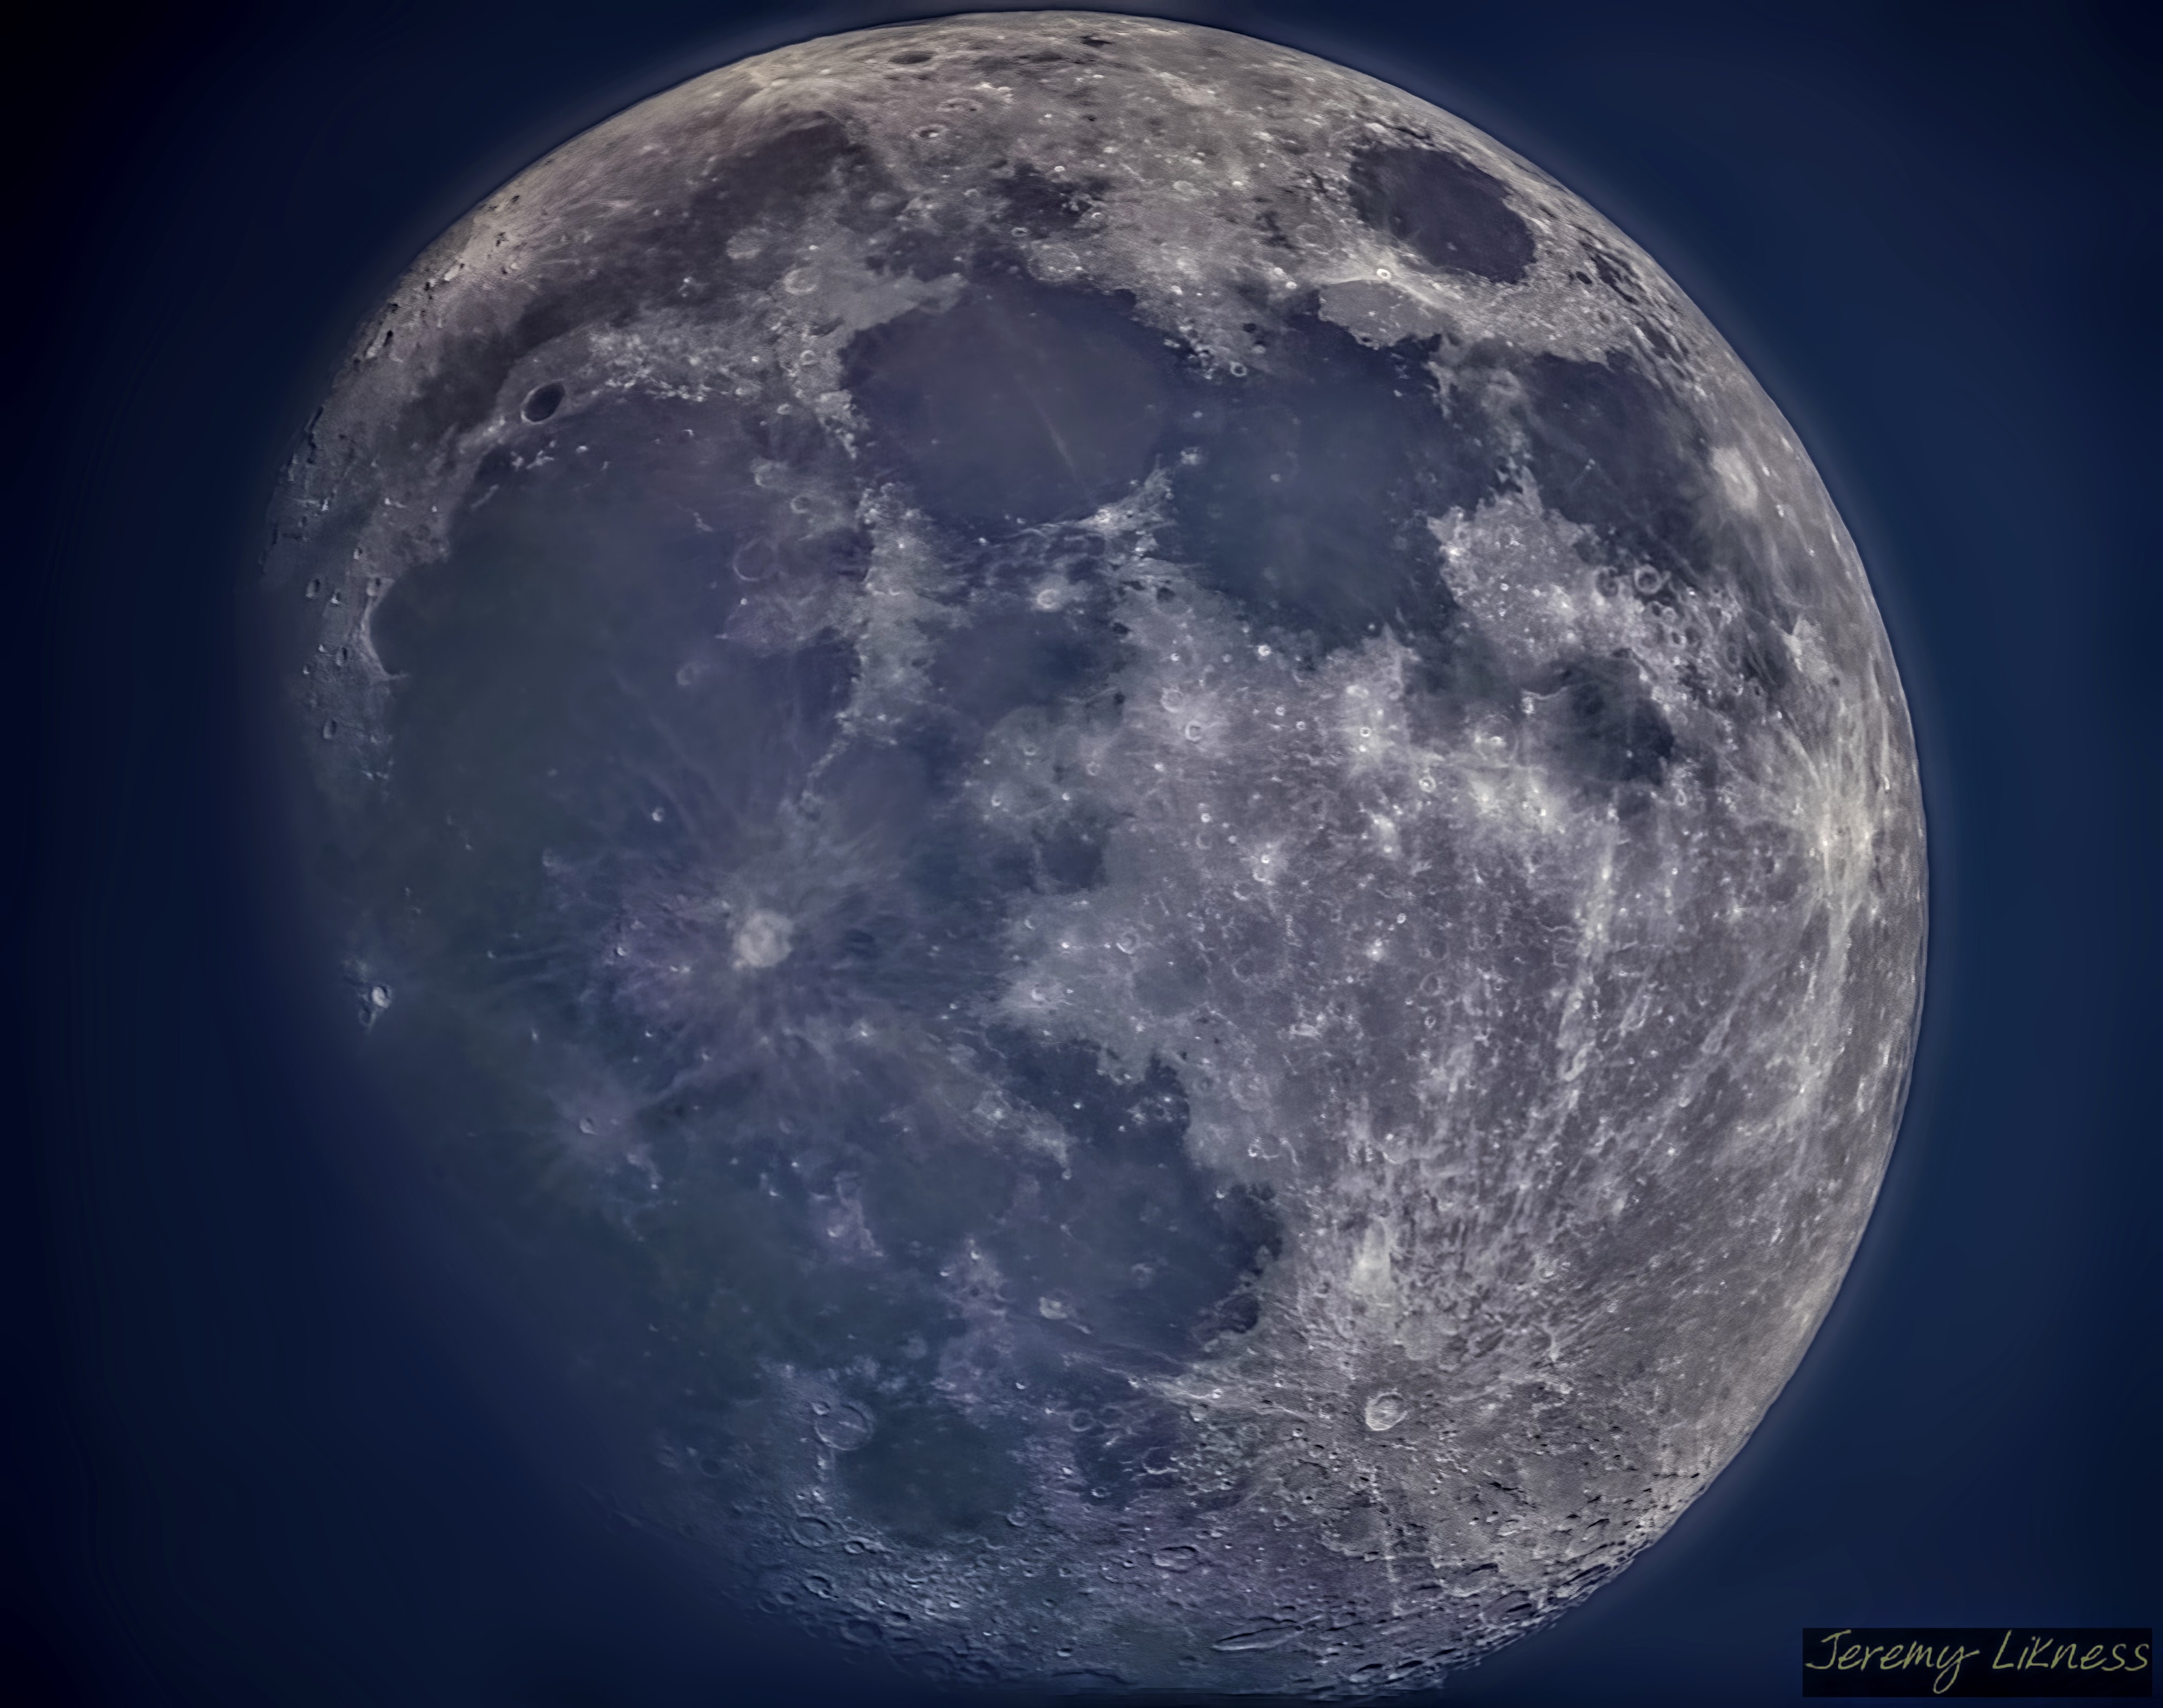
The video is based on the process I used to create the Daytime blue moon.