May 05, 2022 2333 words 9 minutes to read
Review: Svbony SV503 70ED refractor is inexpensive but not cheap

Summary
- The Specs
- What’s in the box
- What’s not in the box
- Things I wish I knew
- My cameras
- First light
- Nebula
- Lunar
- Galaxies
- Volcanoes
- Pros and Cons
- Conclusion
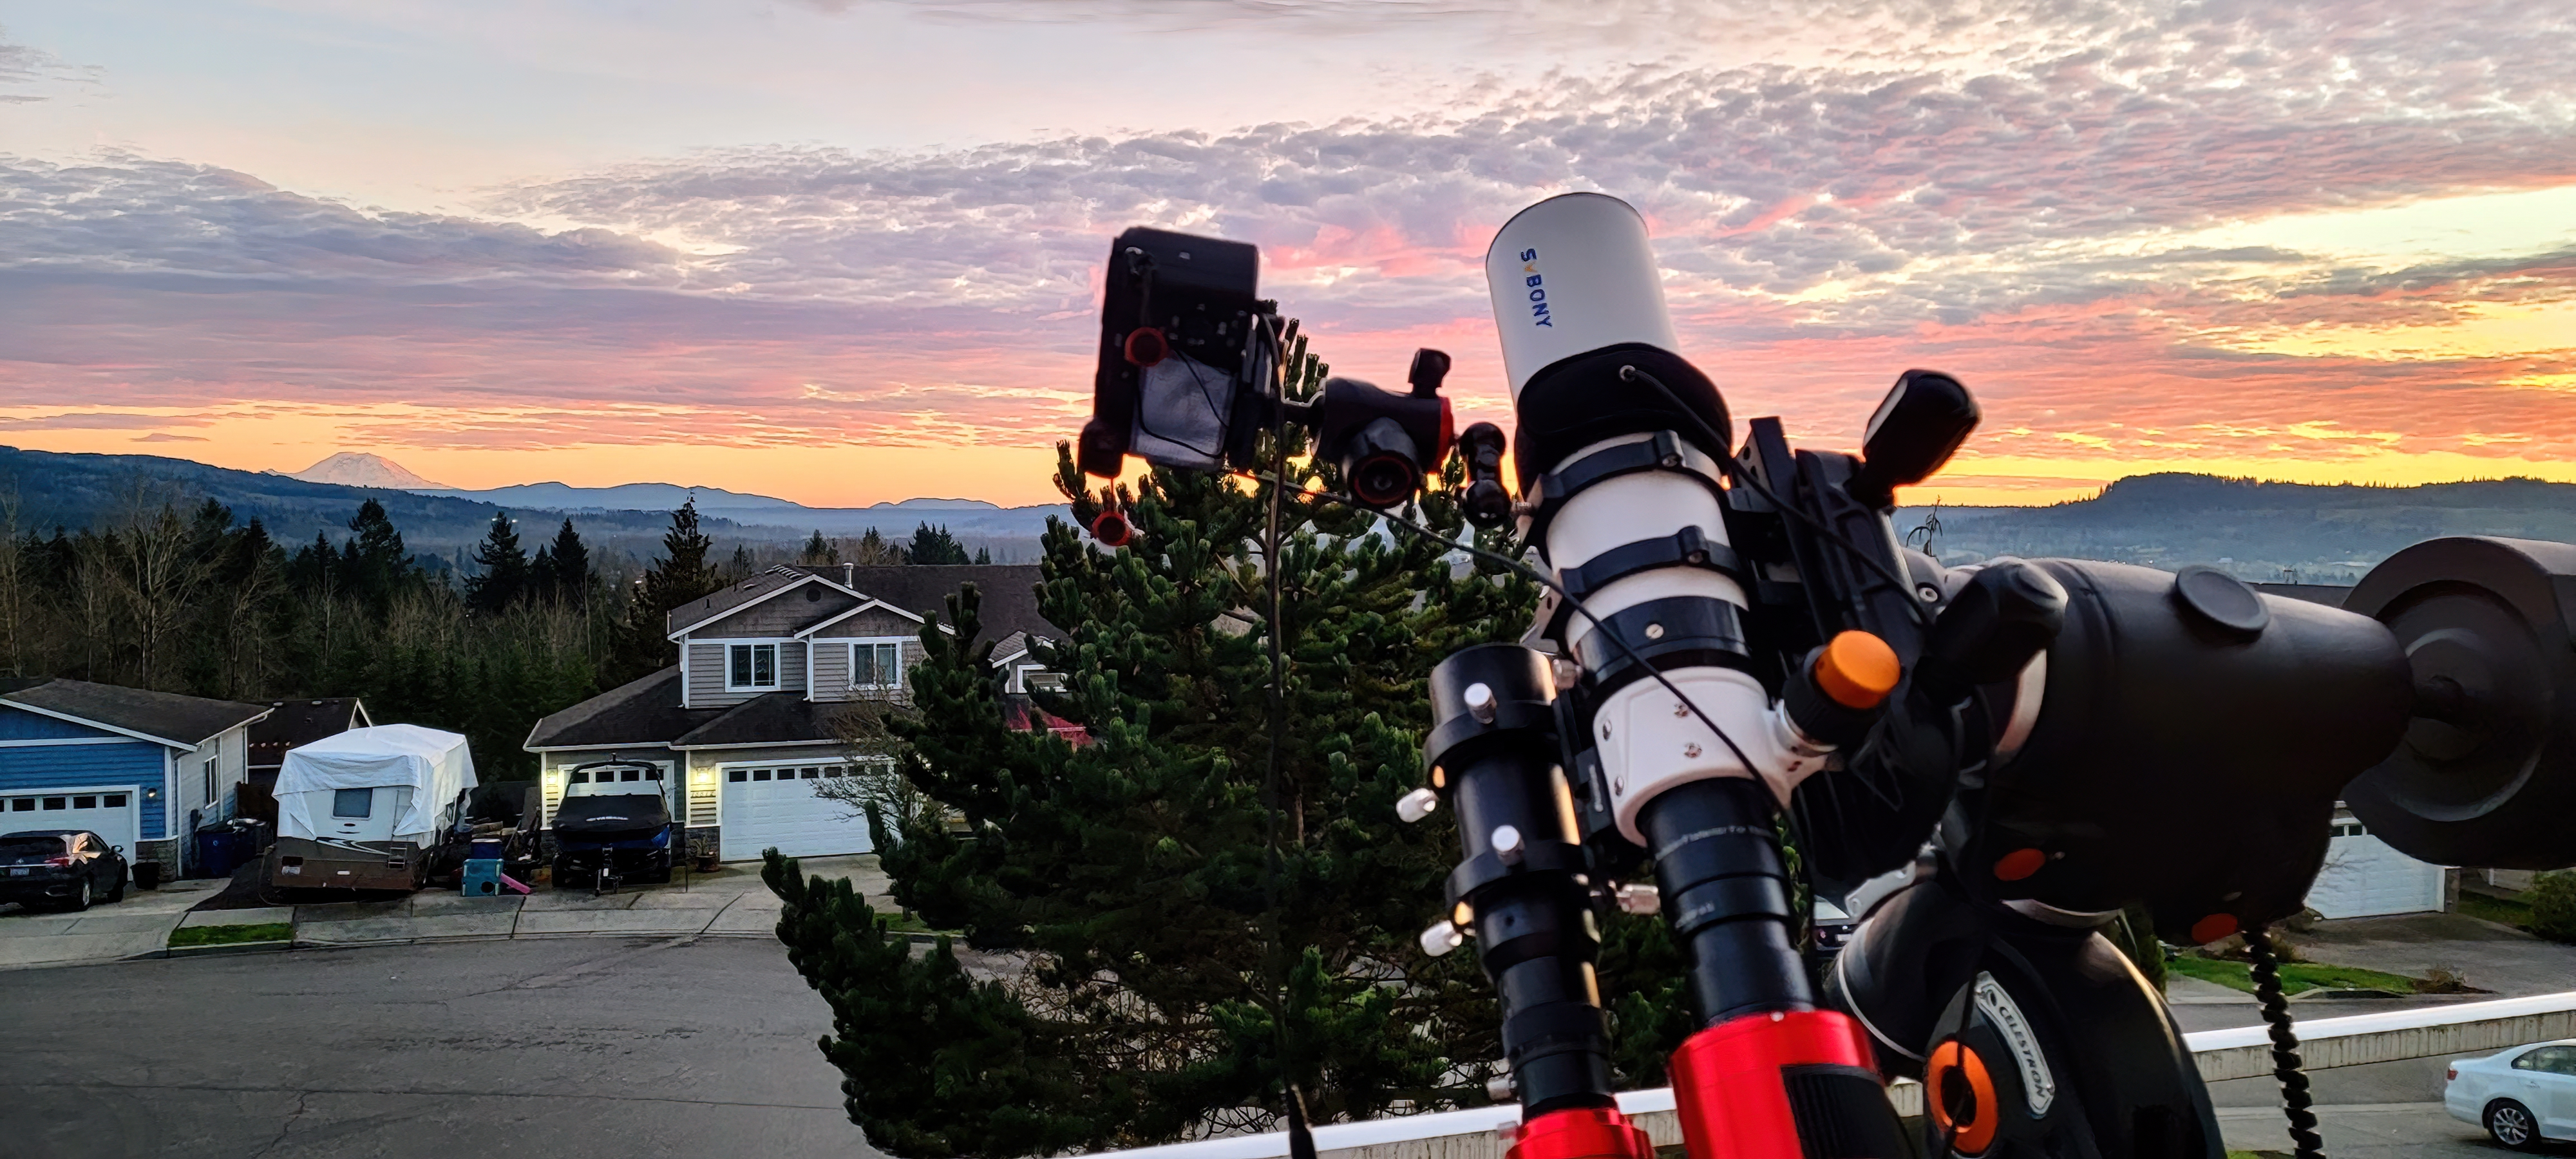
I hadn’t planned on purchasing the telescope. In September 2021, I decided it was time to “go big” with astrophotography and ordered a “rig” which is a synonym for putting a lot of money into various parts that can be cobbled together to take pretty space pictures. I’ll save that one for a different review.
New review: be sure to check out my newer William Optics Redcat 71 review to see how the two scopes compare!
Due to the pandemic, shipments were delayed and the main telescope was indefinitely backordered. The mount was, too, but I chose to compromise and swap it with another, similar model. My mount arrived and I began taking awesome shots with my Sony Alpha 6300, but I couldn’t help imagine what more I could be doing with a proper scope.
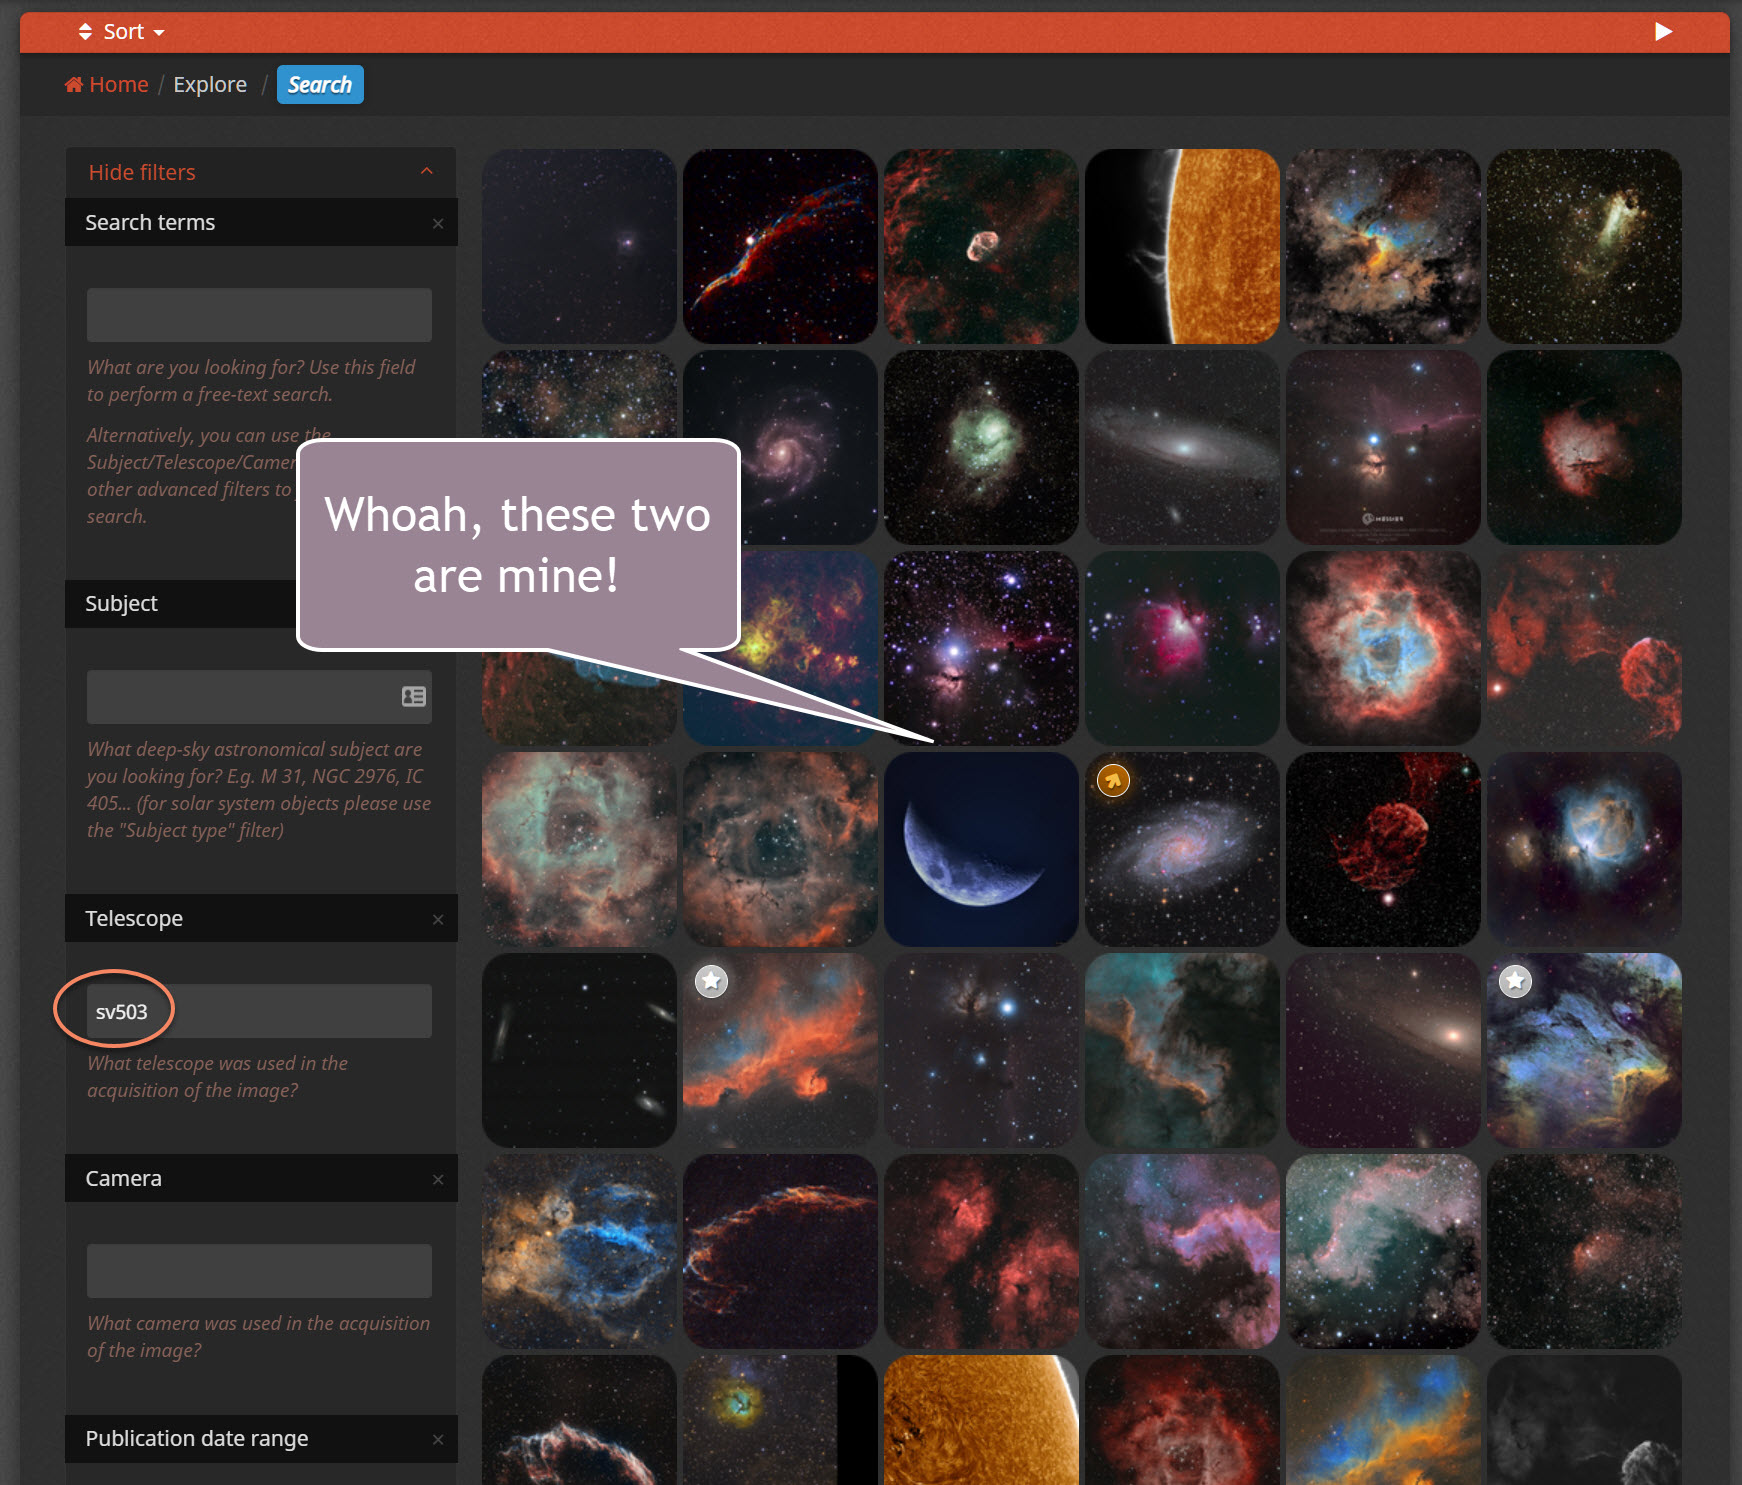
After being nickled and dimed to death piecing together the system, I knew I had to keep costs down for this new “interim” investment. I did quite a bit of research, from scouring reviews (hint: I trust the ones on astrophotography sites more than I do the ones on Amazon) to visiting AstroBin and performing searches to find pictures taken with the same telescope. Initial results looked very promising. I decided to pursue the SV503 from Svbony.
The telescope looked like it facilitated great pictures, the specs were good on paper, and people were giving it positive reviews. The best part, however, was the price.
The telescope was discounted as part of a bundle with field flattener. The combined cost was under $500 (unfortunately, it was no longer discounted when I wrote this post). I added a $79 guide scope, the SV106 Guide Scope, and still managed to keep costs low. So, what did I get?
The Specs
📝 NOTE I use Amazon affiliate links and may receive a commission for purchases you make after following the links. The commission helps me pay for the software and equipment necessary for astrophotography and to produce the content for Deep Sky Workflows. I purchased the scope I’m reviewing here from Amazon. The rest of my equipment was purchased either from B&H Photo or Woodland Hills Camera. I have been 100% happy with my purchases and the customer service of all three vendors. If you’re new to astrophotography, consider reaching out to Woodland Hills like I did and they will work with you to figure out the right equipment to get started. I make no commission from B&H or Woodland Hills.
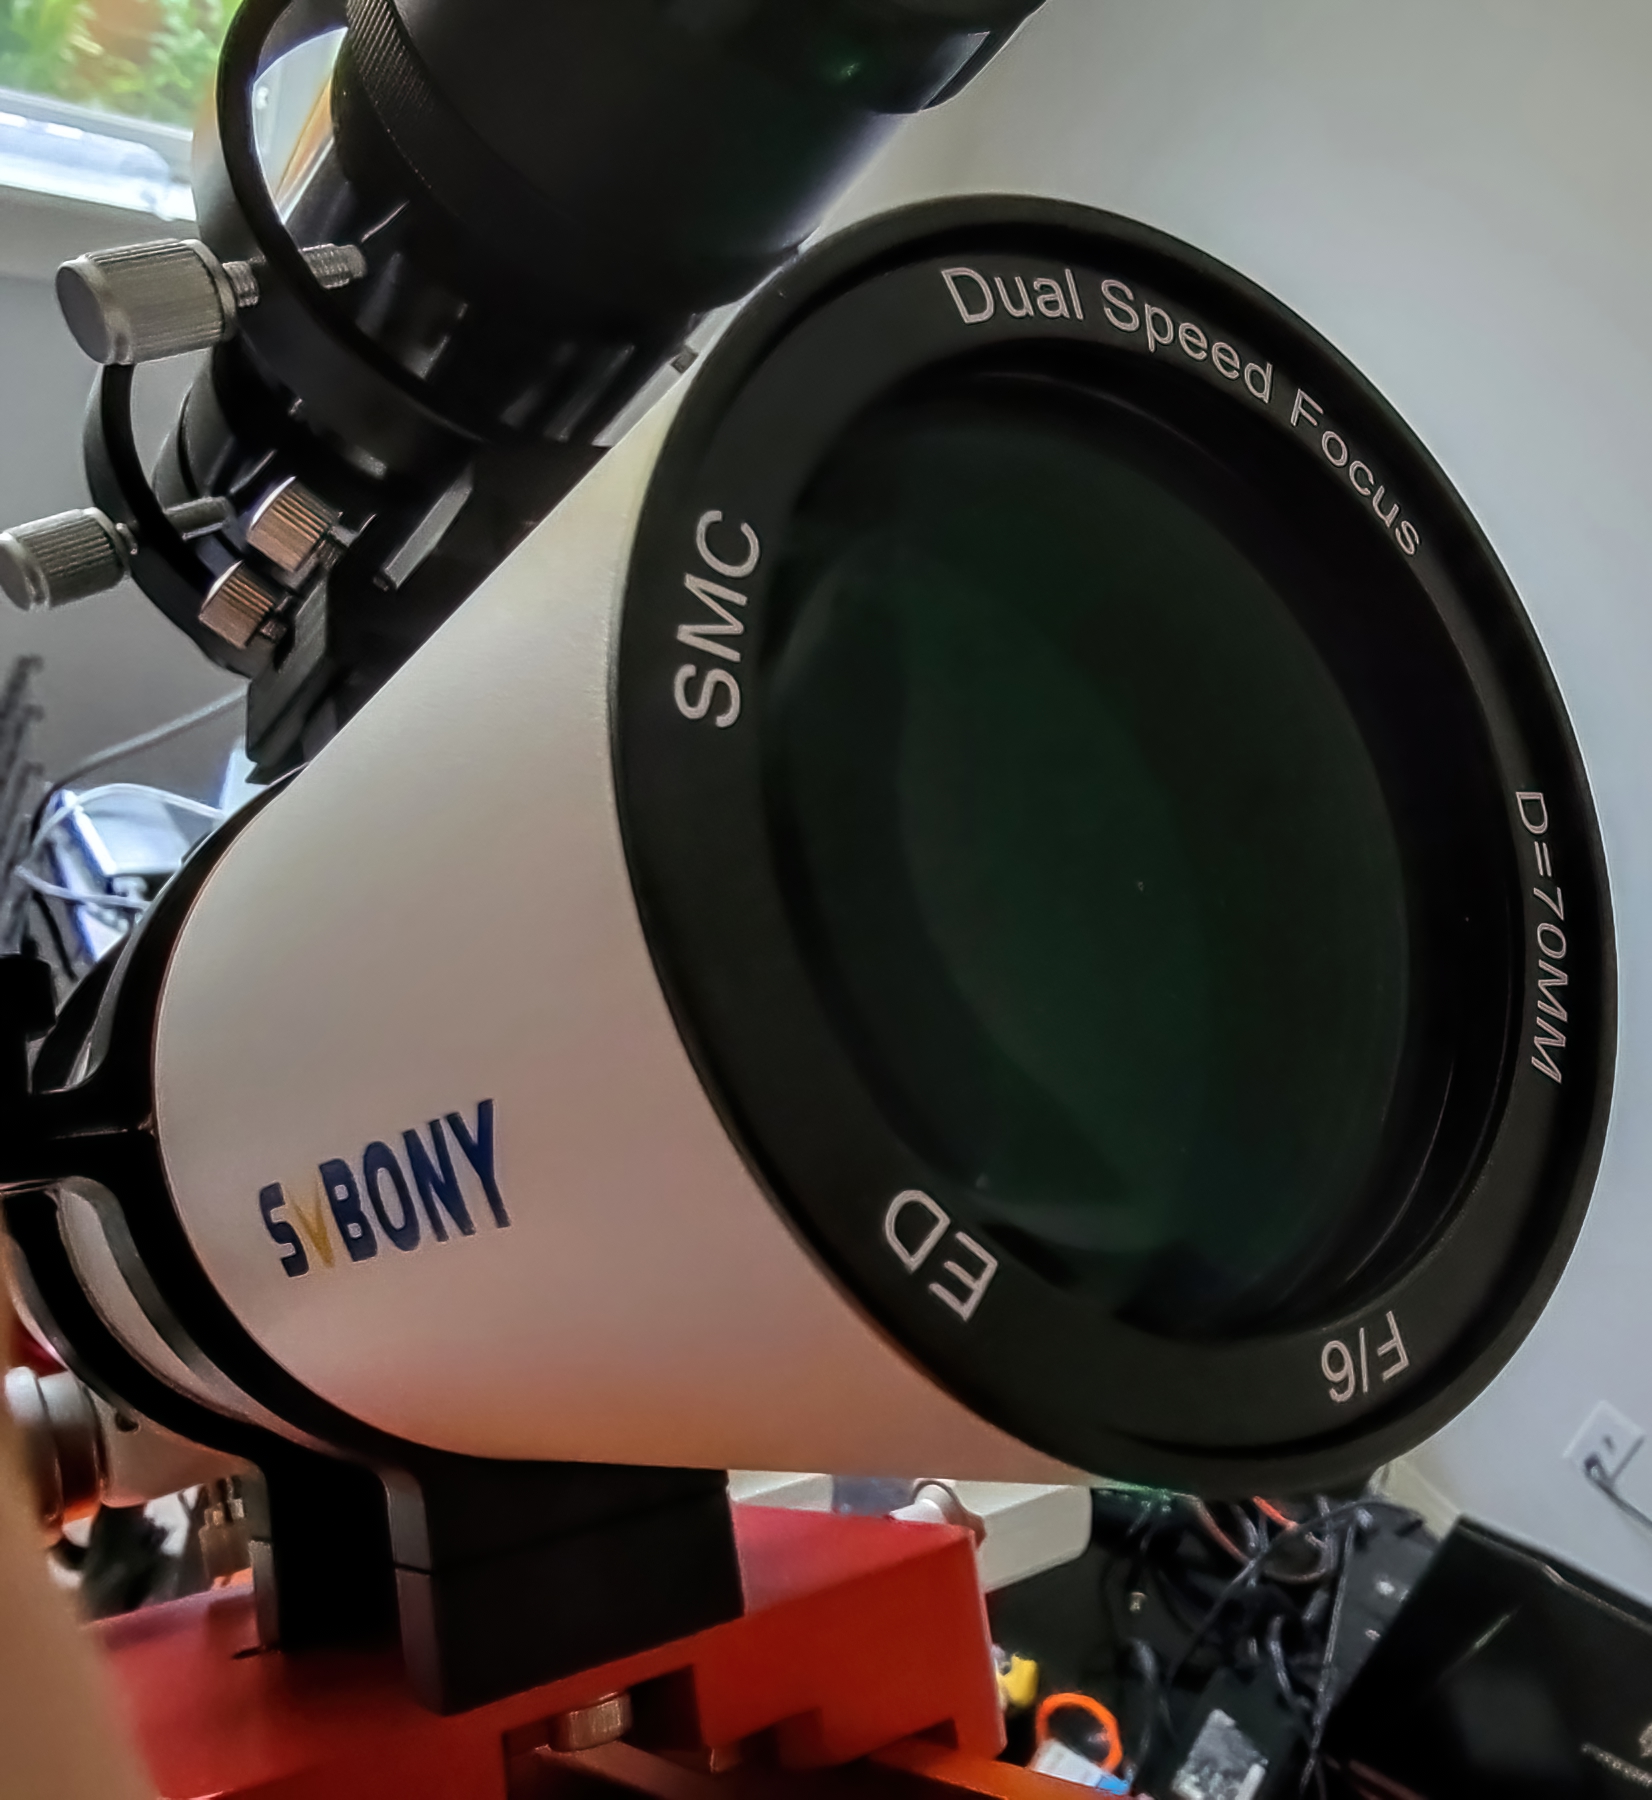
I bought the entry level 70ED which comes with a focal length of 420mm and an aperture of 70mm for an f-stop of F6. I intentionally picked this model to have an option to shoot at focal lengths between my first telescope (Stellina, 400mm/80mm) and the one I was waiting for (Celestron EdgeHD 9.25”, 2350mm, 235mm). With a 2x Barlow lens I am able to hit close to 1000mm focal length.
The telescope itself is a doublet air-spaced achromatic refractor. The type of lens traditionally exhibits chromatic and spherical aberration, but the doublet design helps counter the effects, hence achromatic or without chromatic aberration. (It does exist, but is diminished). Everything I read indicated a field flattener would be a must for astrophotography. The flattener not only corrects spherical aberration for pinpoint stars to the edge, it reduces the focal length to 80% or a wide and very useful 336mm. This also brings the f-stop down to F4.8 or a full stop. Personally, I think the scope isn’t complete without the reducer and wouldn’t advise going without it.
The glass is S-FPL51. This is a good glass for a telescope, but not the best choice for the combination of a refractor and astrophotography. The higher-end S-FPL53 would have been better, but it also would raise the overall cost of the telescope. You can see for yourself whether or not the images pass muster as I’ll share samples from multiple cameras.
Last, but not least, freed from its guidescope, the SV503 weighs five pounds. Add another pound for cameras and extension tubes, and it’s a six pound payload. Not the daintiest of options, but just within the limit of my ultra portable Sky Adventurer Mini star tracker. That makes it a candidate to tag along on hikes, although if we’re being honest here I’d also have to add counterweights and the mount itself weighs over three pounds. My shoulders already hurt.
Now, specs aside. Let’s open the box!
What’s in the box
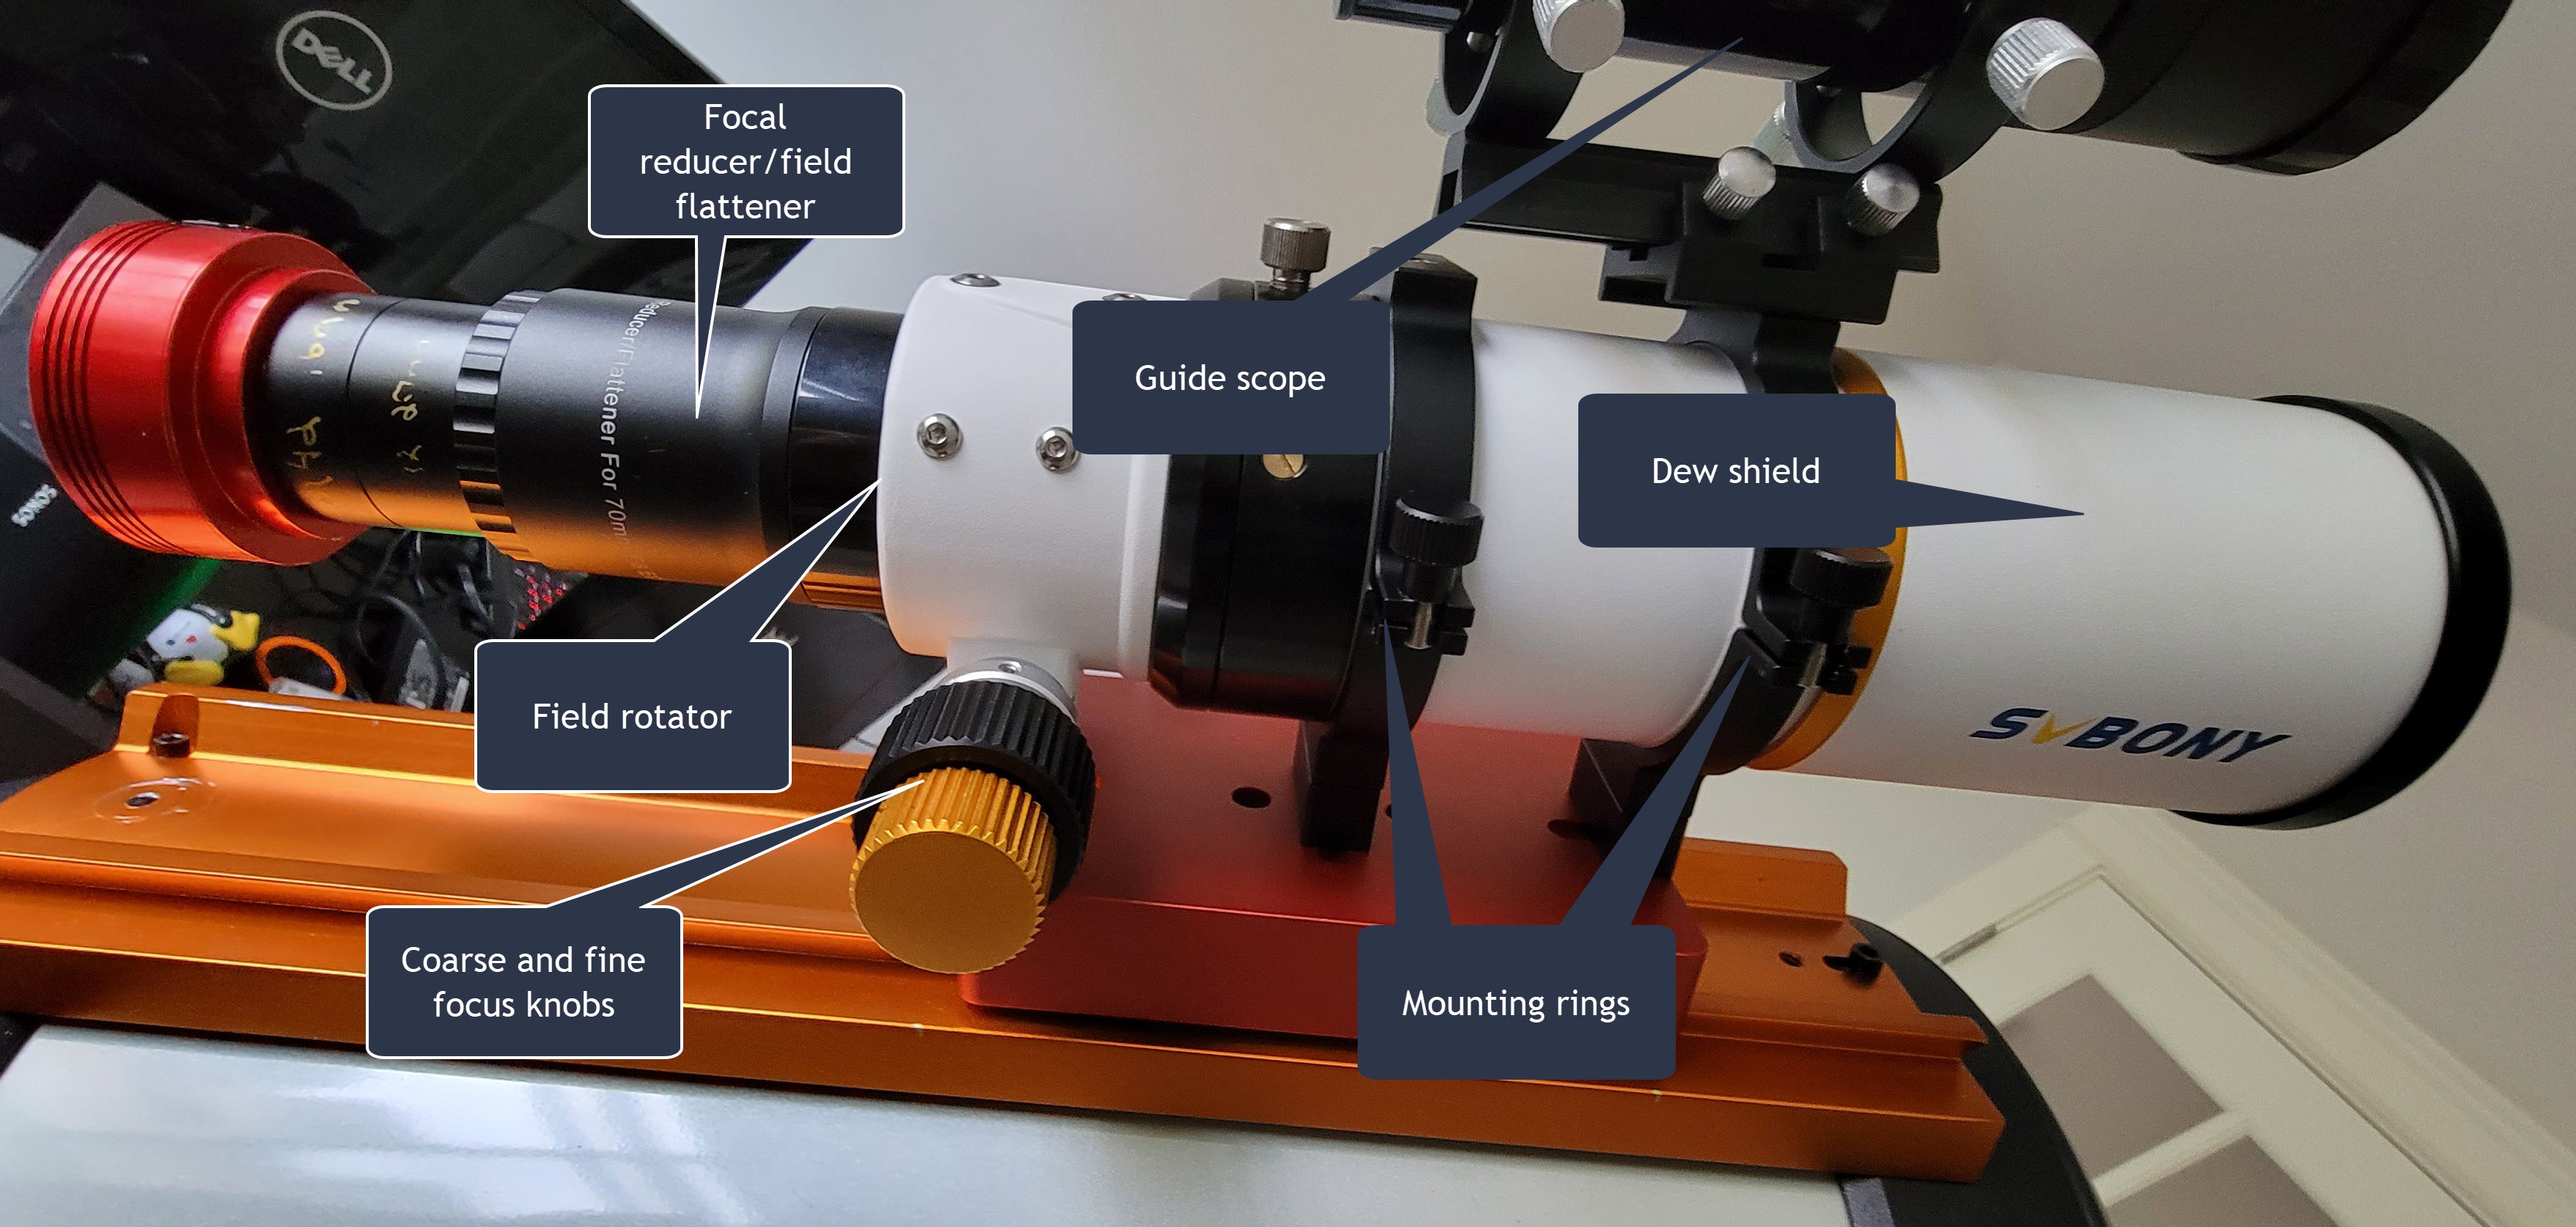
The package I bought came with the optical tube assembly (telescope, of course) and a pair of rings to hold and mount the scope. There is an adapter that screws into the 2” threads on the observing side of the scope to present a receptable ready to receive 1.25” sleeves. There is a dovetail plate for mounting using clamps and a nice lens cover.
It’s surprising that the marketing materials don’t make this more clear, but the box contains a few other goodies. The telescope has a built-in field rotator. This means you can loosen a thumb screw to rotate the tube for composition and framing of a shot. The end of the telescope has a built-in dew shield that slides in/out and I’ve never had an issue with dew and this scope. It also does a great job of blocking external light. Finally, the focus knob is two-tiered with a fine coarse focus and a more precise fine focus. It has a generous 70mm range for focus and the tube is annotated with the distance so you can record the length that achieves focus. The long annotated focus tube combined with the fine focus knob makes dialing in focus really easy even without an autofocuser.
What’s not in the box
There are a few things that I wish were in box. Although my primary use of this scope is astrophotography, I do occassionally make visual observations. An eyepiece and diagonal would be great to be able to use it by itself (without having power up and attach a camera and laptop). The mounting bracket is fine for tripod setups but too small for larger mounts like the CGEM-II that I own. To make that work, I had to do a lot of searching to find the right Vixen/Losmandy-style clamp that fit the mount. Finally, I found that none of the screws that came with the scope would work so I purchased my own set of socket head/hex drive screws.
Last, but not least, there also was no mounting plate for a guide scope. I did some research and decided to try the Astromania universal dovetail base. It fit the outside of the telescope perfectly and was securable with the existing screws that came with the telescope, so my guiding concerns were resolved.
The real reason I’d like to see most of these items included is because it can be daunting to research the right sizes. What size screw? How wide? Which adapter version? These questions can quickly become frustrating to answer and lead to trial and error purchases. I would much rather pay more and have them provided as part of the kit.
Things I wish I knew
The telescope comes with very little documentation. The website, however, has a digital library of manuals you can download as PDF files that are very thorough. They coverything from weight to screw sizes and even offer examples of how to mount finder scopes (small scopes with a wide field of view to help you align the telescope) scopes and guide scopes (scopes designed to work with a motorized mount to keep the scope positioned correctly for long exposures).
My cameras
I primarily use my telescopes for astrophotography and I own three cameras:
- A “traditional” mirrorless Sony Alpha 6300
- A dedicated “one shot color” dedicated deep sky cooled imaging camera: ZWO ASI294MC Pro
- A monochrome planetary imaging camera that I also use for guiding: ZWO ASI120MM-S
First light
I had my first opportunity to use the telescope the evening of January 27, 2022. I tried several targets. My favorite is the Heart Nebula. All of the images suffered from the same issue. I didn’t understand backfocus at the time, so my camera was the wrong distance from the field flattener. This resulted in everything stretching towards the outside edge as is evident in this picture.
Here is a video of an imaging session in February.
Let’s see how it handles different targets.
Nebula
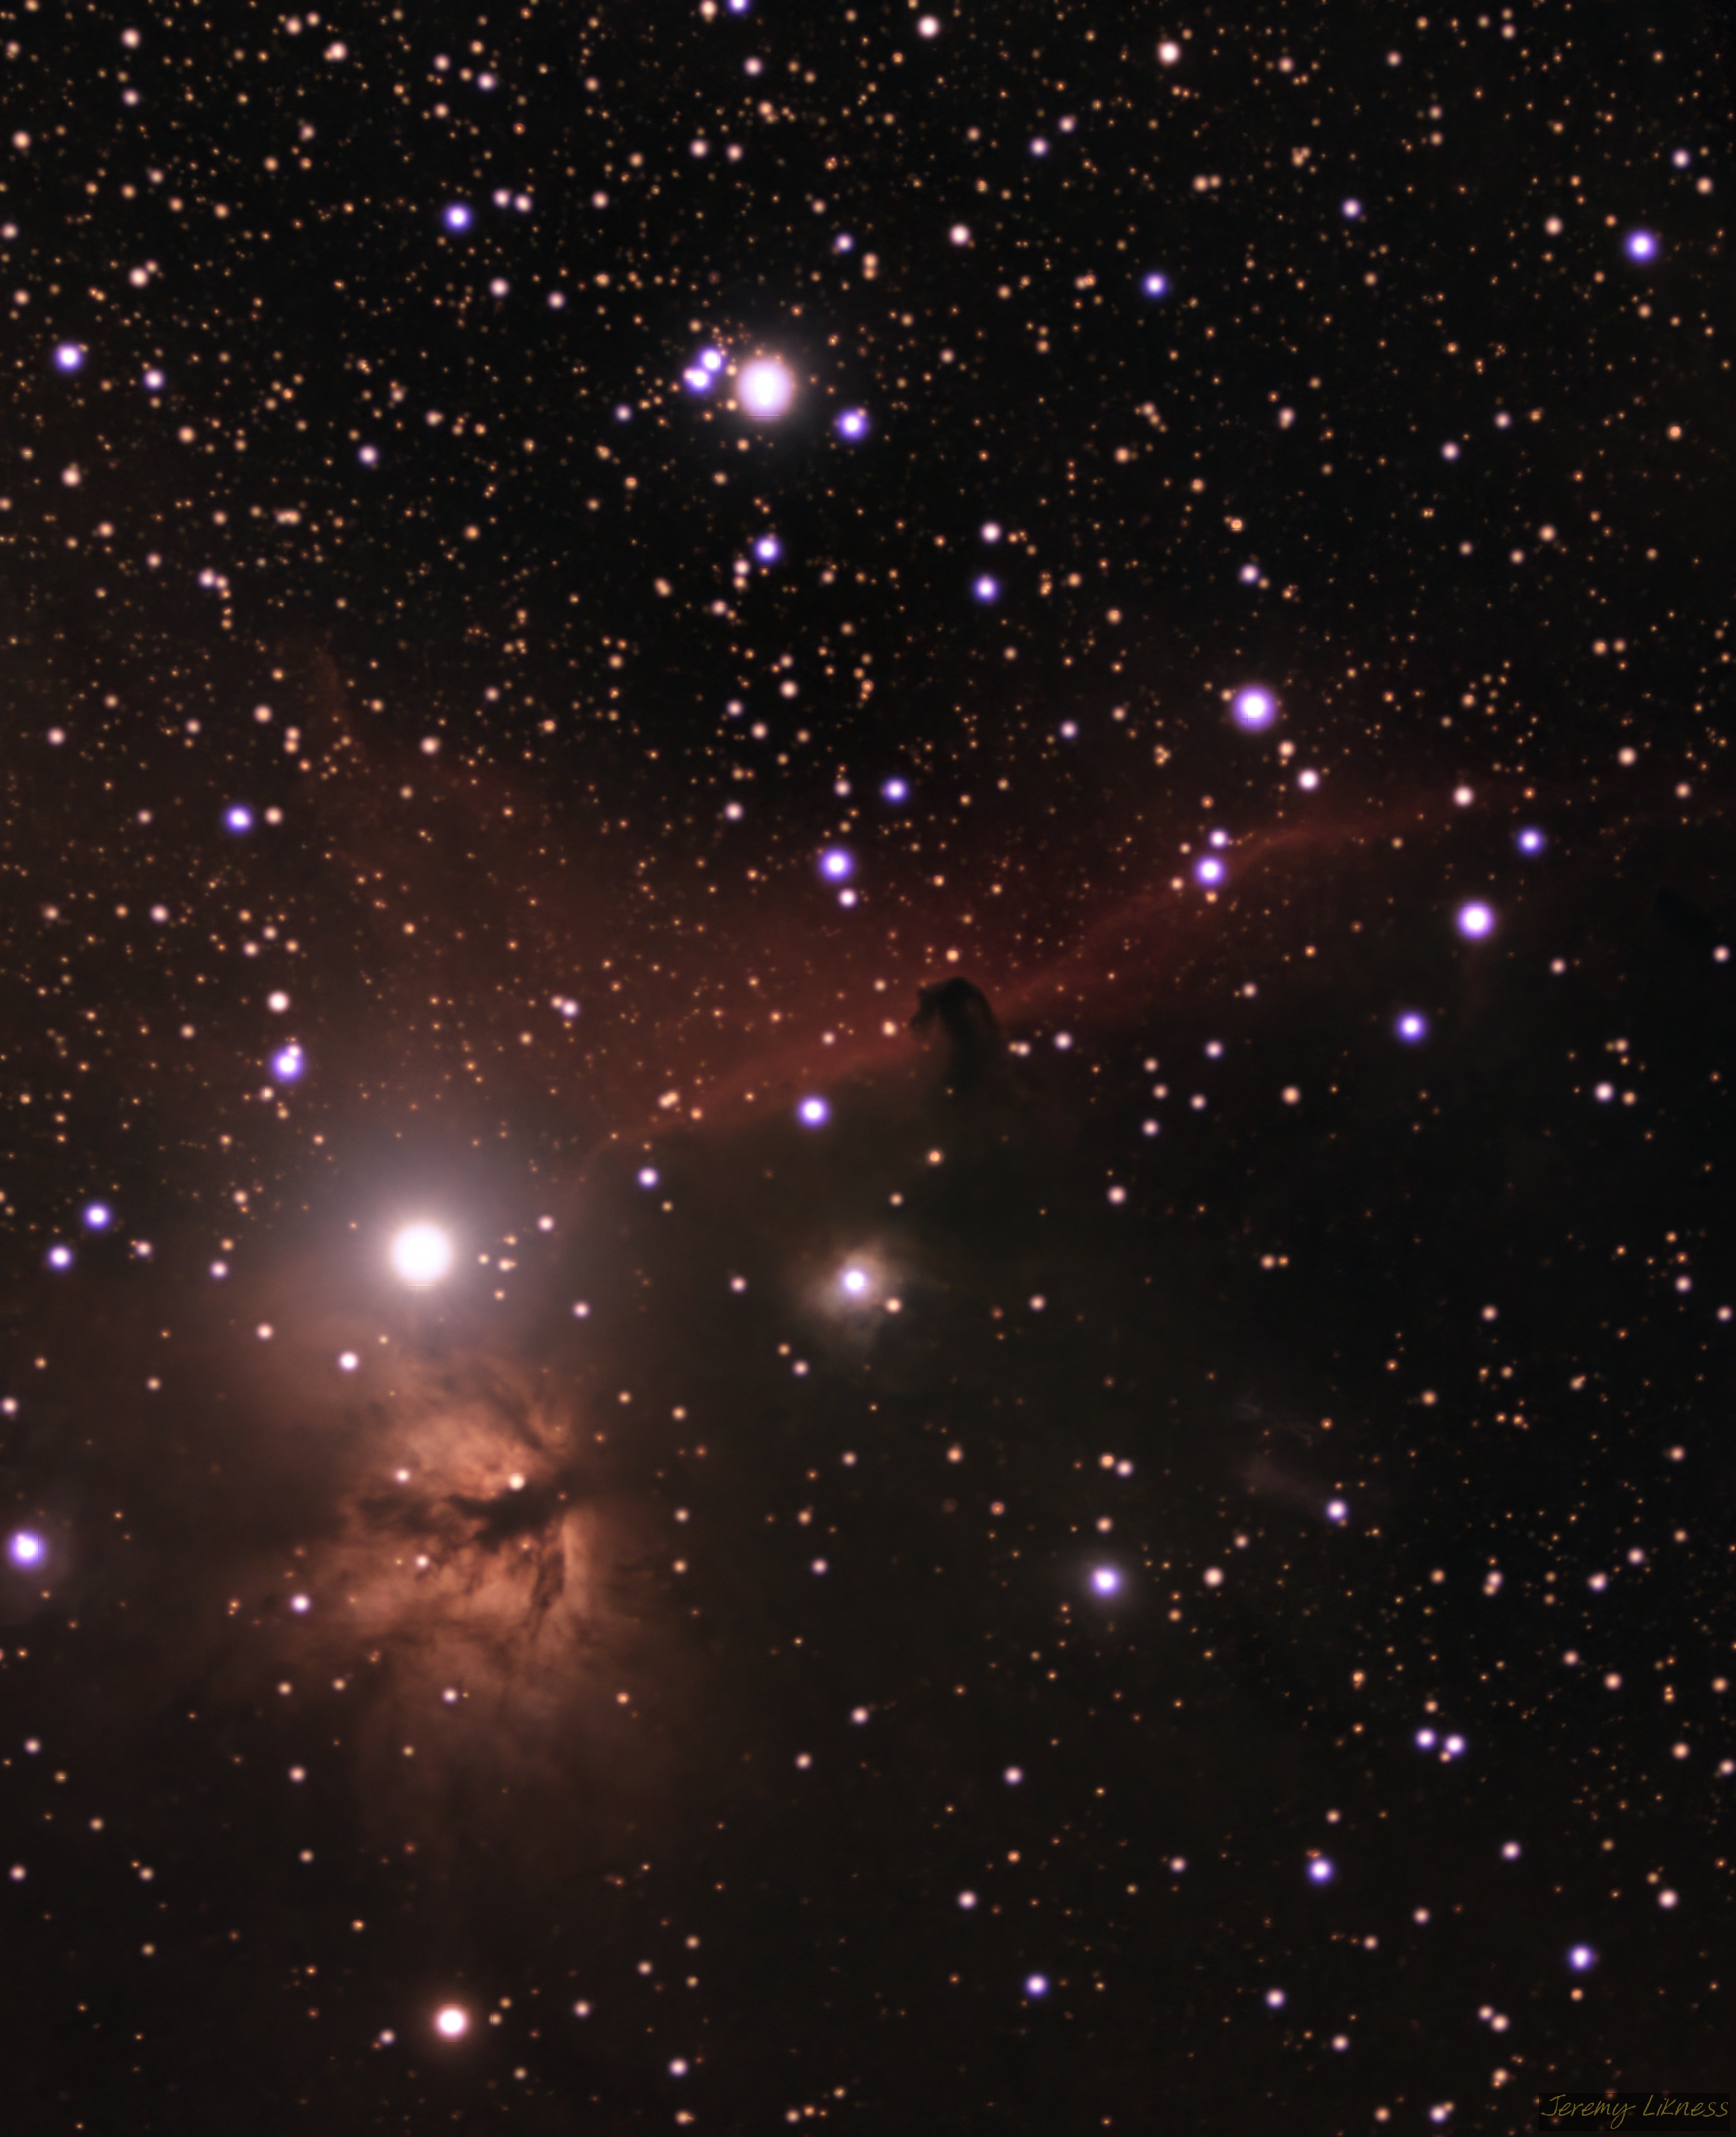
The lens with the field corrector projects sharp images with rich colors. It had no problem resolving the “red curtain” in the Horsehead Nebula or the fine details of the Flame Nebula.
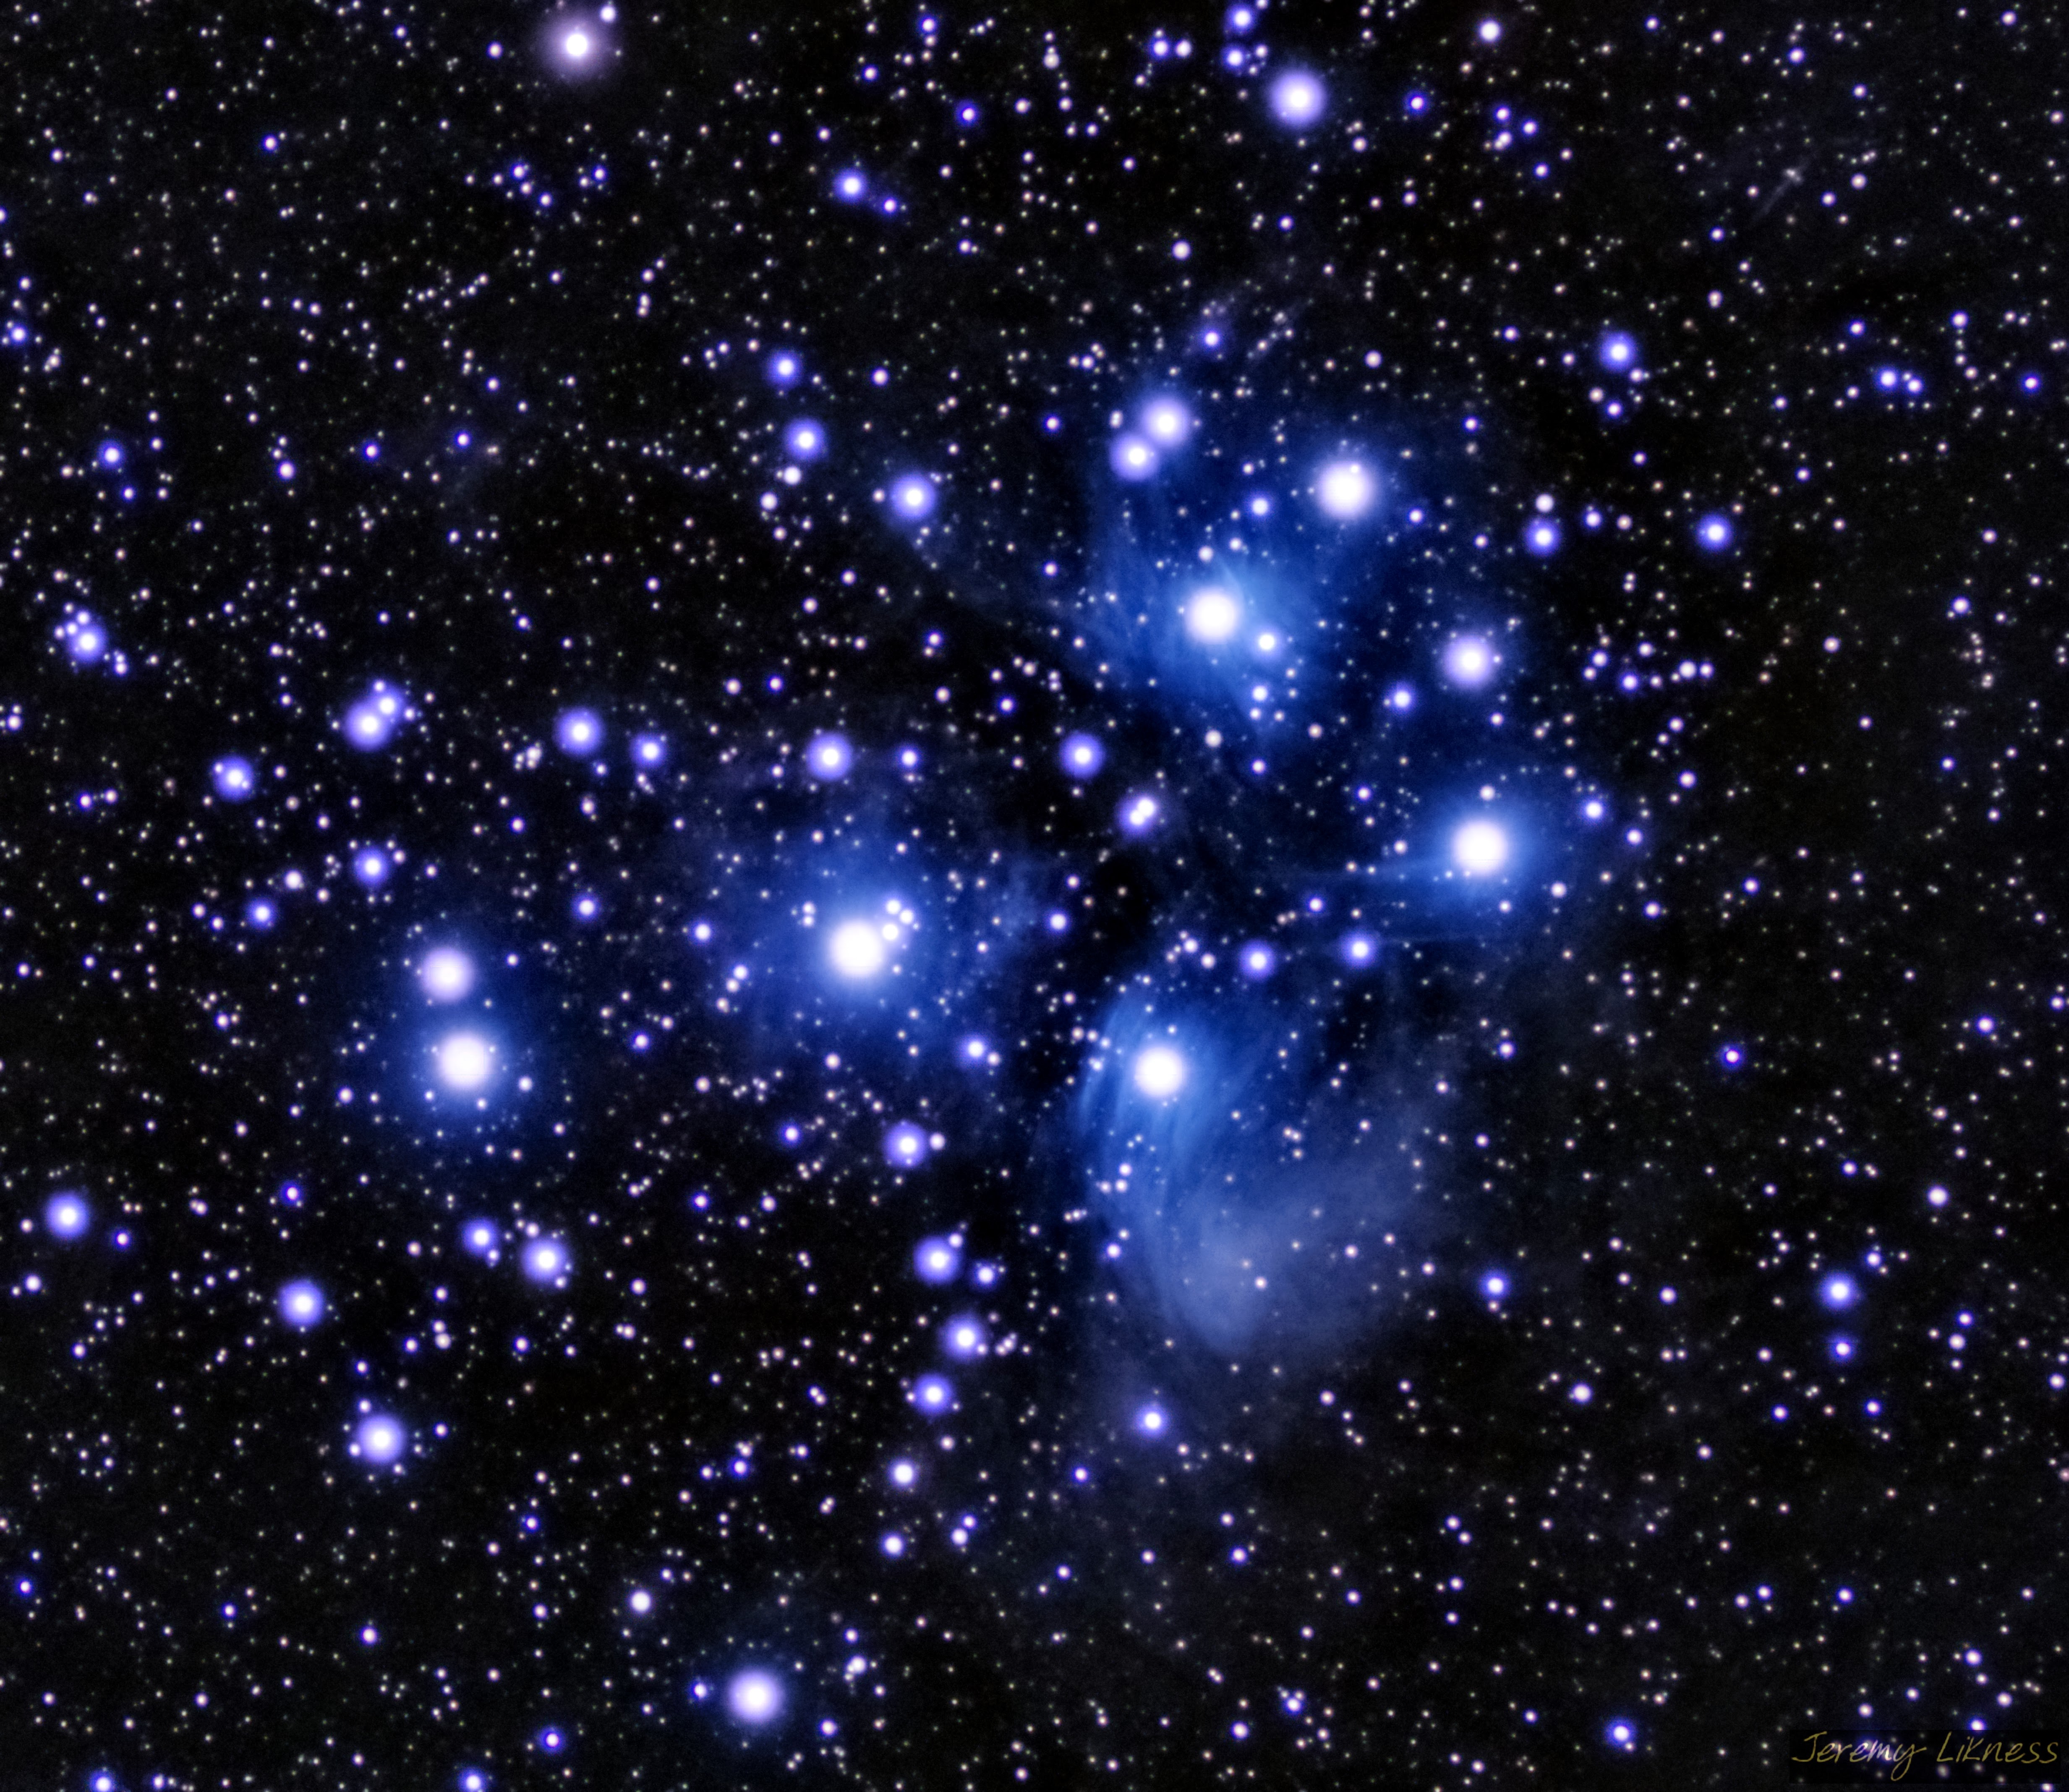
For the first time, I was able to capture the delicate nebulosity and rich bluish purple glow of the Maia Nebula, also referred to as the “Seven Sisters” and the Pleiades.
Lunar
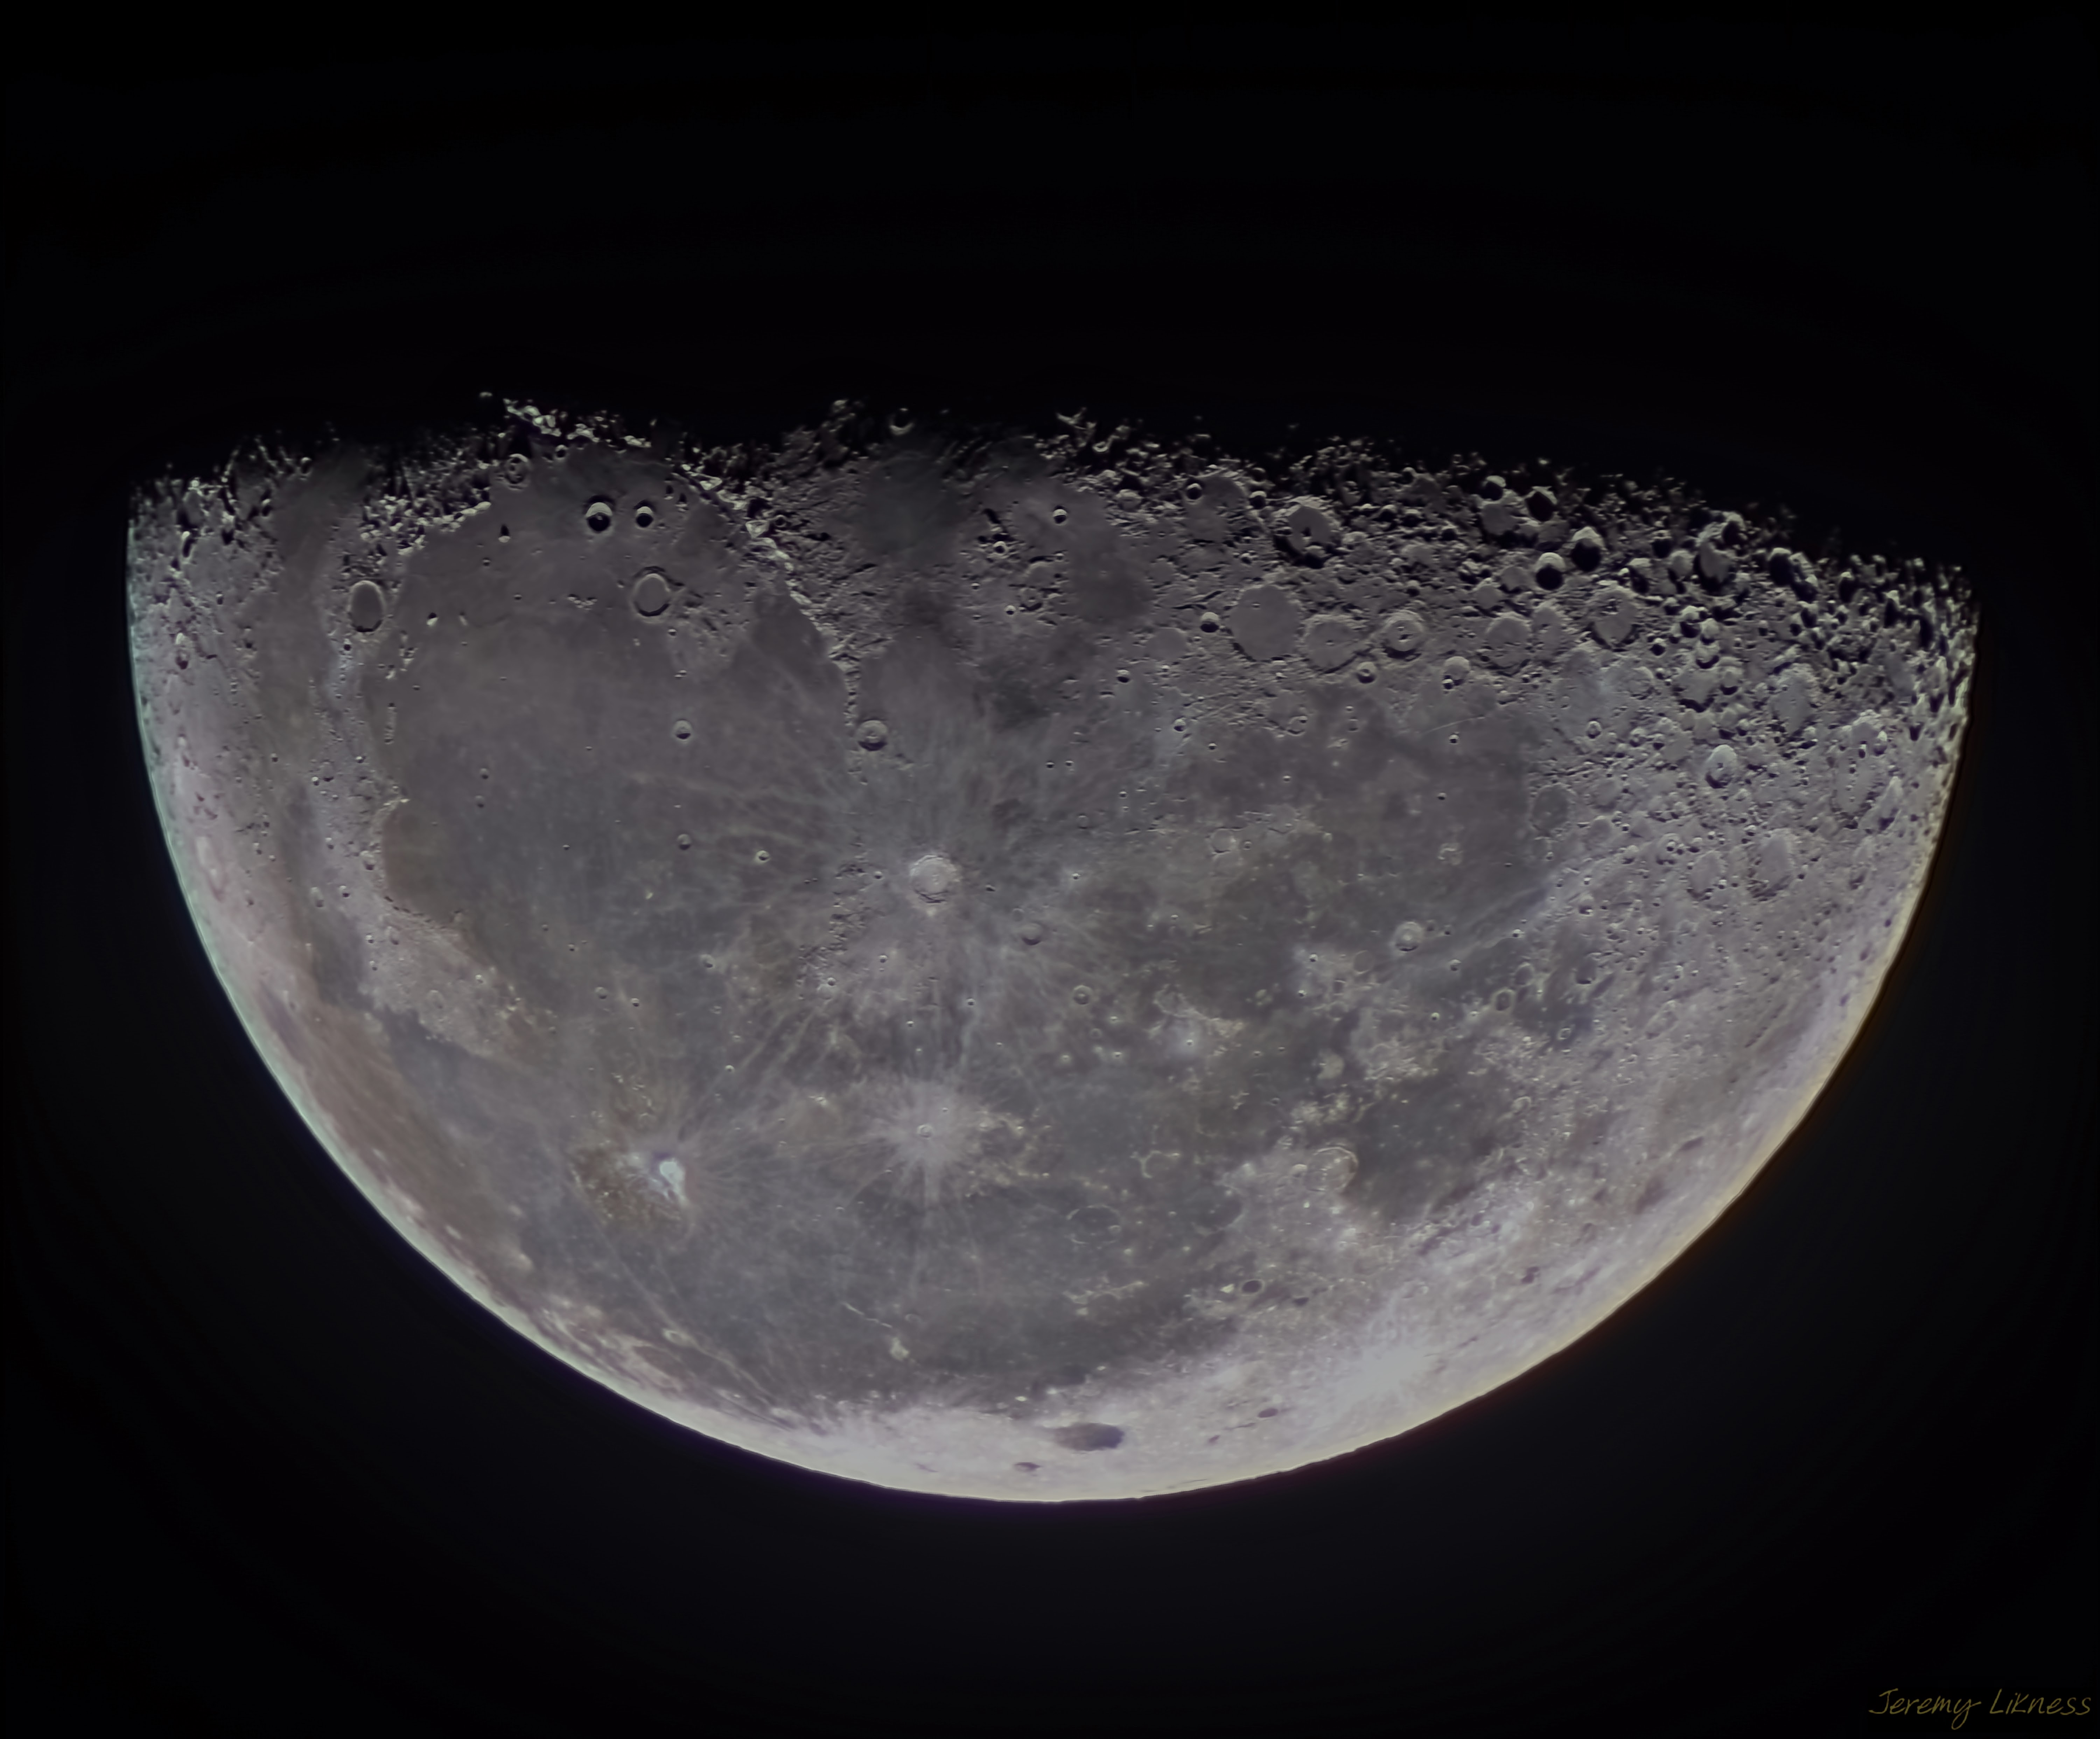
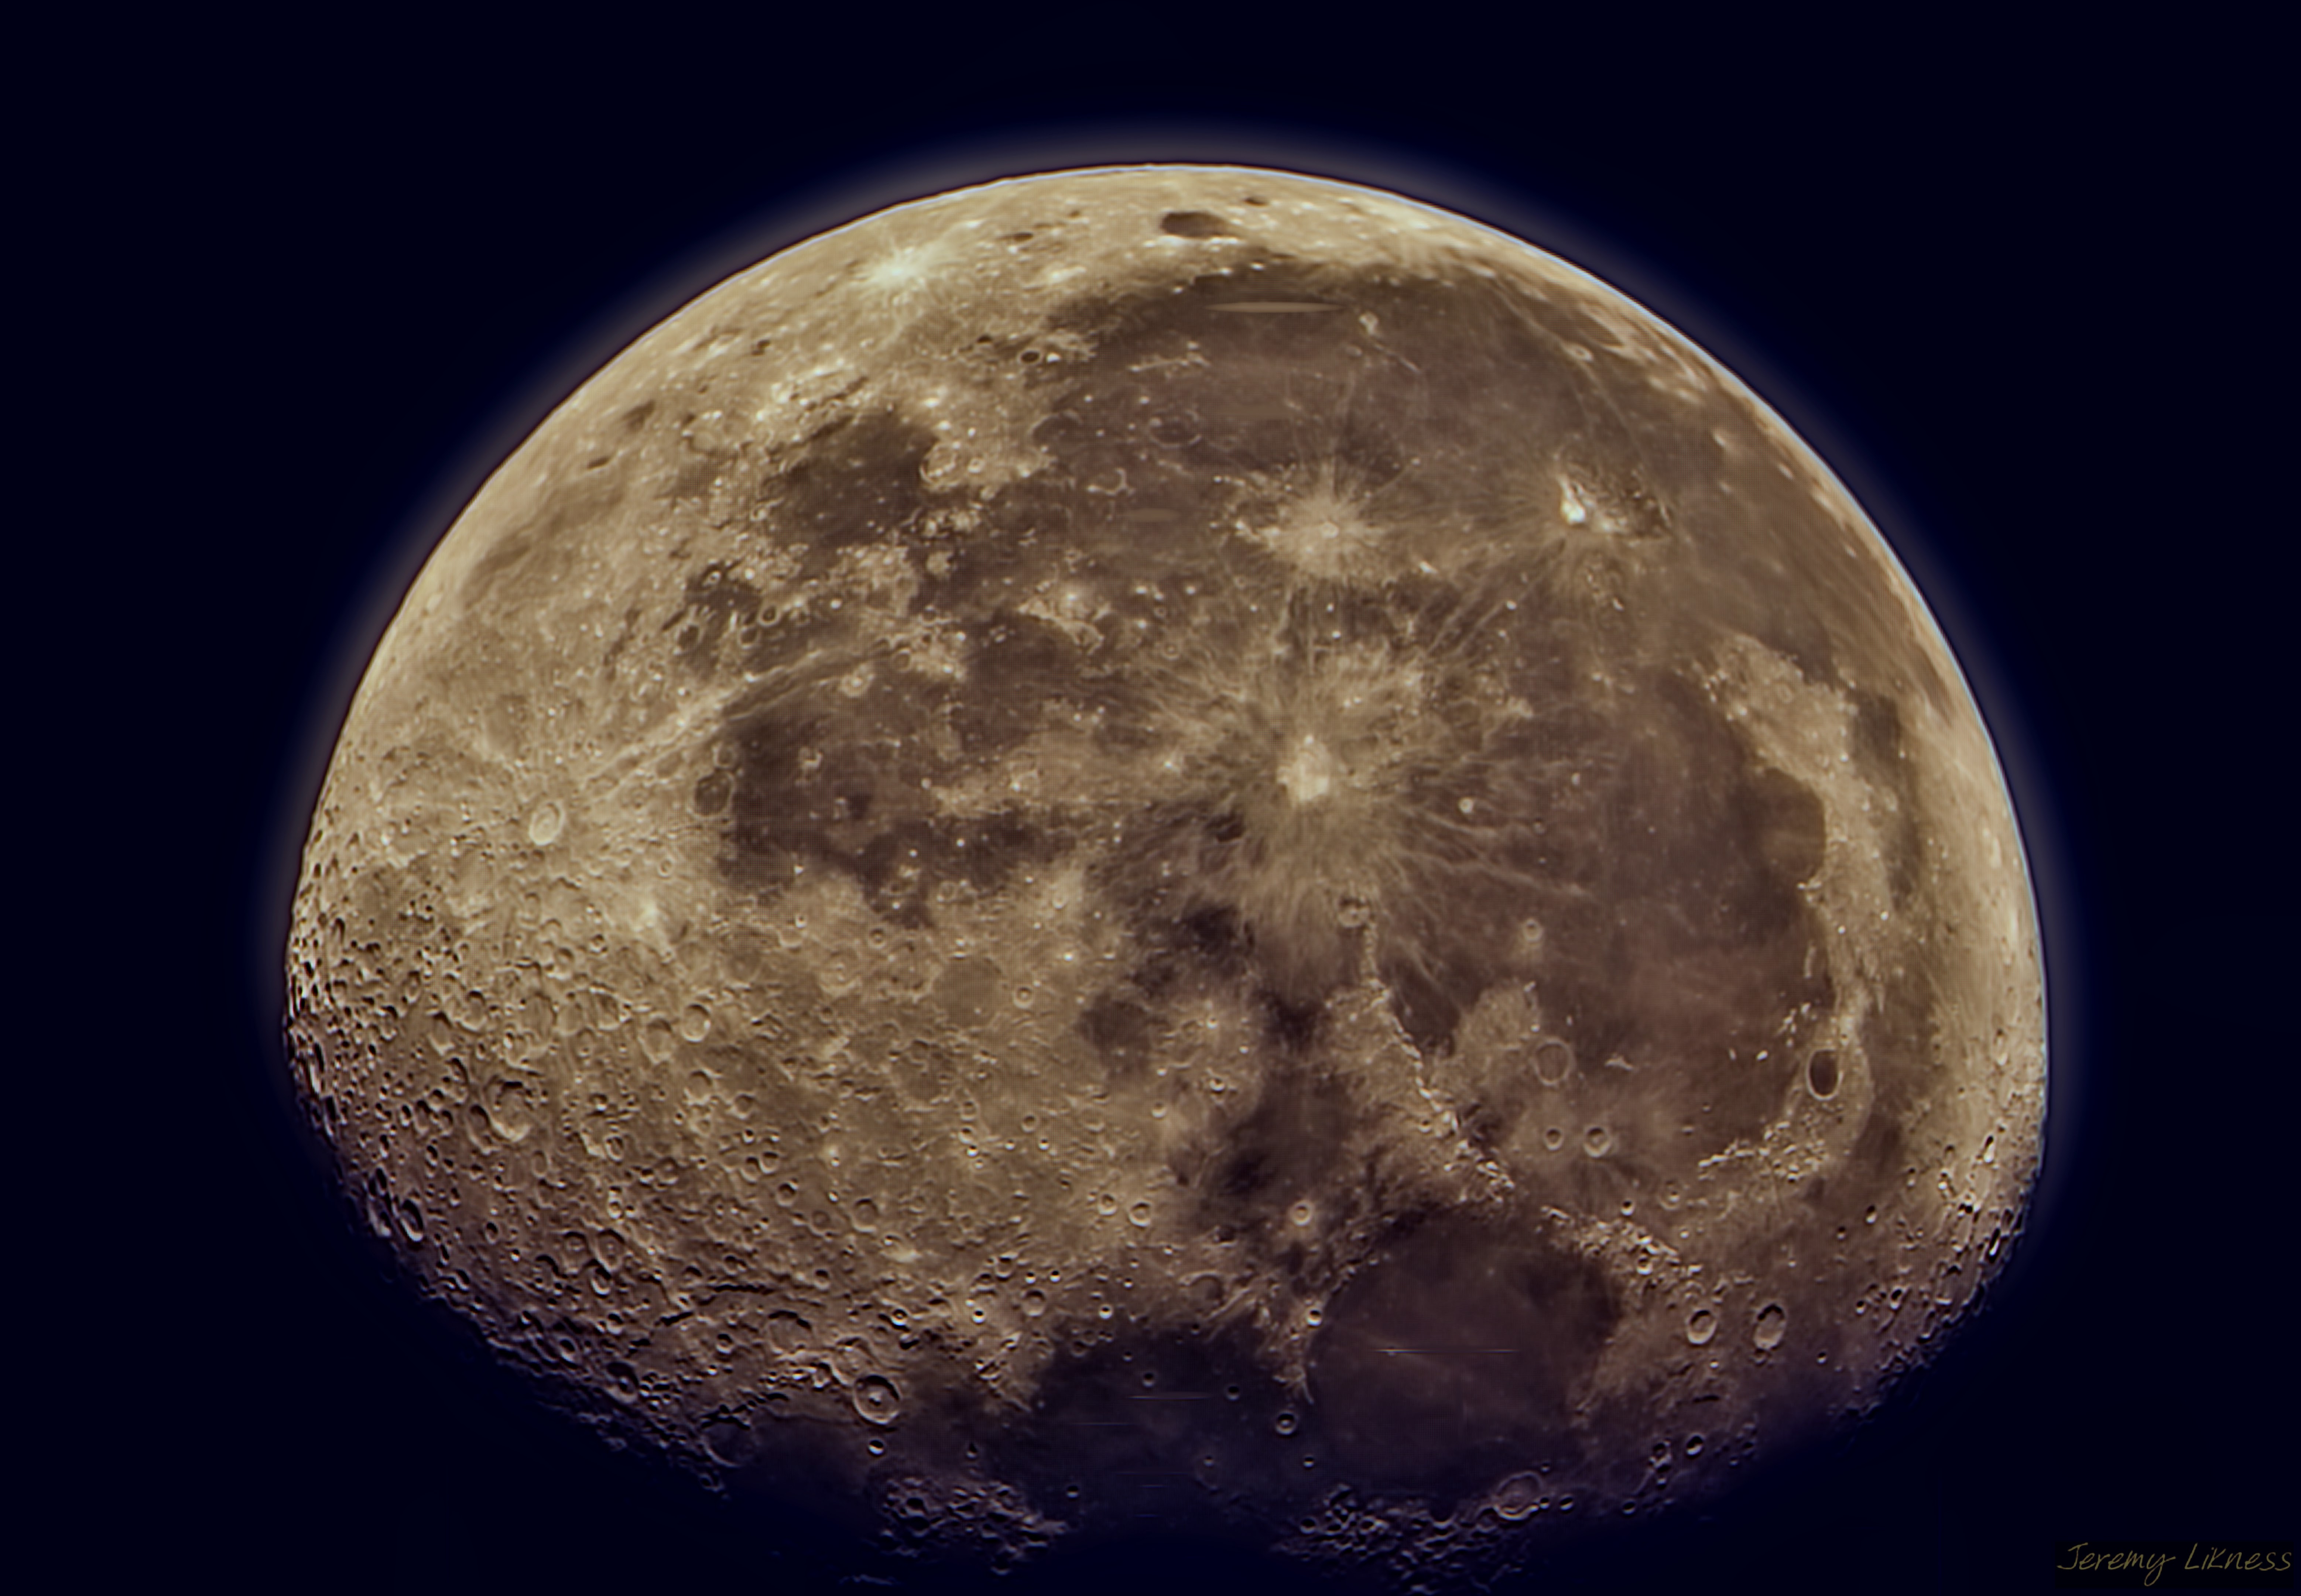
Pairing the telescope with my Sony Alpha 6300 is like a dream astrophotography kit for photographing the moon. It produces sharp, vibrant images like these:
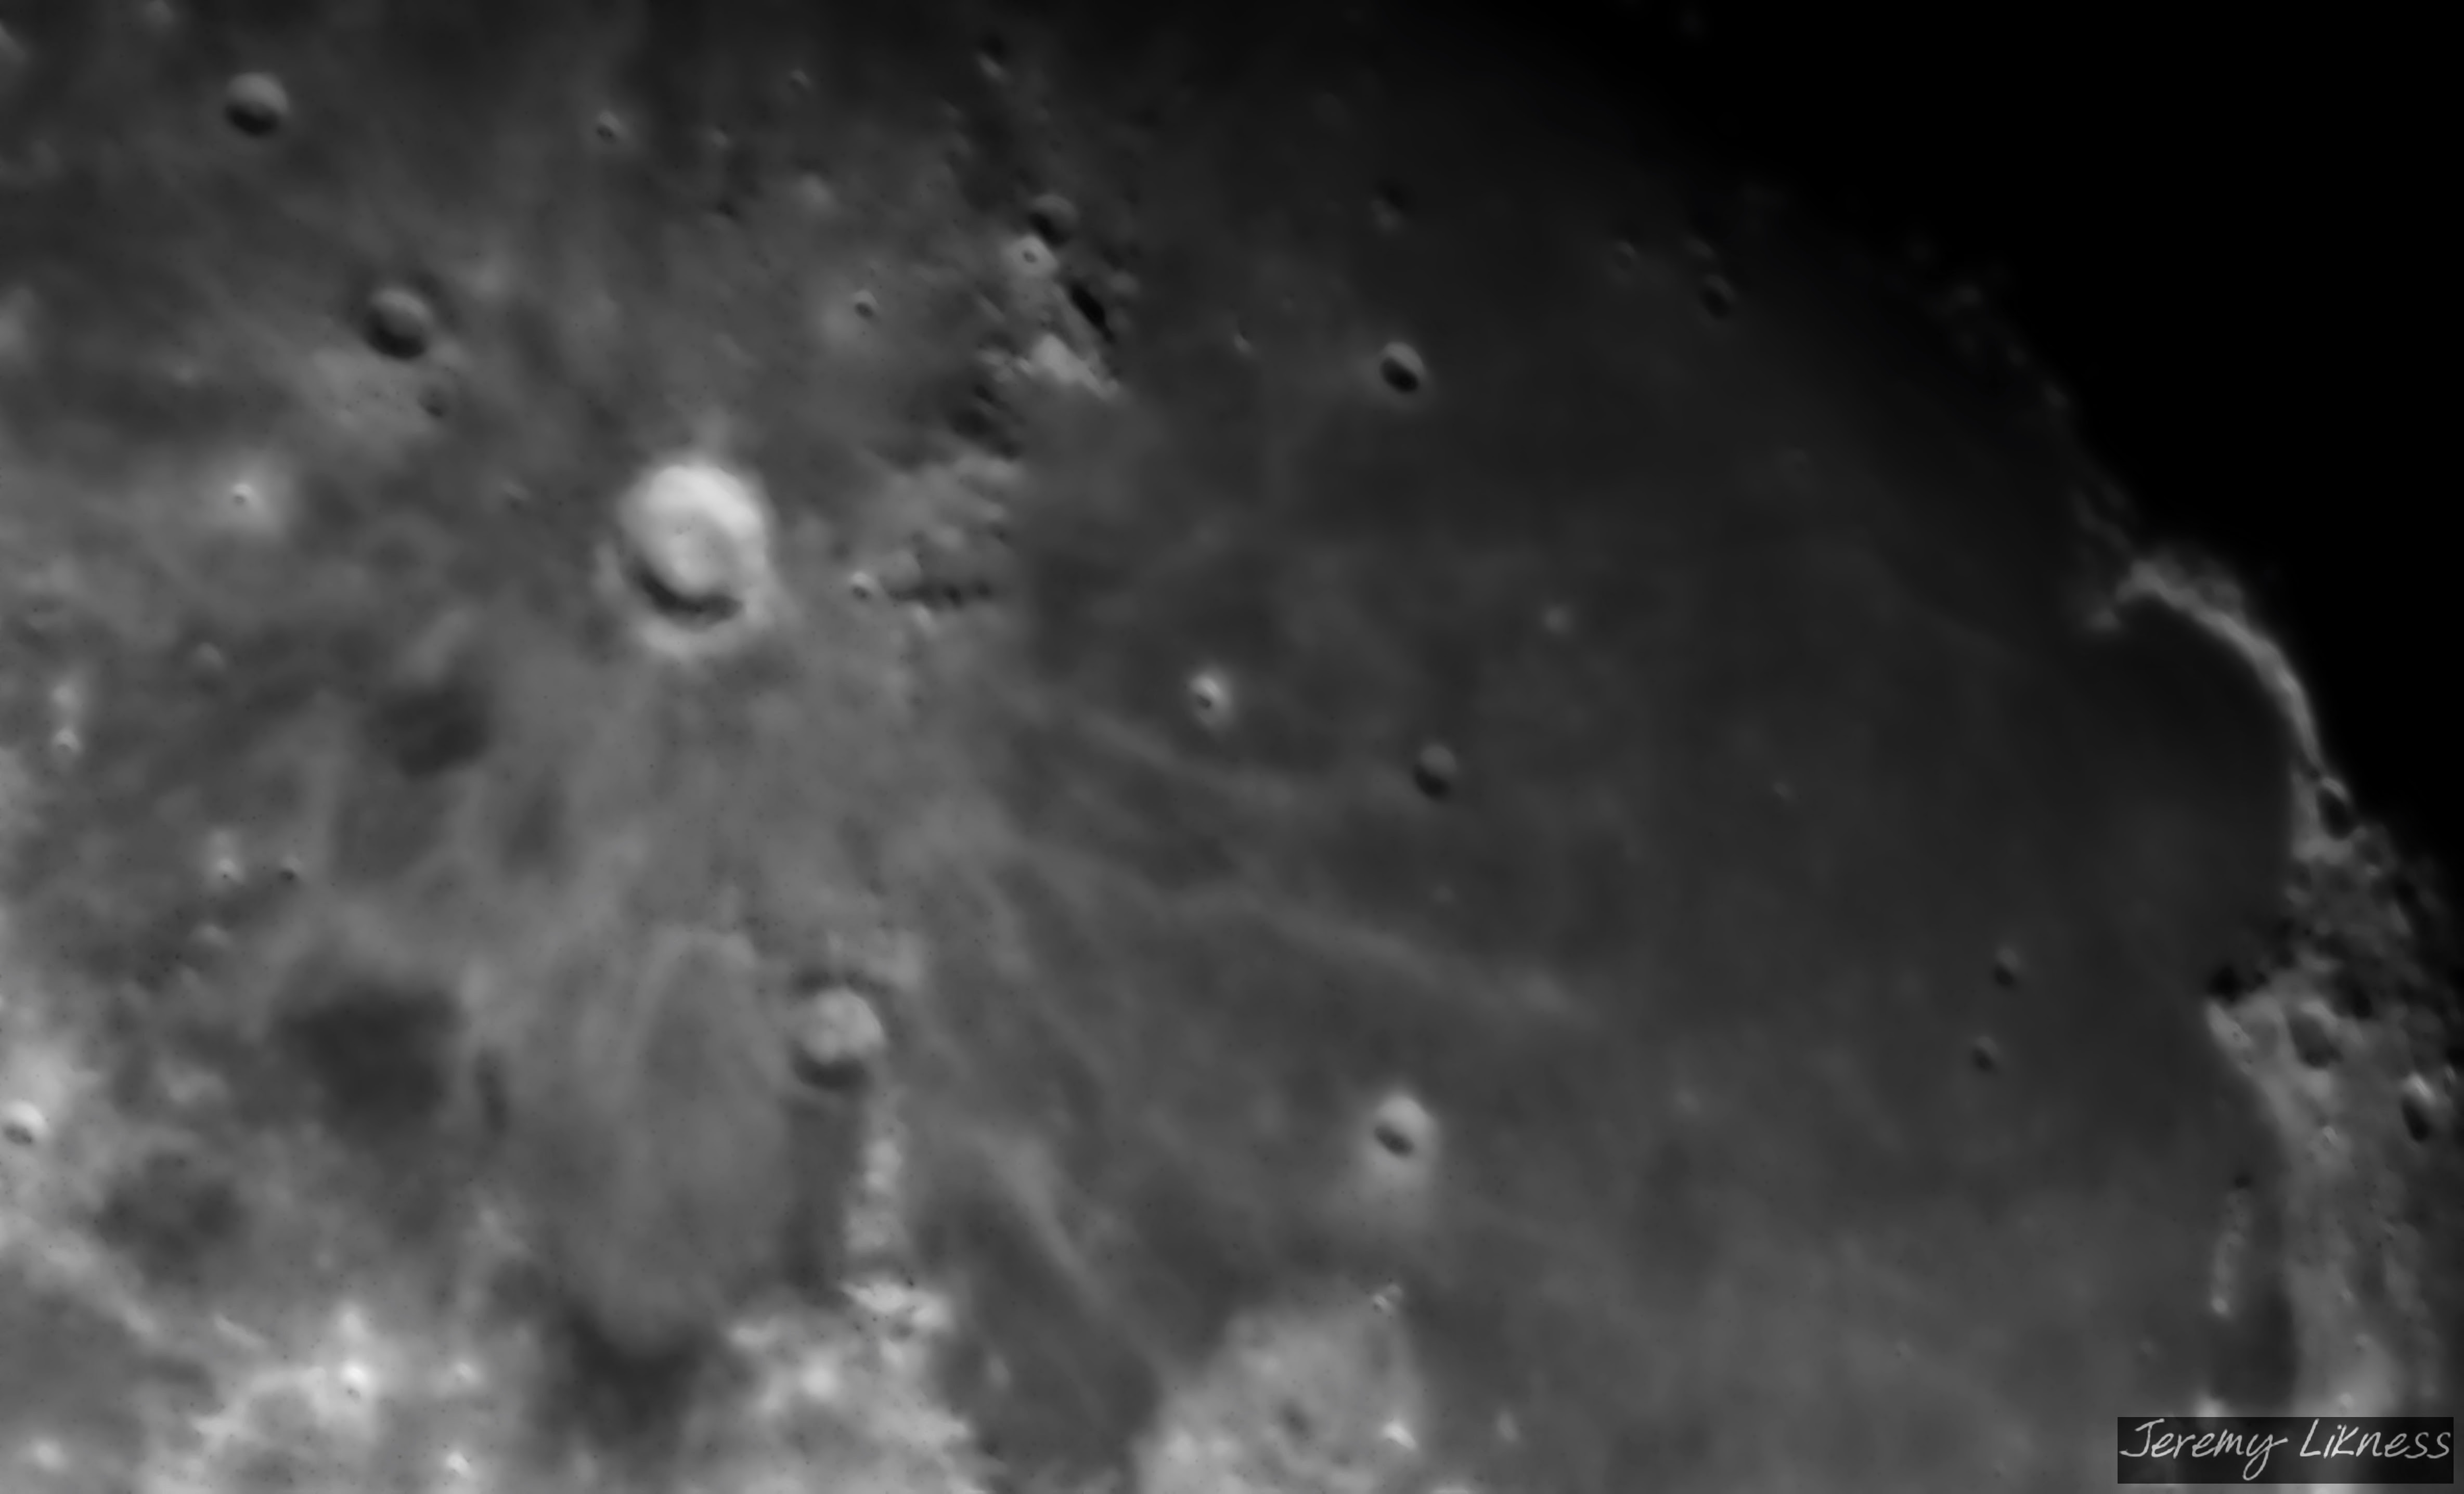
Paired with a Barlow lens (I picked up a Zhumell 2” 2x for $60 USD), it is quite capable at higher magnification. Here’s a closeup of the Copernicus crater region.
Galaxies
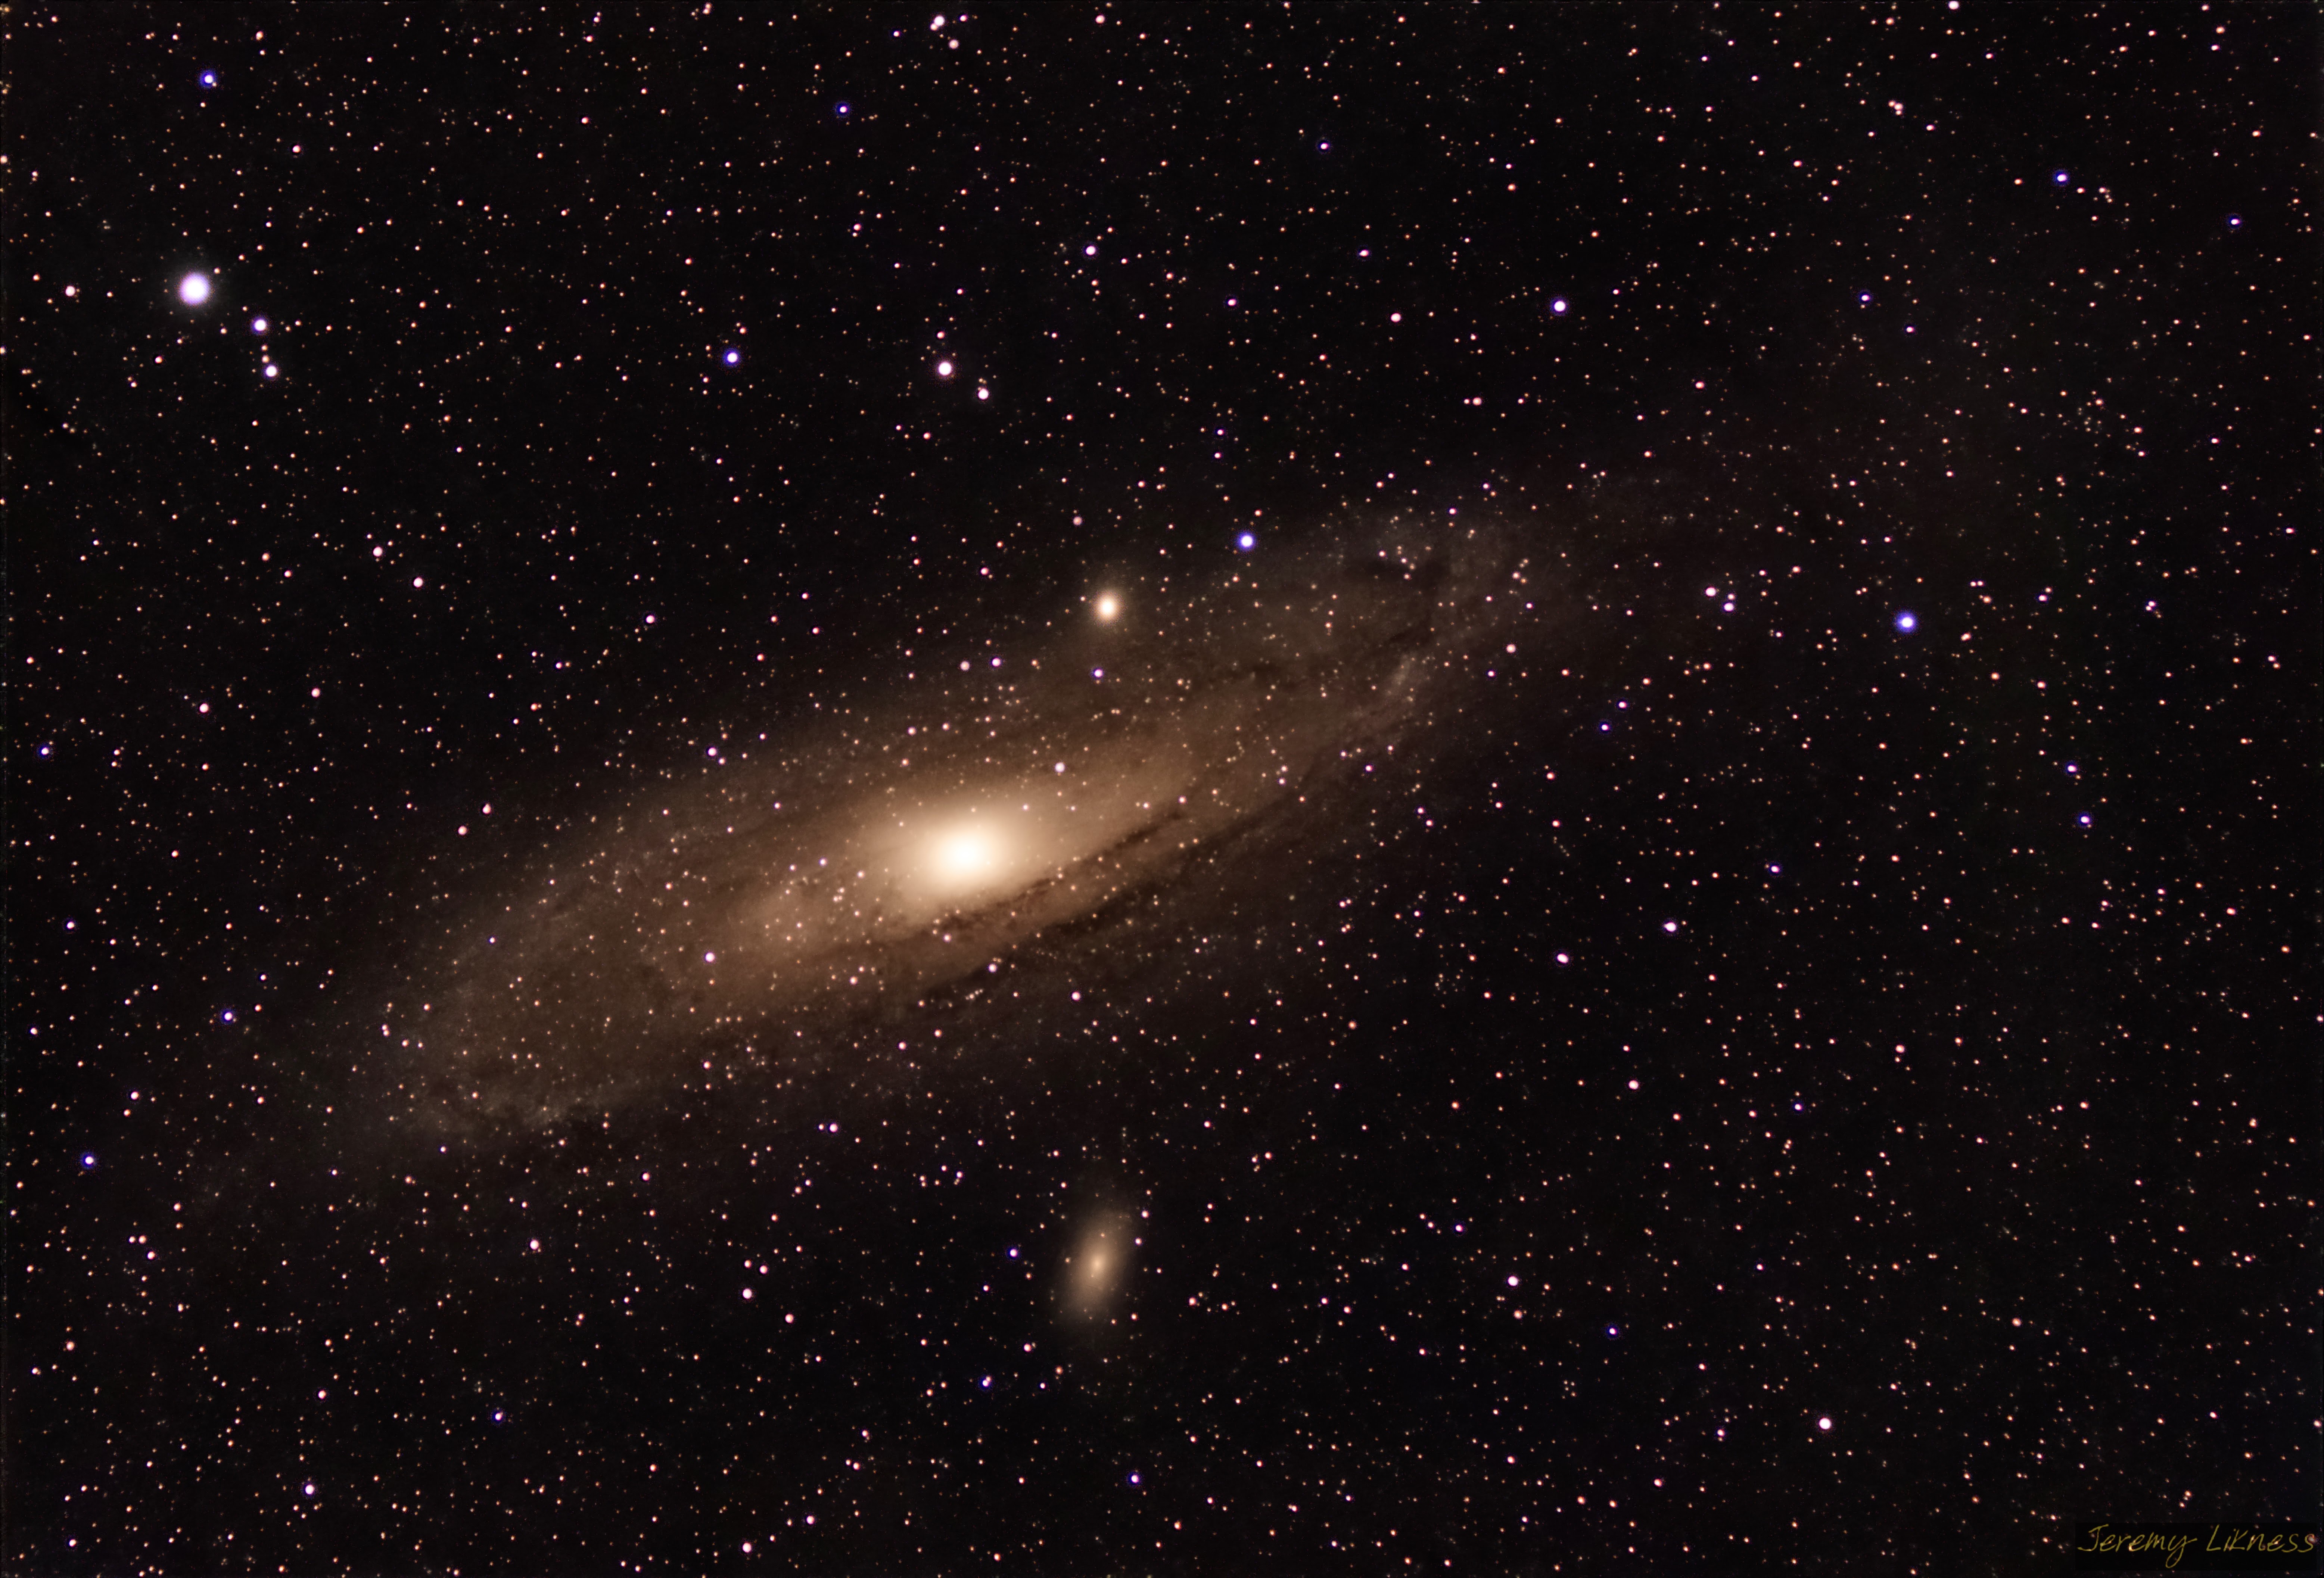
The field reducer at 336mm is the perfect length to capture the Andromeda galaxy. This was a short session and results would be even better had I imaged longer.
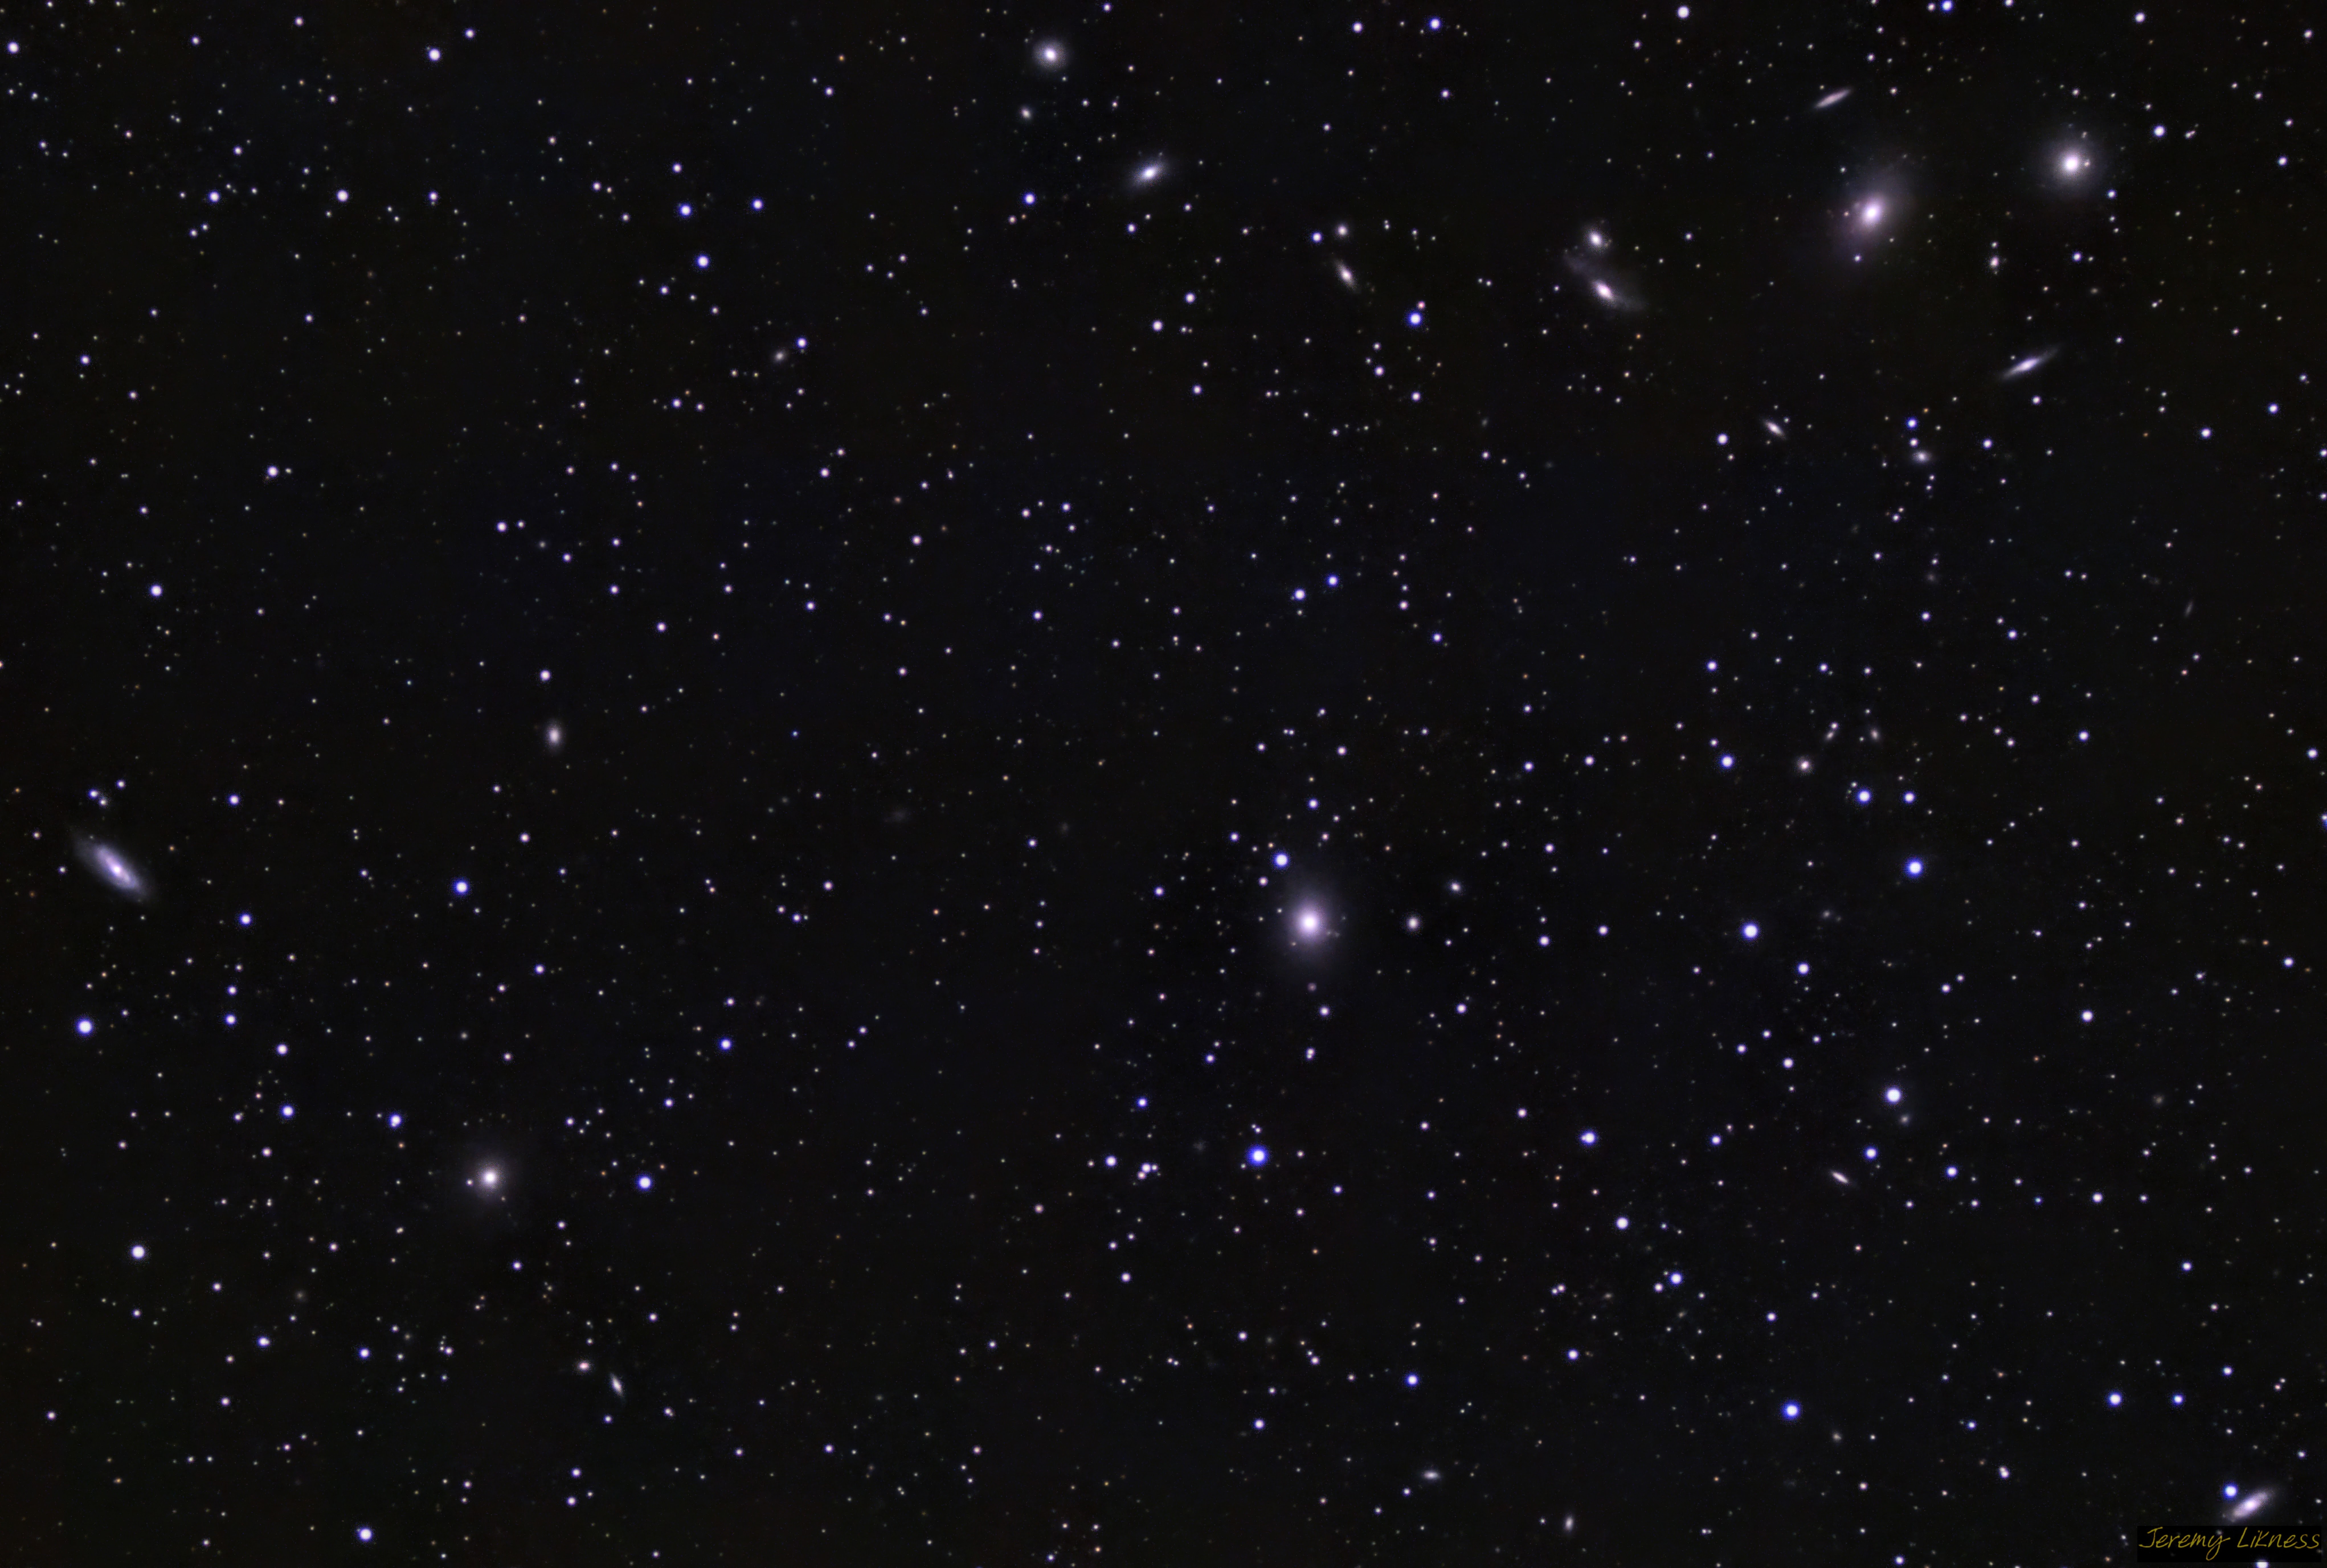
Here are the galaxies of the Virgo A complex.
Volcanoes
My house has a terrific view of Mt. Rainier, and I often train my telescope there for calibration. It also takes fantastic pictures. Here are two of my favorites.
Pros and Cons
The pros:
- Inexpensive
- Lightweight, stable on a standard tripod and when mounted on a Star Adventurer Mini
- Flexible focal length with flattener and/or Barlow
- Built-in dew shield
- Built-in field rotator
- Fine-grained focuser
- Great for deep sky objects
- Great for lunar photography
- Takes nice landscape shots too
The cons:
- A field reducer is a “must have” extra for astrophotography
- Doesn’t come with eyepieces or diagonals
- Doesn’t come with mounting plate for guide scope
- Too short focal length for planetary imaging
Conclusion
New review: be sure to check out my newer William Optics Redcat 71 review to see how the two scopes compare!
I couldn’t be happier that my larger scope was delayed, because I should have started with this one. It provides a lot of mileage for a very affordable price. It is solidly built, lightweight, and portable. The combination of field reducer and Barlow lens provide a wide range of focal lengths from 336mm - 800mm making it ideal for everything from starfields and asterisms to galaxies and nebulae. It is also my favorite telescope to image the moon with and pairs nicely with both my mirrorless camera and my dedicated astrophotography camera.
Post categories: Related tags:
