January 06, 2023 3767 words 15 minutes to read
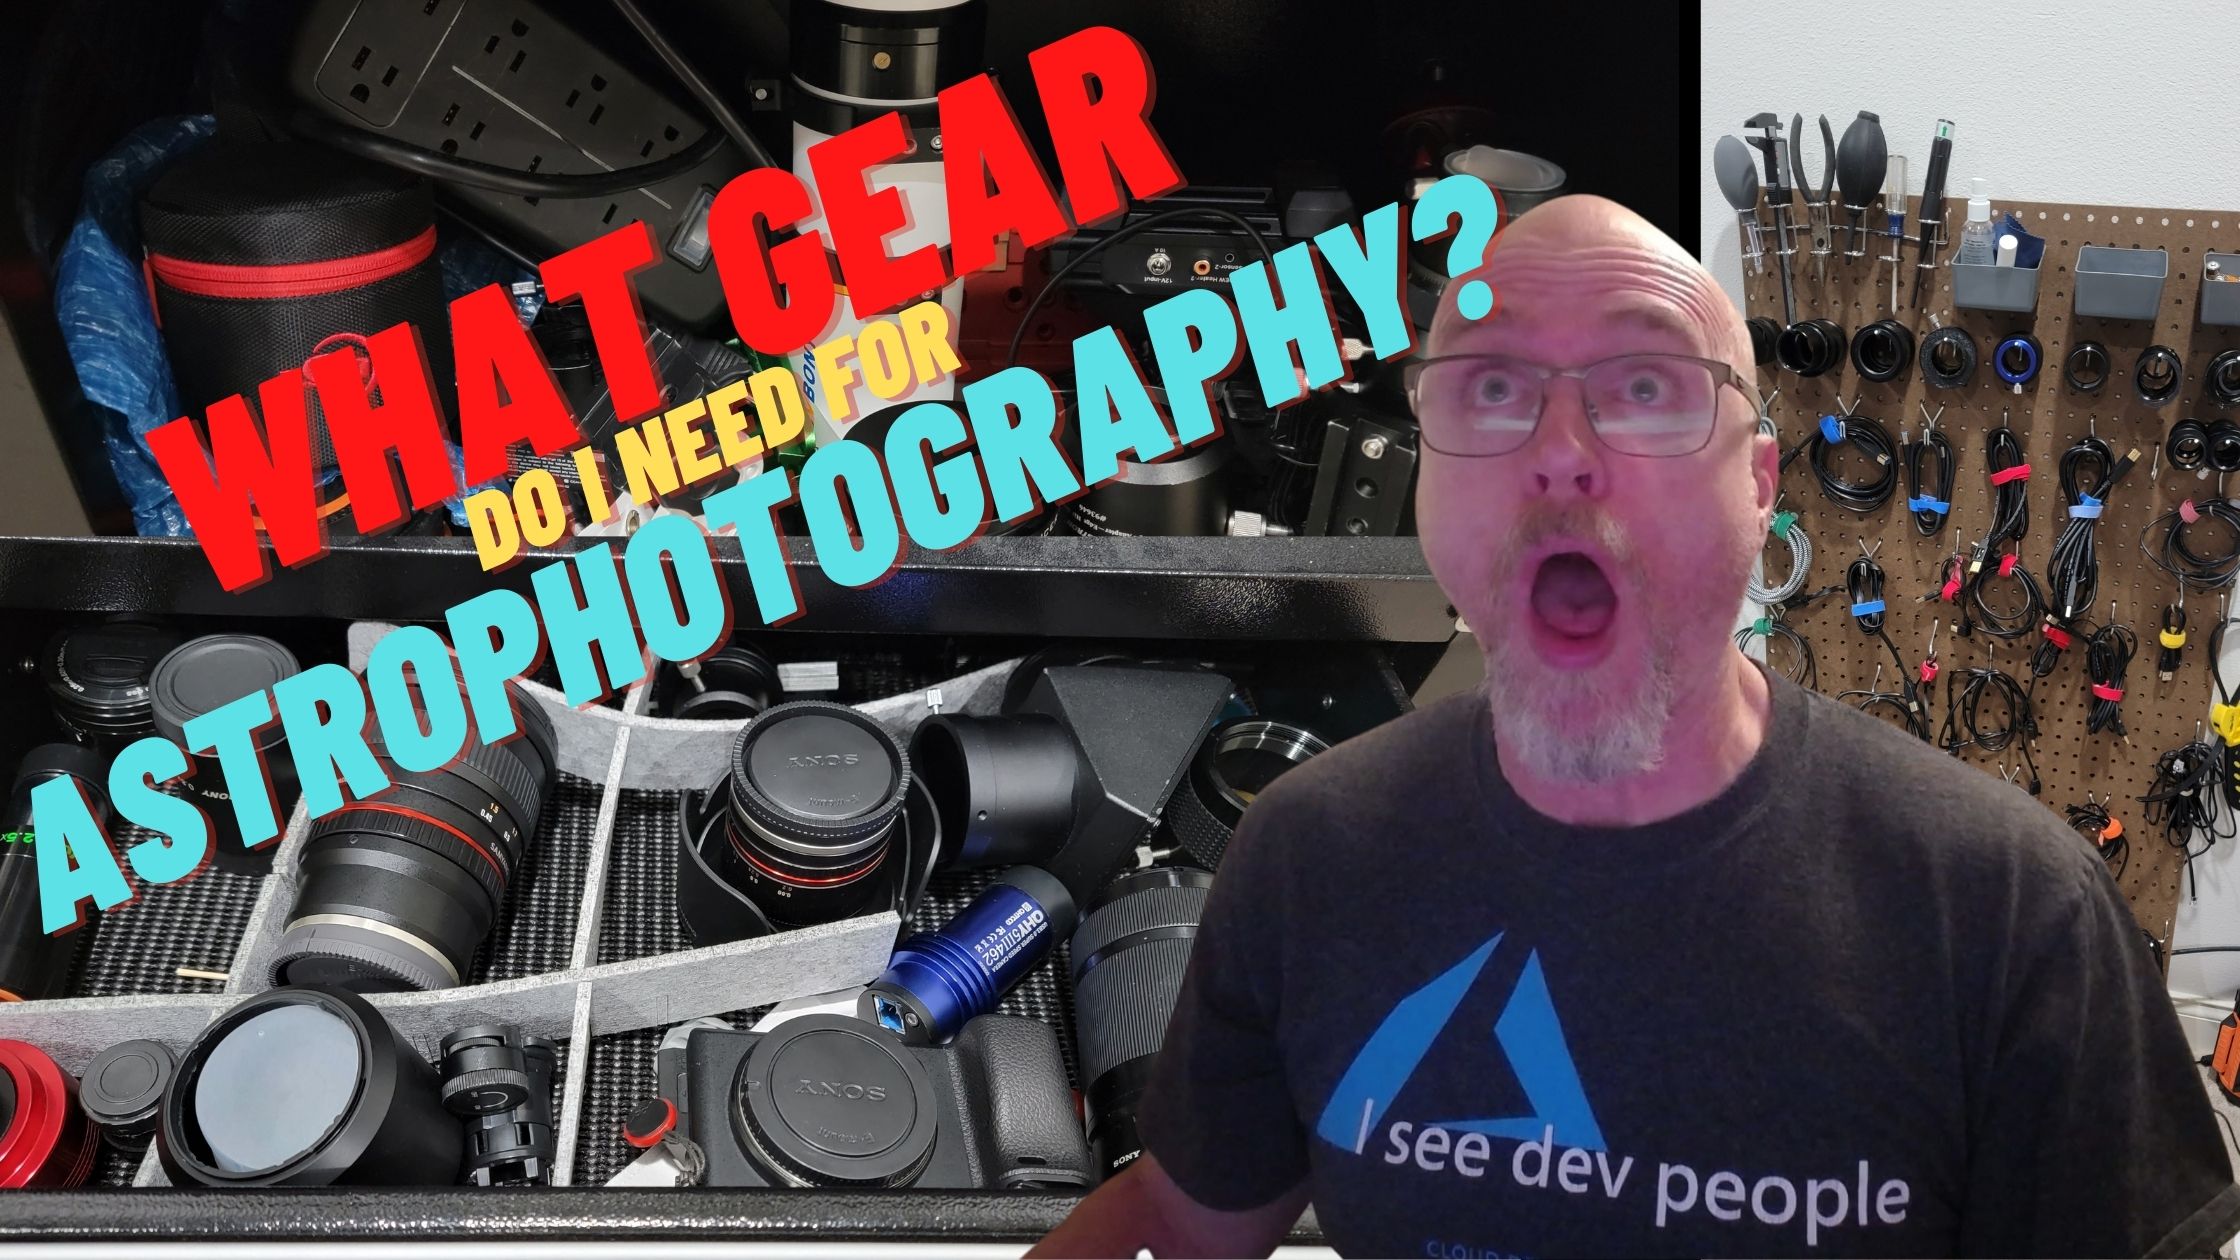
What gear do I need for astrophotography?
Summary
- Where to buy
- Stellina
- Celestron EdgeHD 9.25
- Celestron CGEM-II Mount
- Star Adventurer GTi
- Counterweights and bars
- All-weather cover
- The pegboard: cables and adapters
- The organizer: bits and pieces
- Filters and tools
- Phones and chargers
- Dew protection
- Hardware
- Cameras and lenses
- Lens and tripod accessories
- Scopes and what not
- Storage pegboard
- LED tracing pad
- Plastic bin
- Conclusion
I’m going to jump right into the subject of this post: my astrophotography inventory. First, if you’re new to astrophotography, you might wonder where to pick up equipment. I’ll start with the places I shop and then move onto my gear.
Where to buy
I have four sources that I prefer. Amazon is my primary source of inventory. I love the variety and convenience. The Amazon brand items are very inexpensive while maintaining quality. I know most items I can have in hand within days of ordering. I use the Amazon store card and receive cashback benefits. This is also the only store I use affiliate links for and receive a commission from. I have no affiliation with the other sources other than being a satisfied paying customer. All links in the post are for items I purchased at retail cost and currently own. No one sponsored this post.
For camera accessories, I prefer B&H Photo. They are also great for used or secondhand gear. I picked up both of my favorite Sony lenses (both Samyang, one 12mm and the other 50mm) from there for much less than I would have paid if they were brand new, and they both arrived quickly and in great condition.
For astrophotography, I have two recommendations. My first purchases were from Woodland Hills Camera. They have a very friendly and helpful staff who helped me piece together my first custom system. I was very happy the service, the products, and their recommendations. I also am a fan of Highpoint Scientific who I went to for one of my mounts when it was out of stock at the other location. They offer the same support (just ask their sales team for help and they’ll take care of you) and also have excellent customer service.
There are many other places to purchase your items but these are the places that have worked well for me!
Now onto the gear. I literally walked around my office and took pictures of where they were. I decided it would be easier (for me, at least) to cover them zone-by-zone rather than trying to categorize and prioritize them. If the items seem to be out of order, it’s because they are. Hopefully you gain some ideas about your own storage strategy. If you have suggestions or stories to share, let me know! Comments are turned on and I’d love to chat.
Stellina
Stellina is an observation station that provides a complete, all-in-one experience out of the box. It’s what got me started in astrophotography!
Although my first photos weren’t so impressive, they were enough to get me hooked. Some of my favorite pieces were created with Stellina, such as this image of the Great Orion Nebula.
I highly recommend this for beginners because the setup is so easy. You literally set the device out, then run everything from your app. It figures out where it is, aligns itself, takes images and even stacks them. You can either accept the image produced automatically, or download the raw data and process it.
💡 TIP: If were to purchase a similar system today, I’d go for the newer Vespera. It’s lighter, less expensive, but allows the use of filters. Combined with the built-in mosaic mode it is capable of producing superior images.
One thing the device is not great at is planetary imaging. If you’re more interested in taking pictures of planets, you need something with a big aperture to let in enough light and a long focal length for the proper magnification.
Celestron EdgeHD 9.25
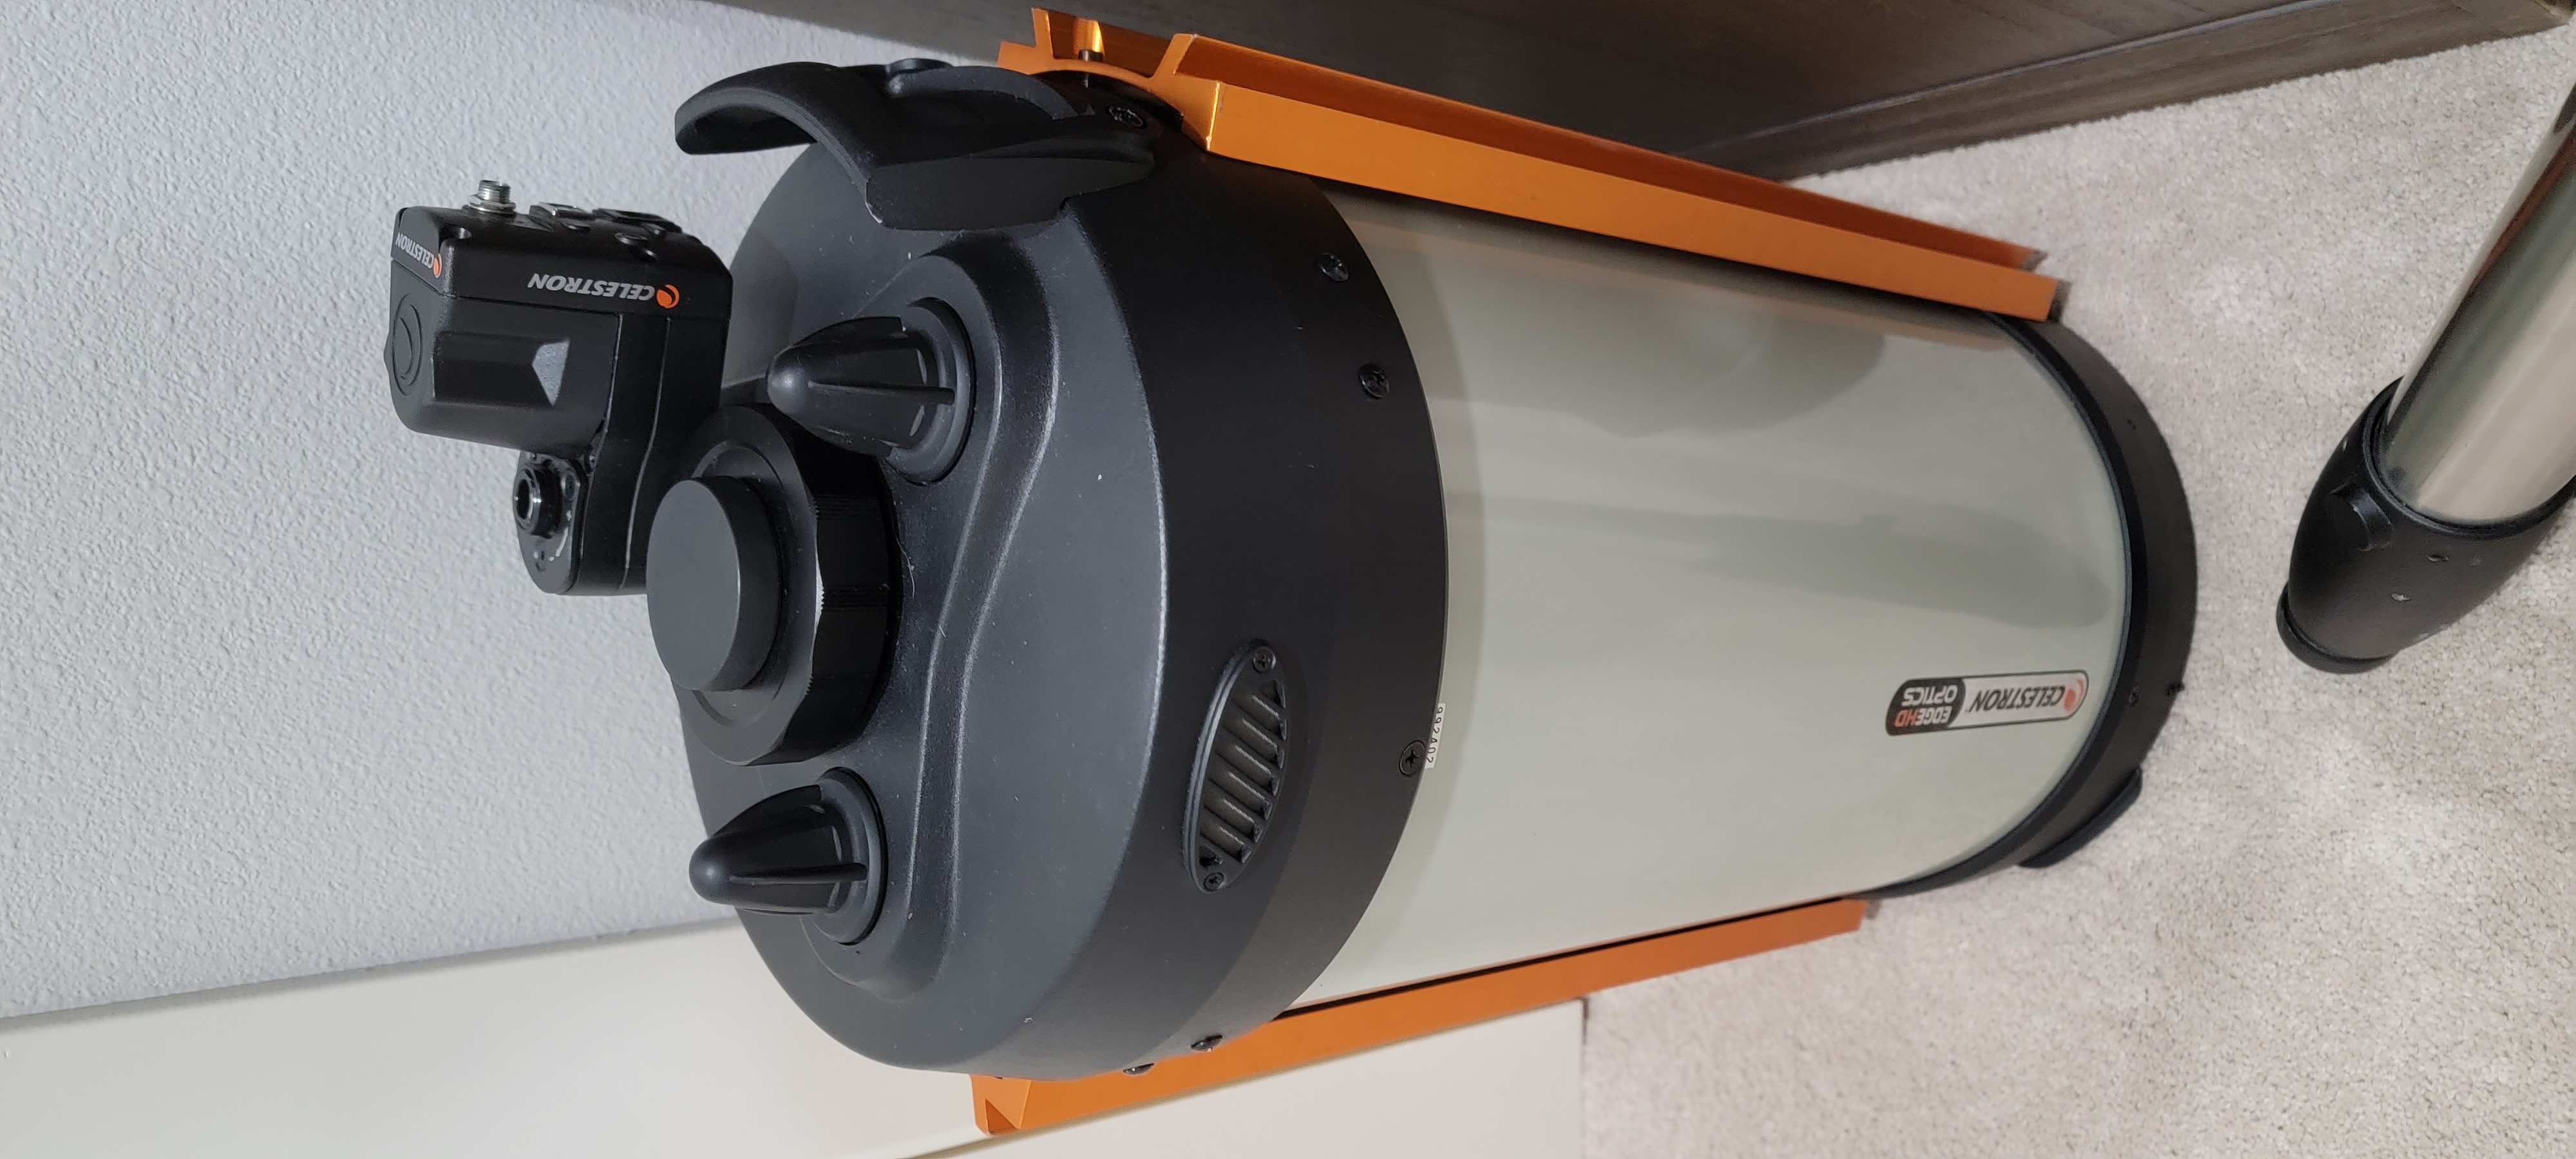
The next main OTA (optical tube assembly) is my Celestron EdgeHD 9.25”.
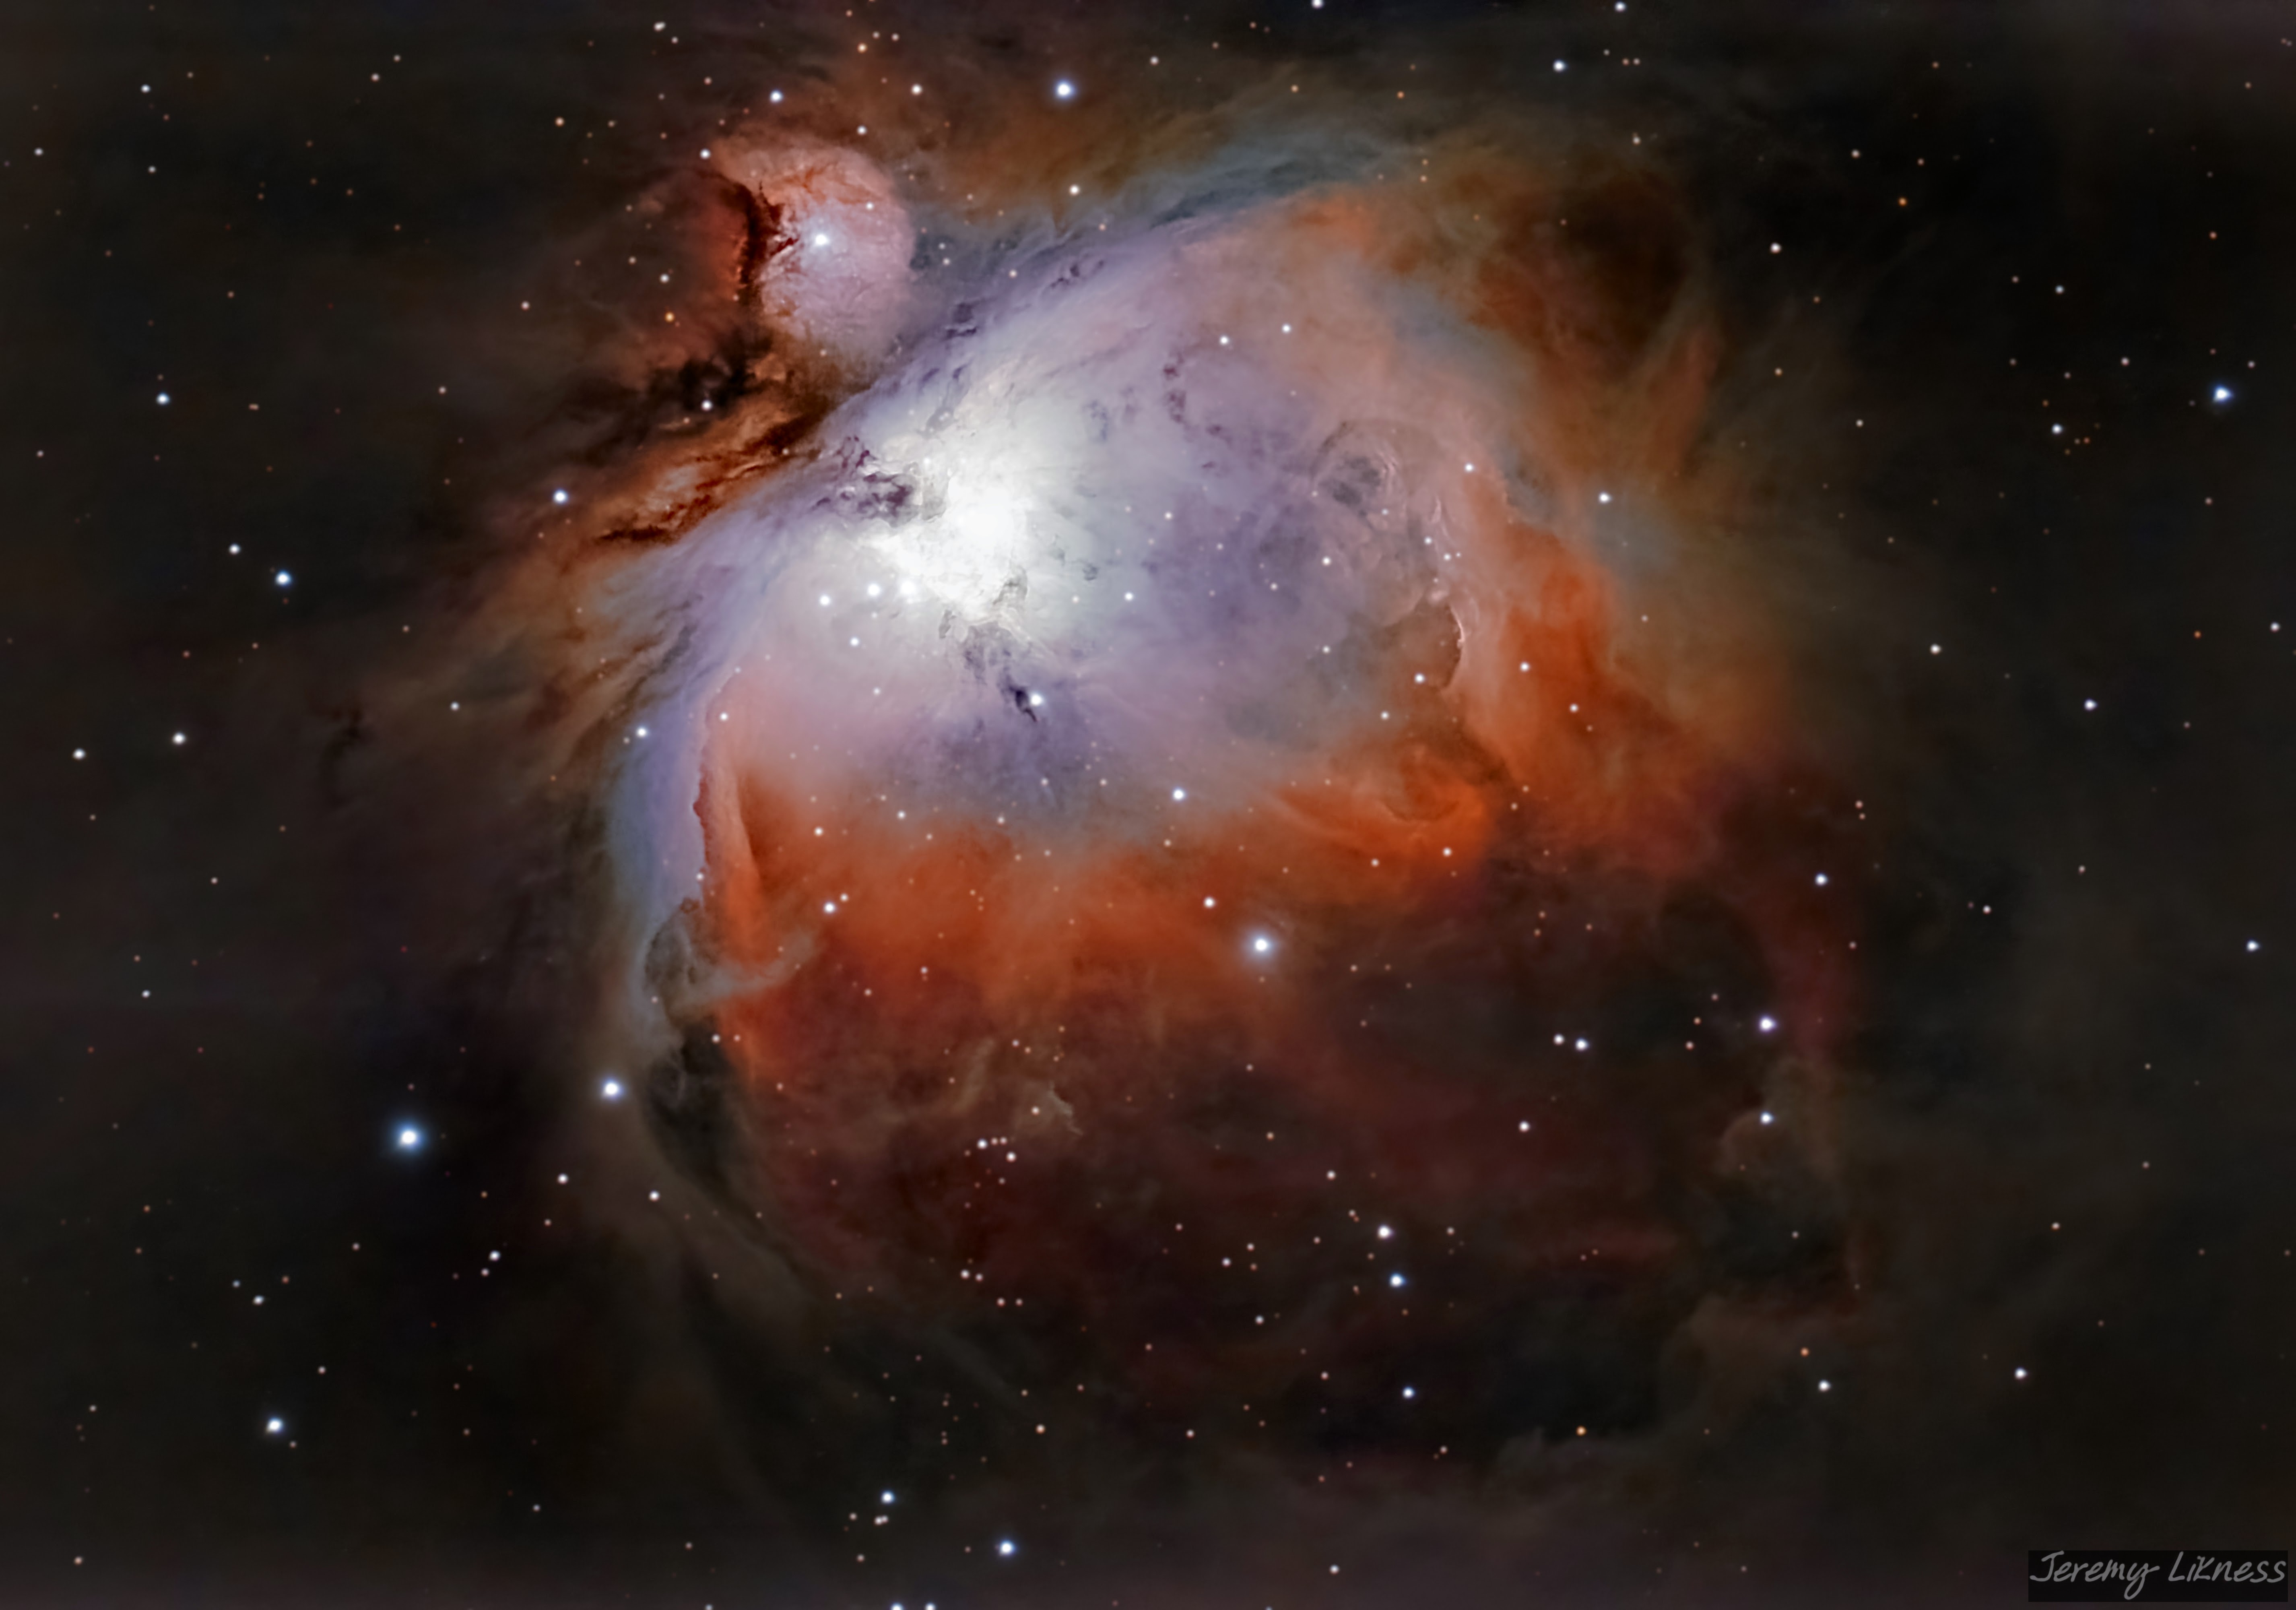
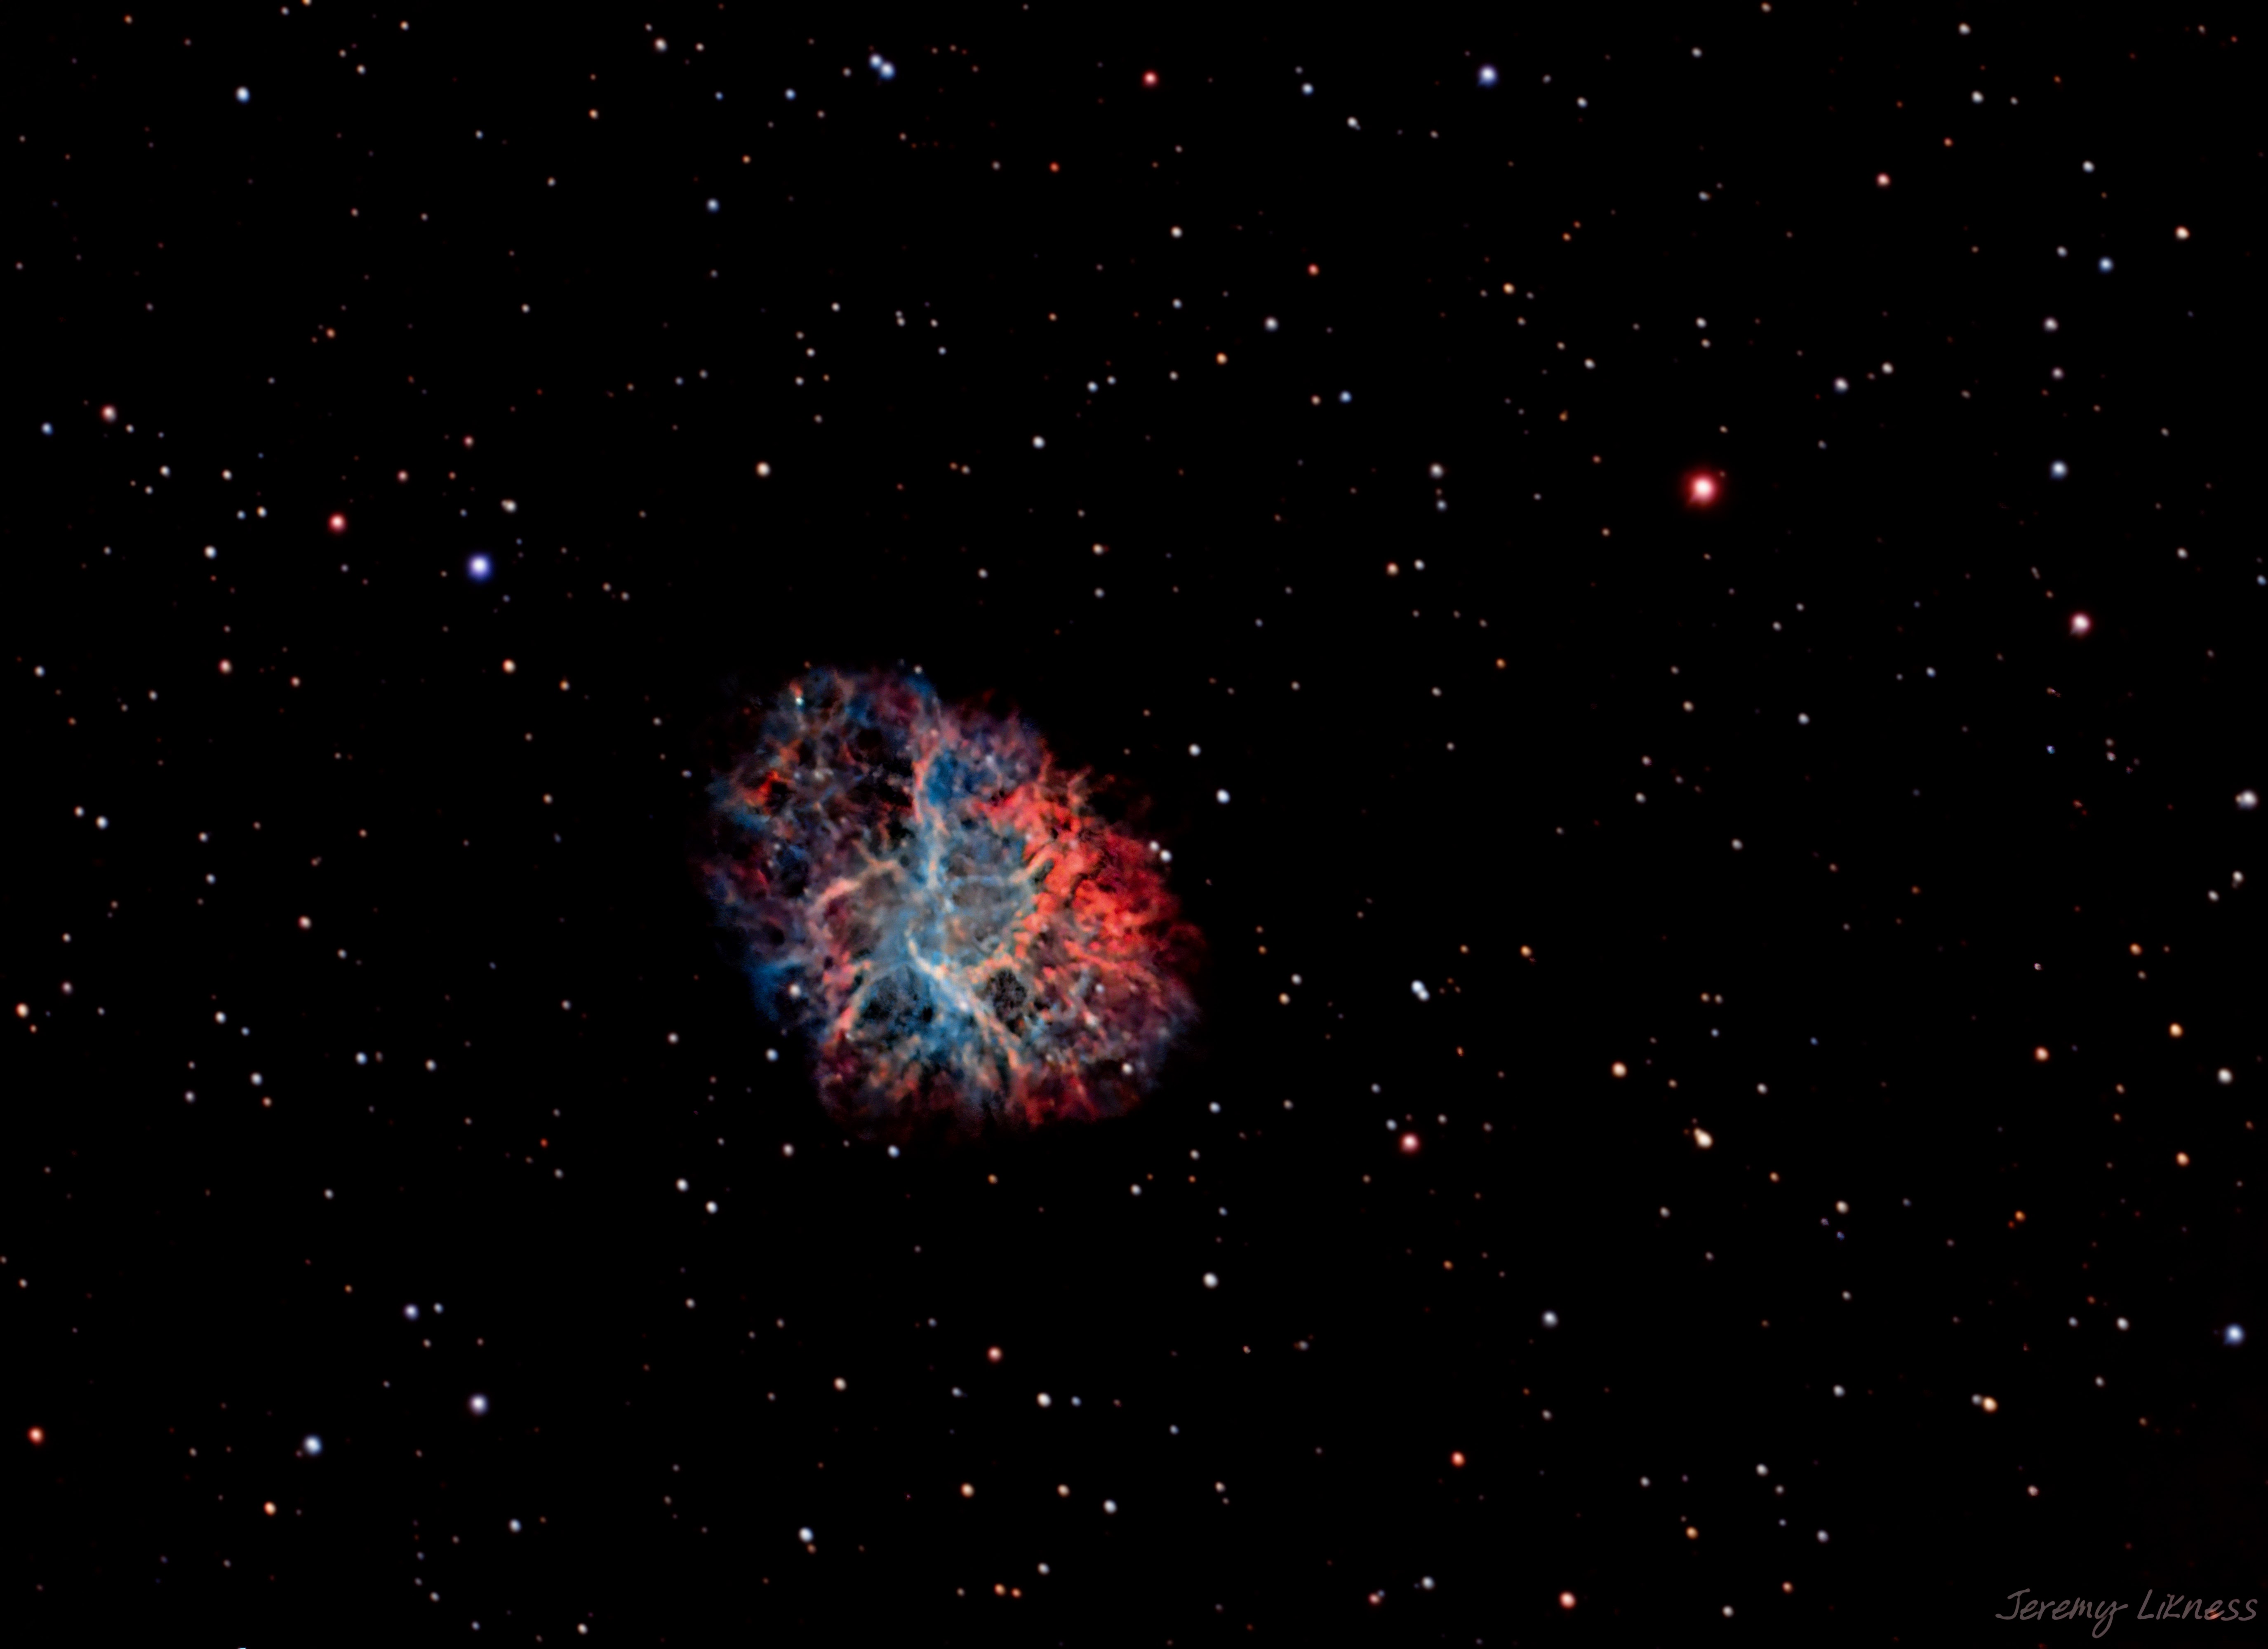
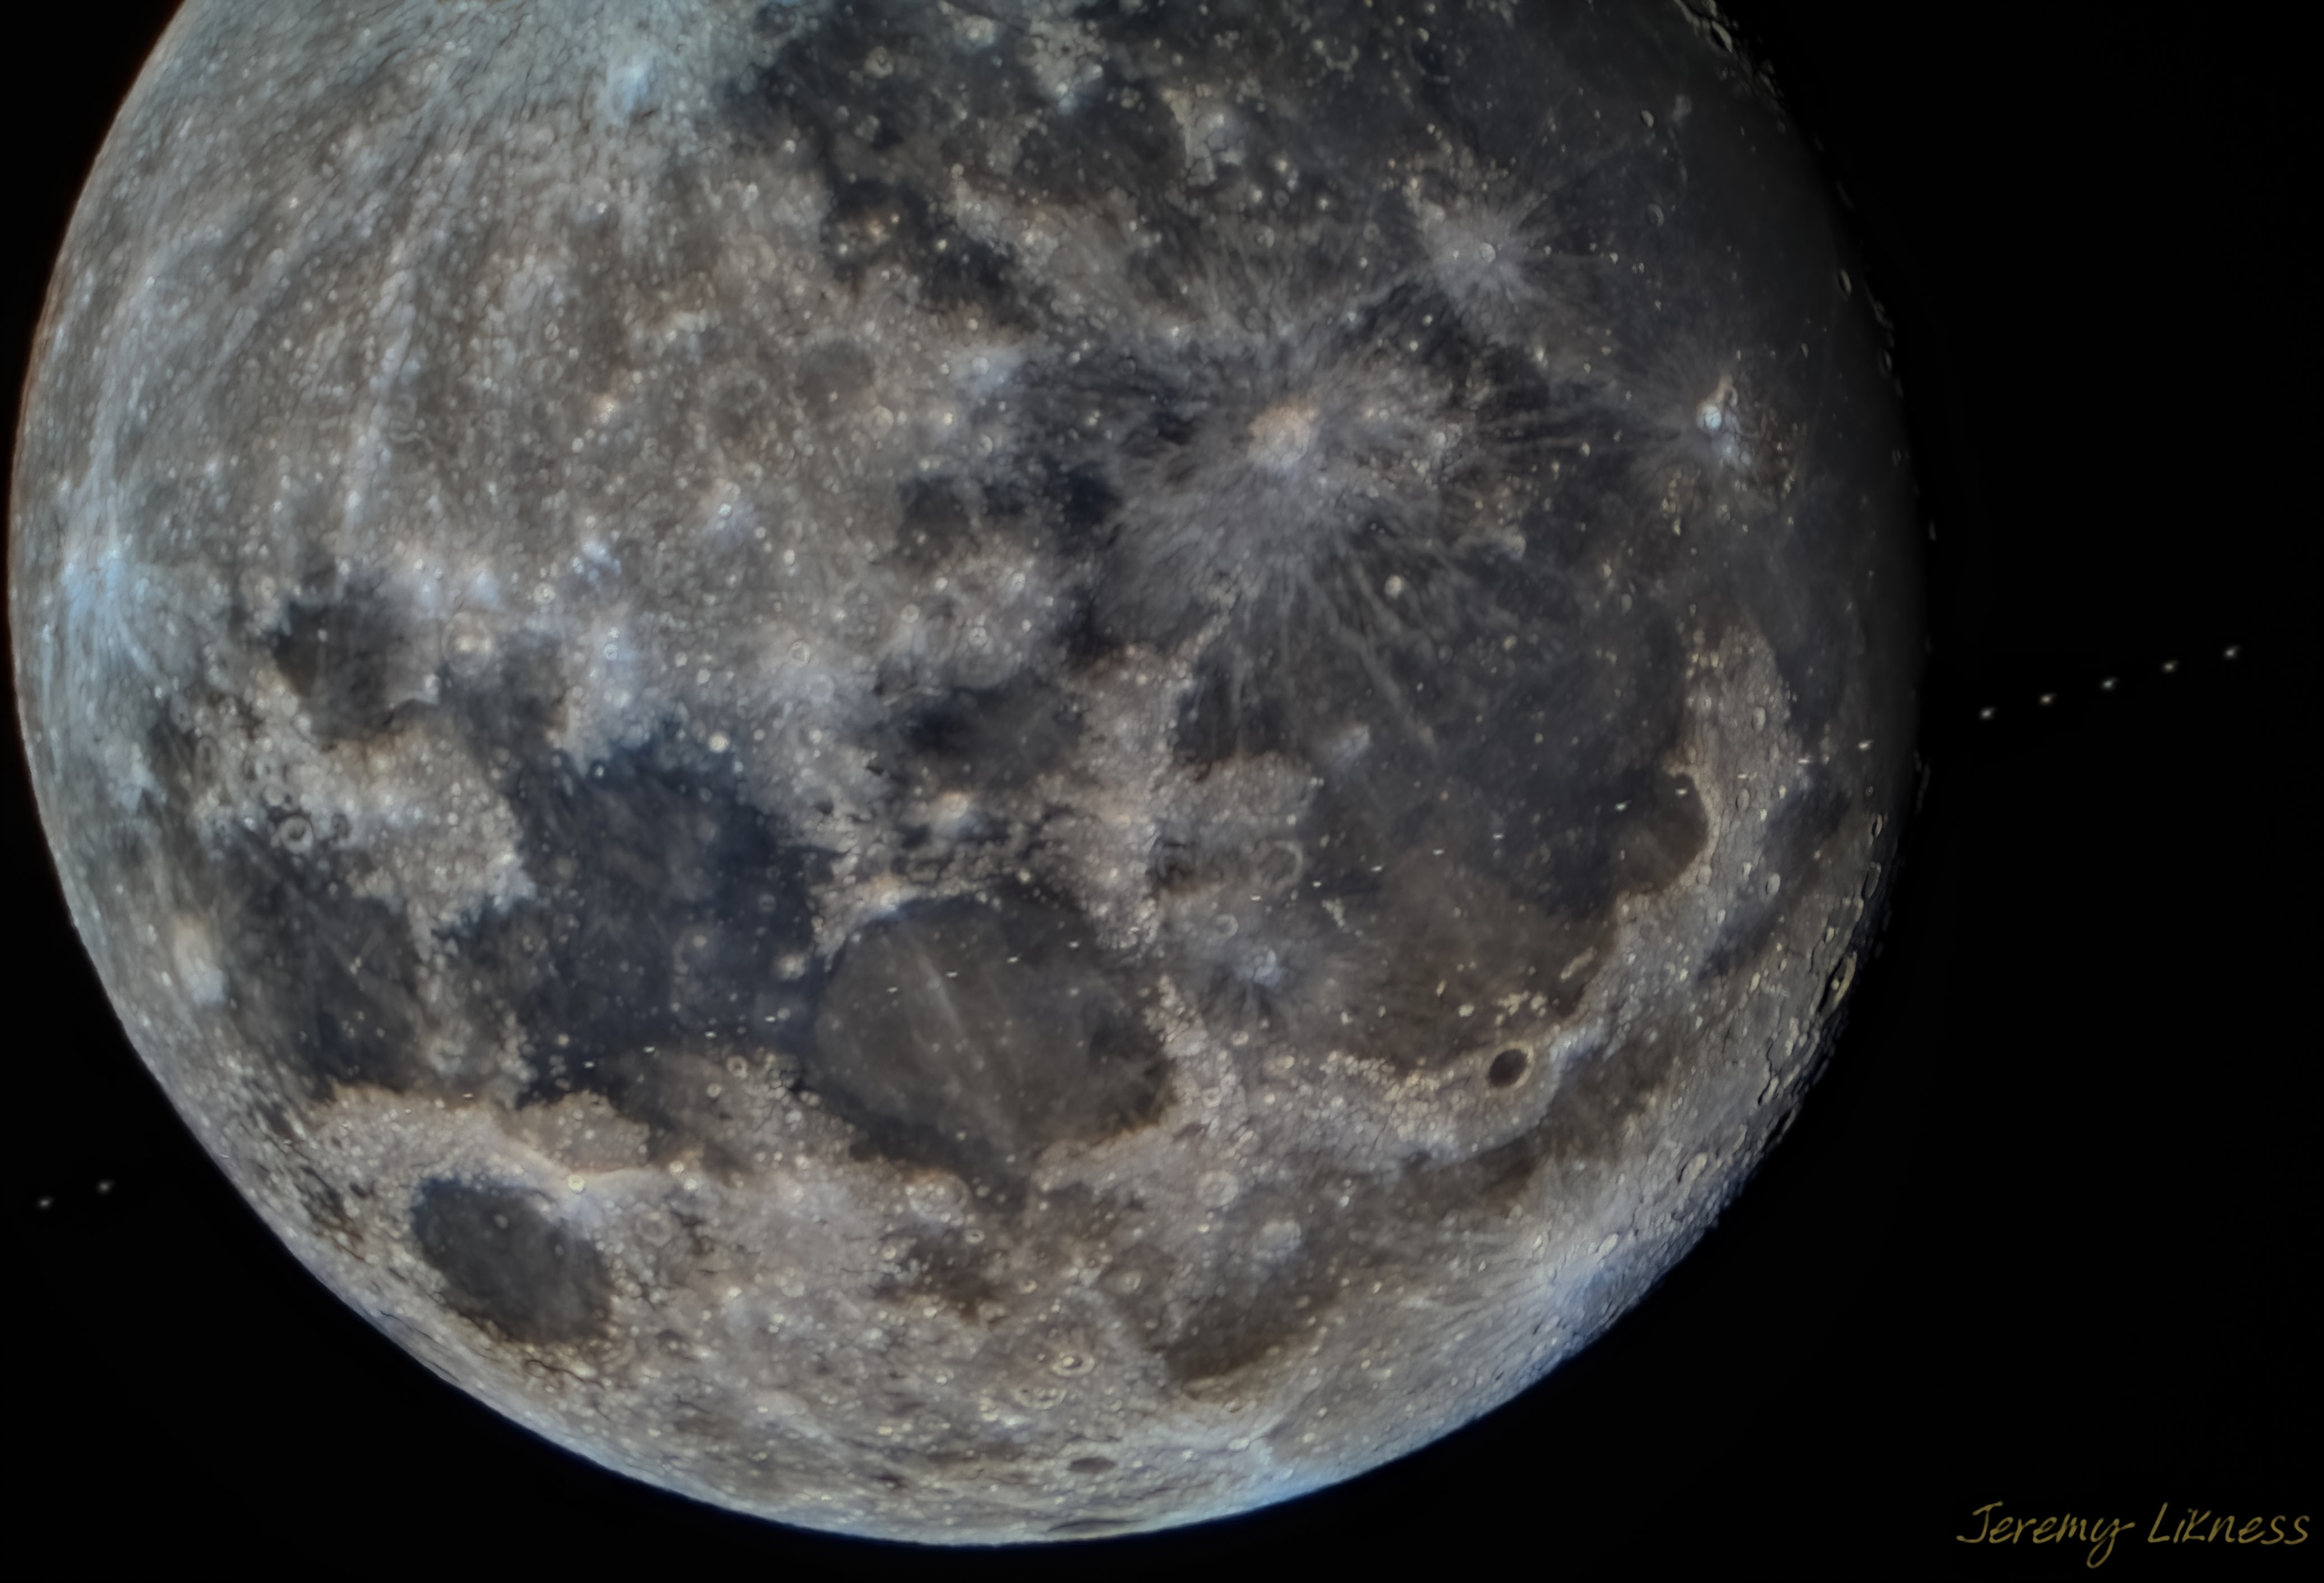
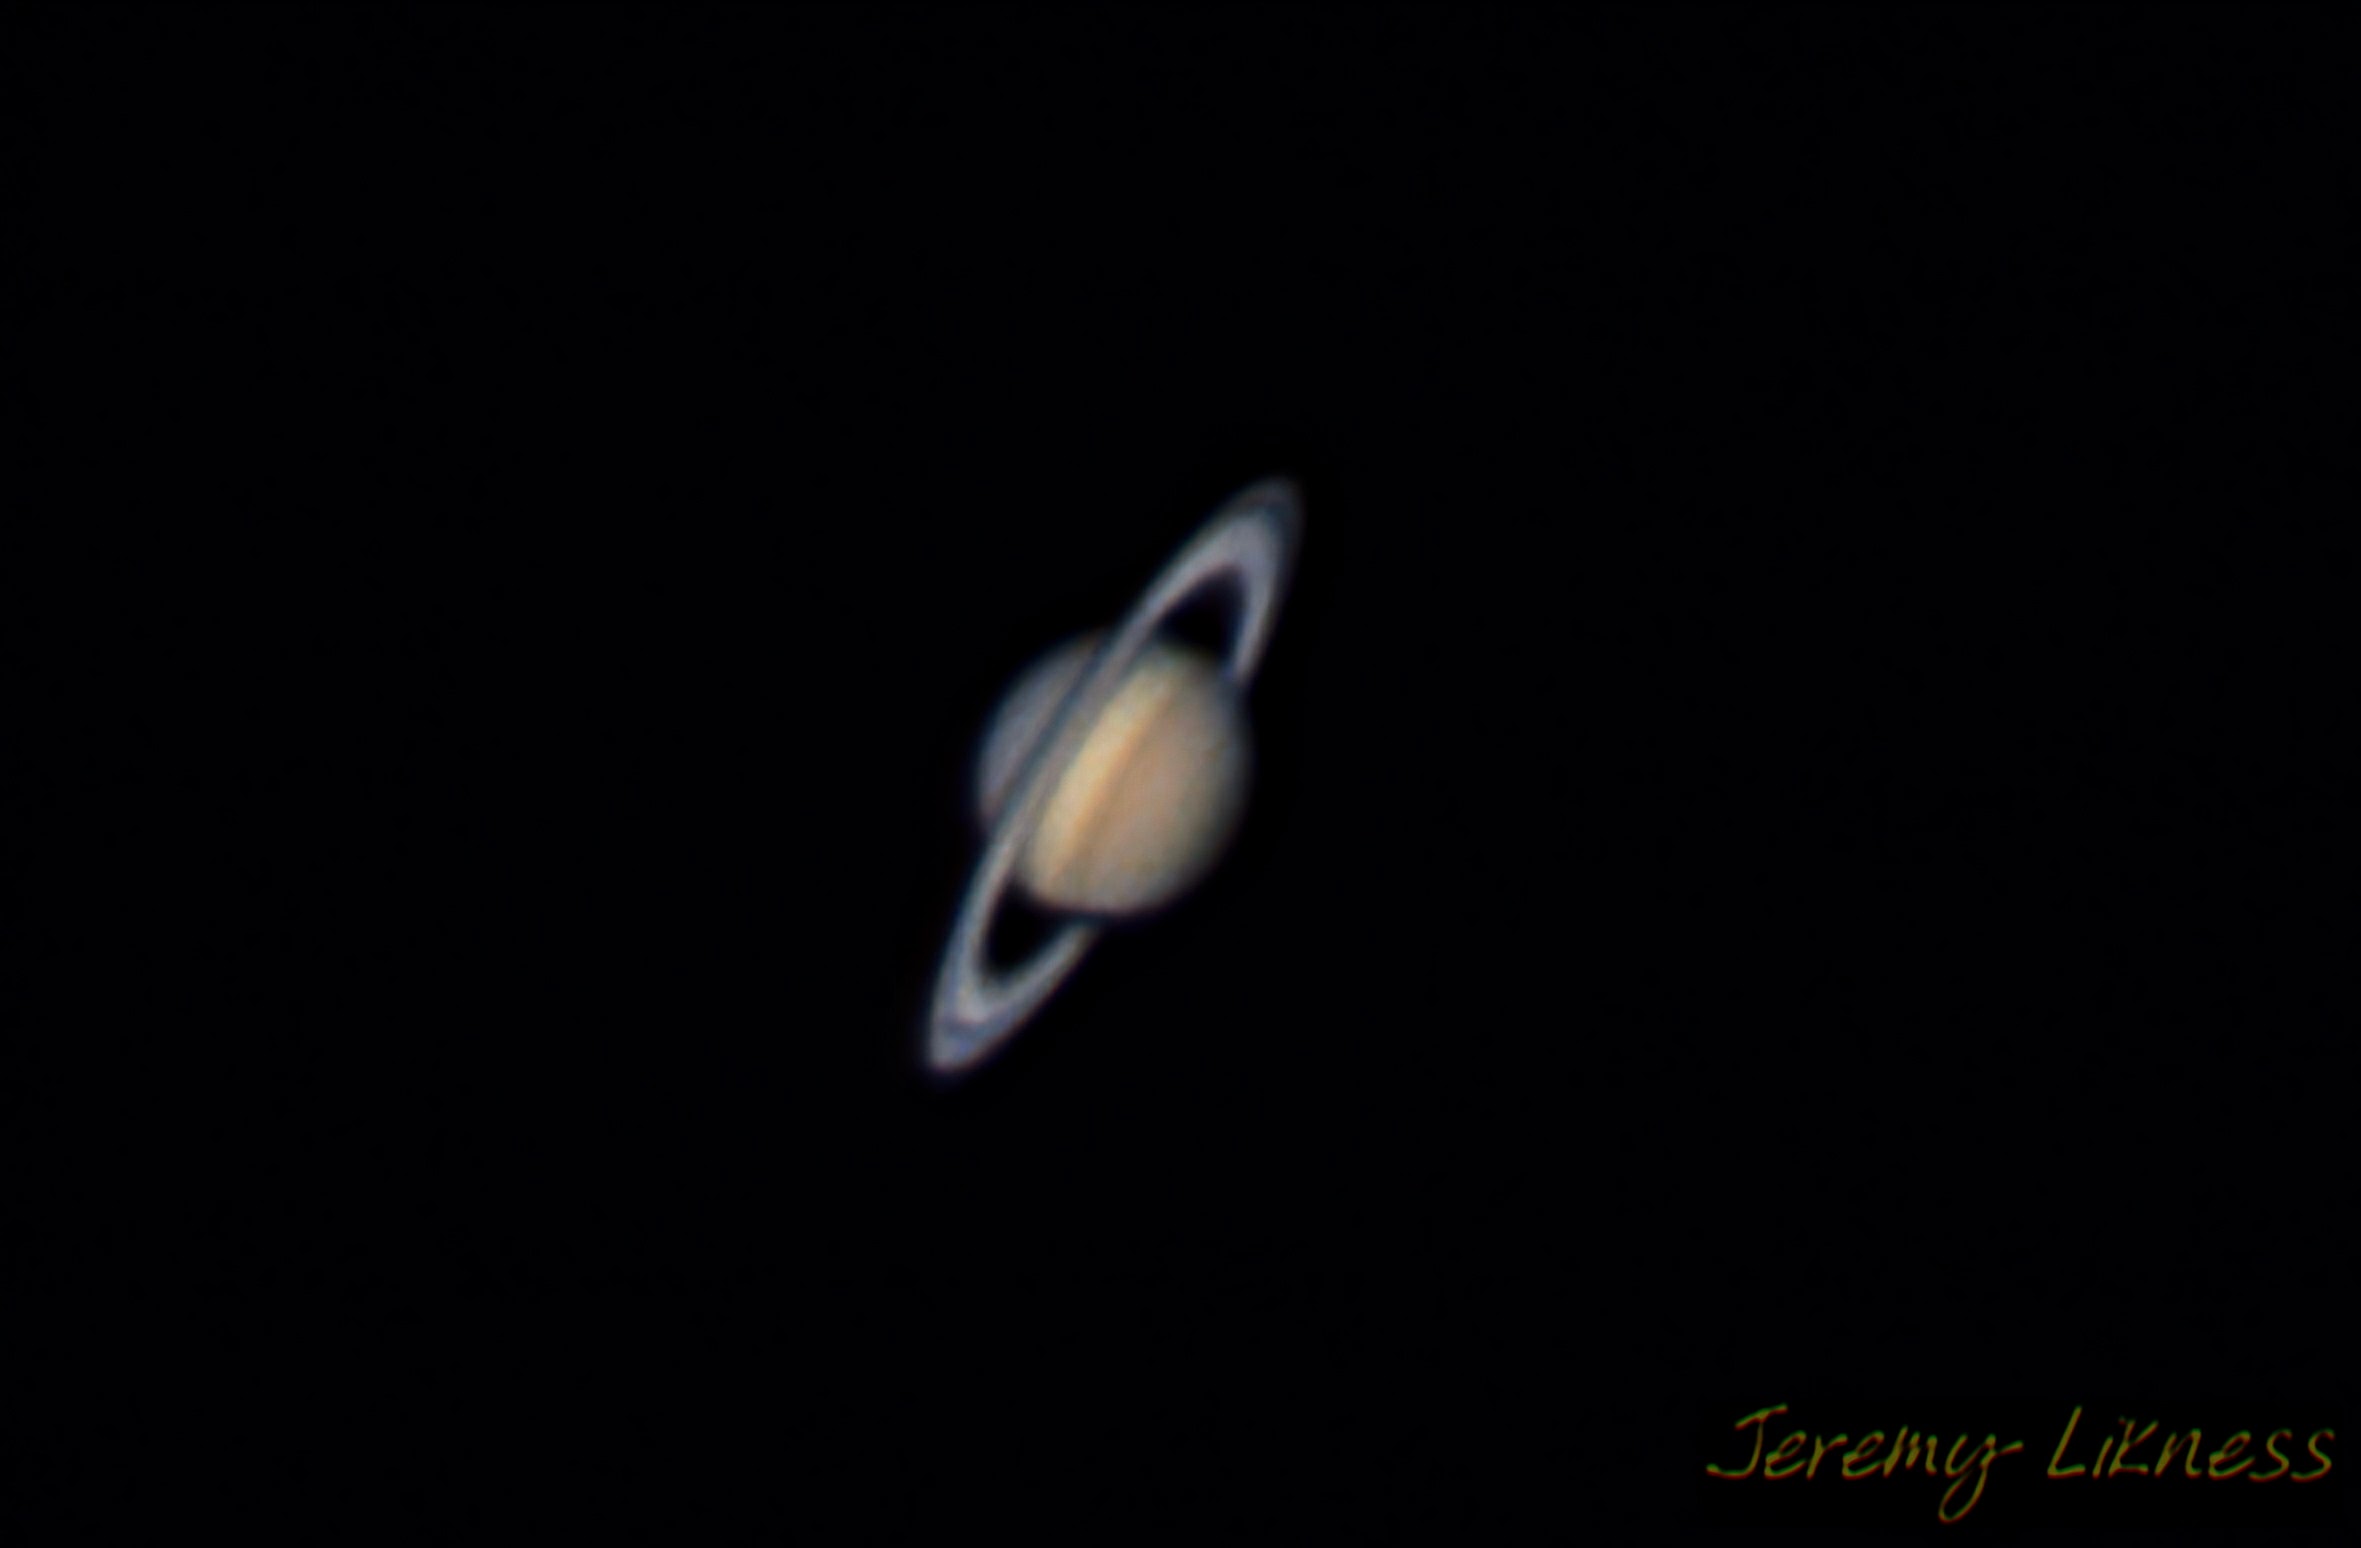
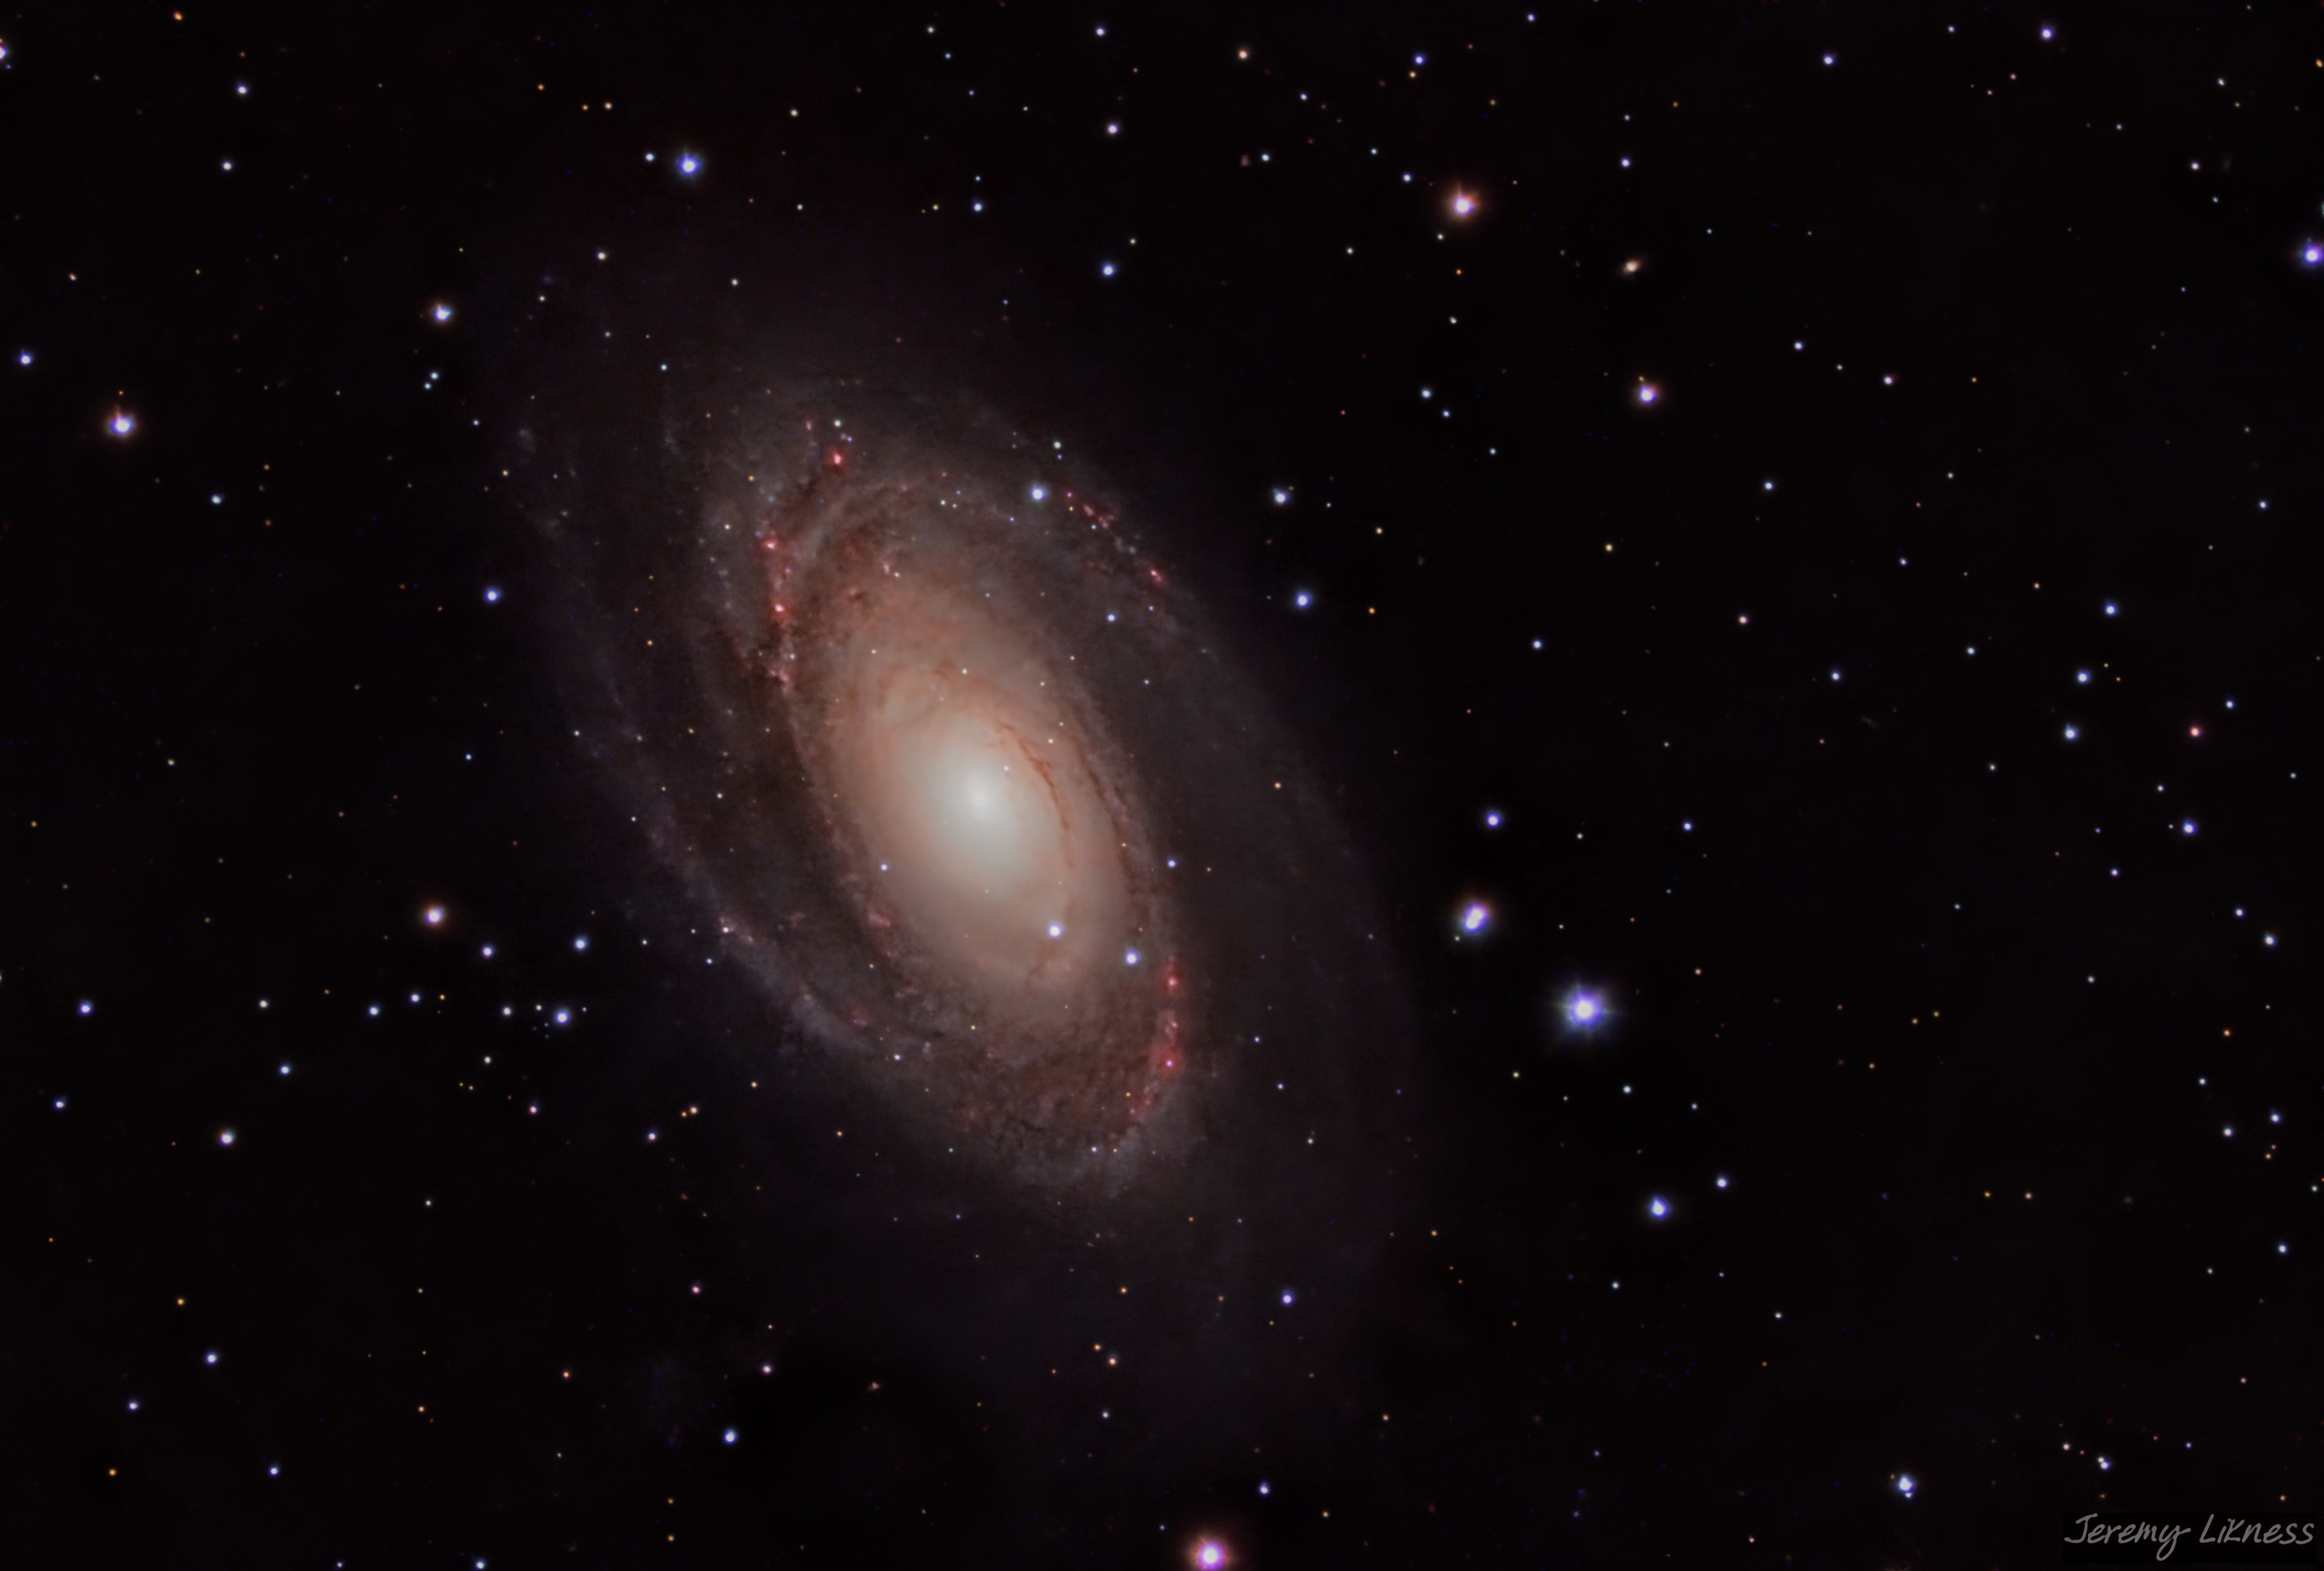
I picked this scope due to its flexibility. The Schmidt-Cassegraine design uses a mirror to triple the focal length to 2350mm. The 9.25” or 235mm aperture makes it f/10 out of the box. I can use the 0.7x flattener to widen the field of view to 1645mm or add a PowerMate to narrow it to 5875mm. Although I haven’t explored the option yet, you can also replace the secondary mirror with a special camera and image at f/2 (470mm).
Curious about what it’s capable of? Here’s a link to my Celestron EdgeHD 9.25 photographs.
Example nebula:
International Space Station (ISS):
Saturn:
A galaxy:
I’m a huge fan!
Celestron CGEM-II Mount
It takes more than a tube and a camera to capture quality deep space photographs.
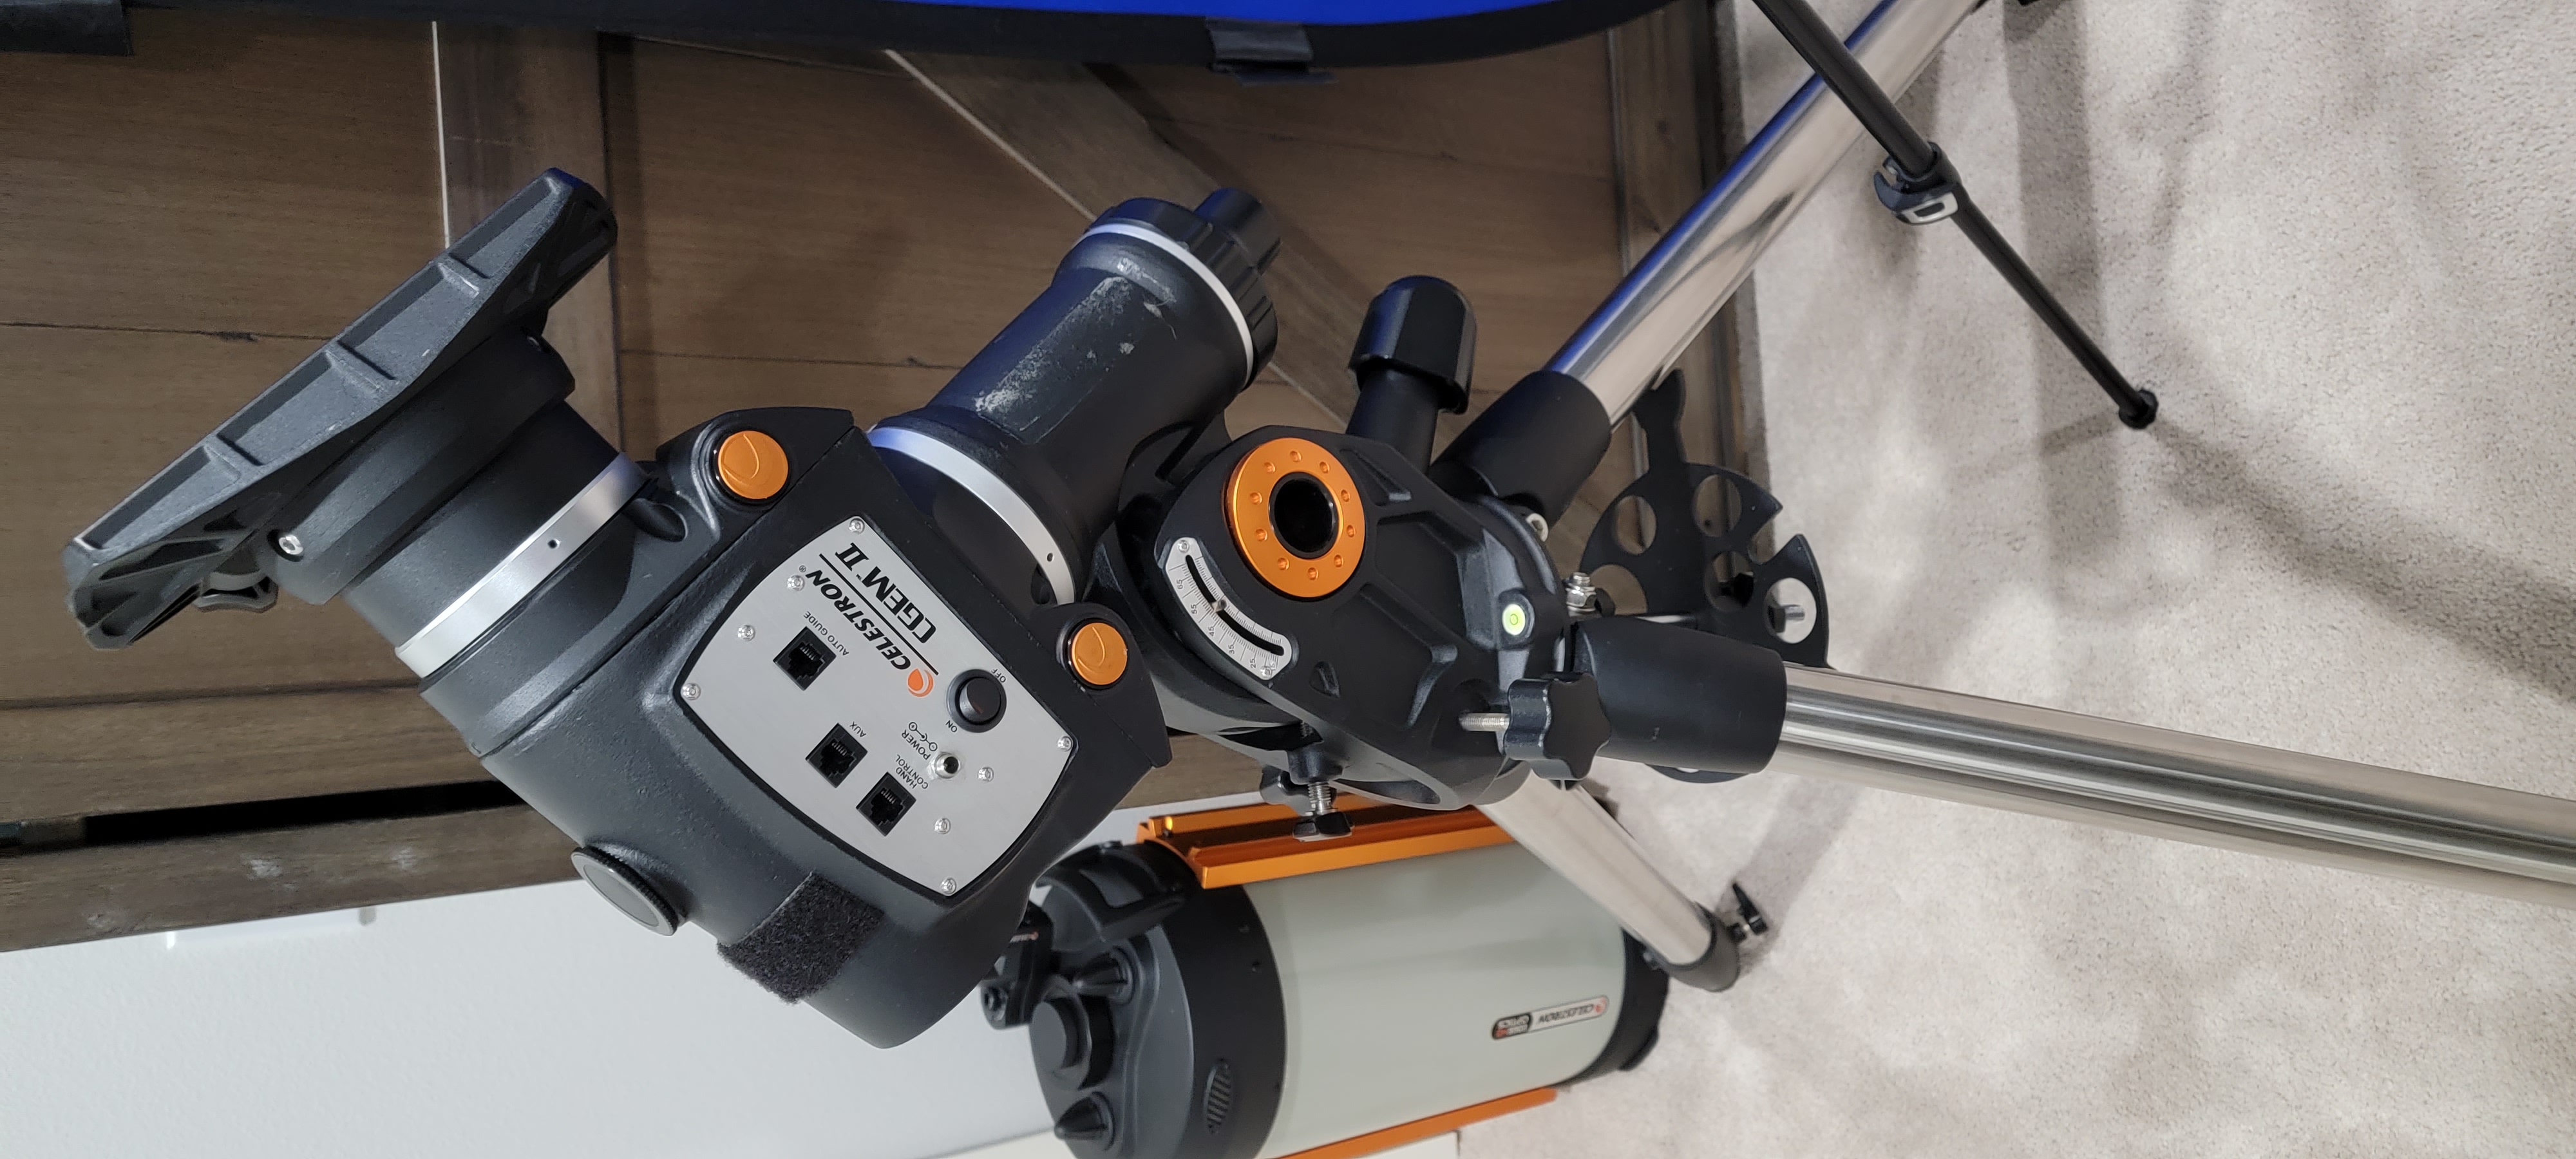
A mount is the combination of a tripod and a motor capable of supporting the weight of your telescope and cameras or other accessories. The motor rotates to follow the stars as they move across the sky. The right mount is crticial to successful long-exposure astrophotography. At 60 pounds (27kg) the Celestron CGEM-II Mount and Tripod is not considered “portable.” It takes time to setup (see an example in my Celestron CGEM-II first light video) but does a solid job. I originally wanted a Sky Watcher EQ6-R Pro, but it was on backorder indefinitely at the time so I went with the CGEM-II. I have not been disappointed!
Star Adventurer GTi
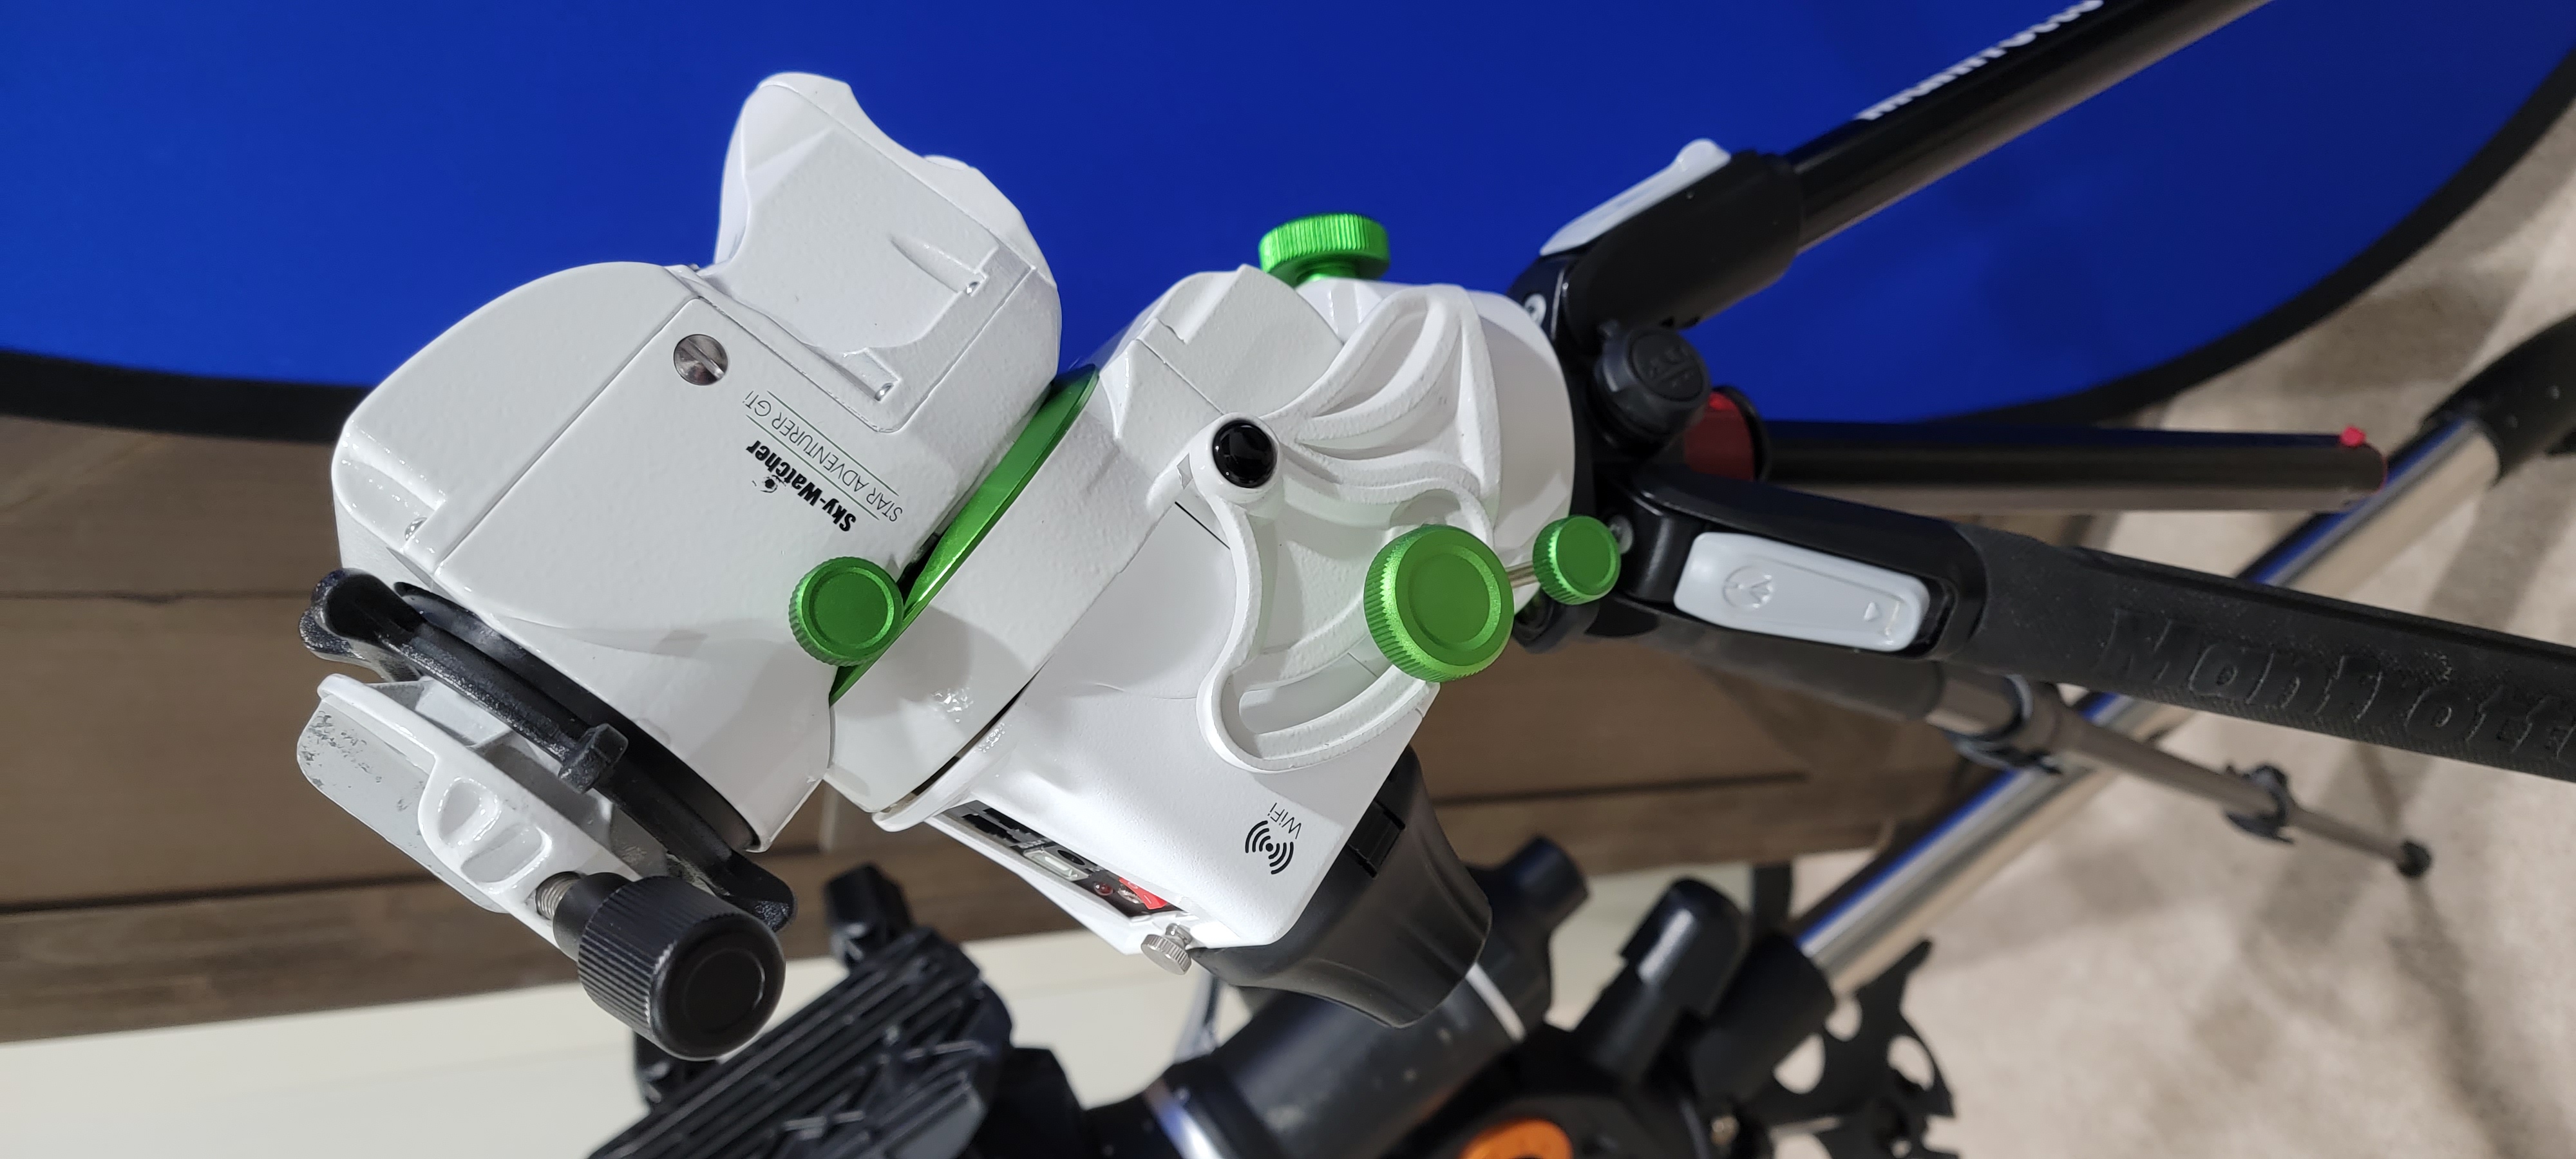
Compared to the heavier CGEM-II, the Sky-Watcher Star Adventurer GTi weighs just 8.2 pounds (3.7 kg) and I use it with the Manfrotto 190 Aluminum Tripod which adds another 4.4 pounds (2 kg).
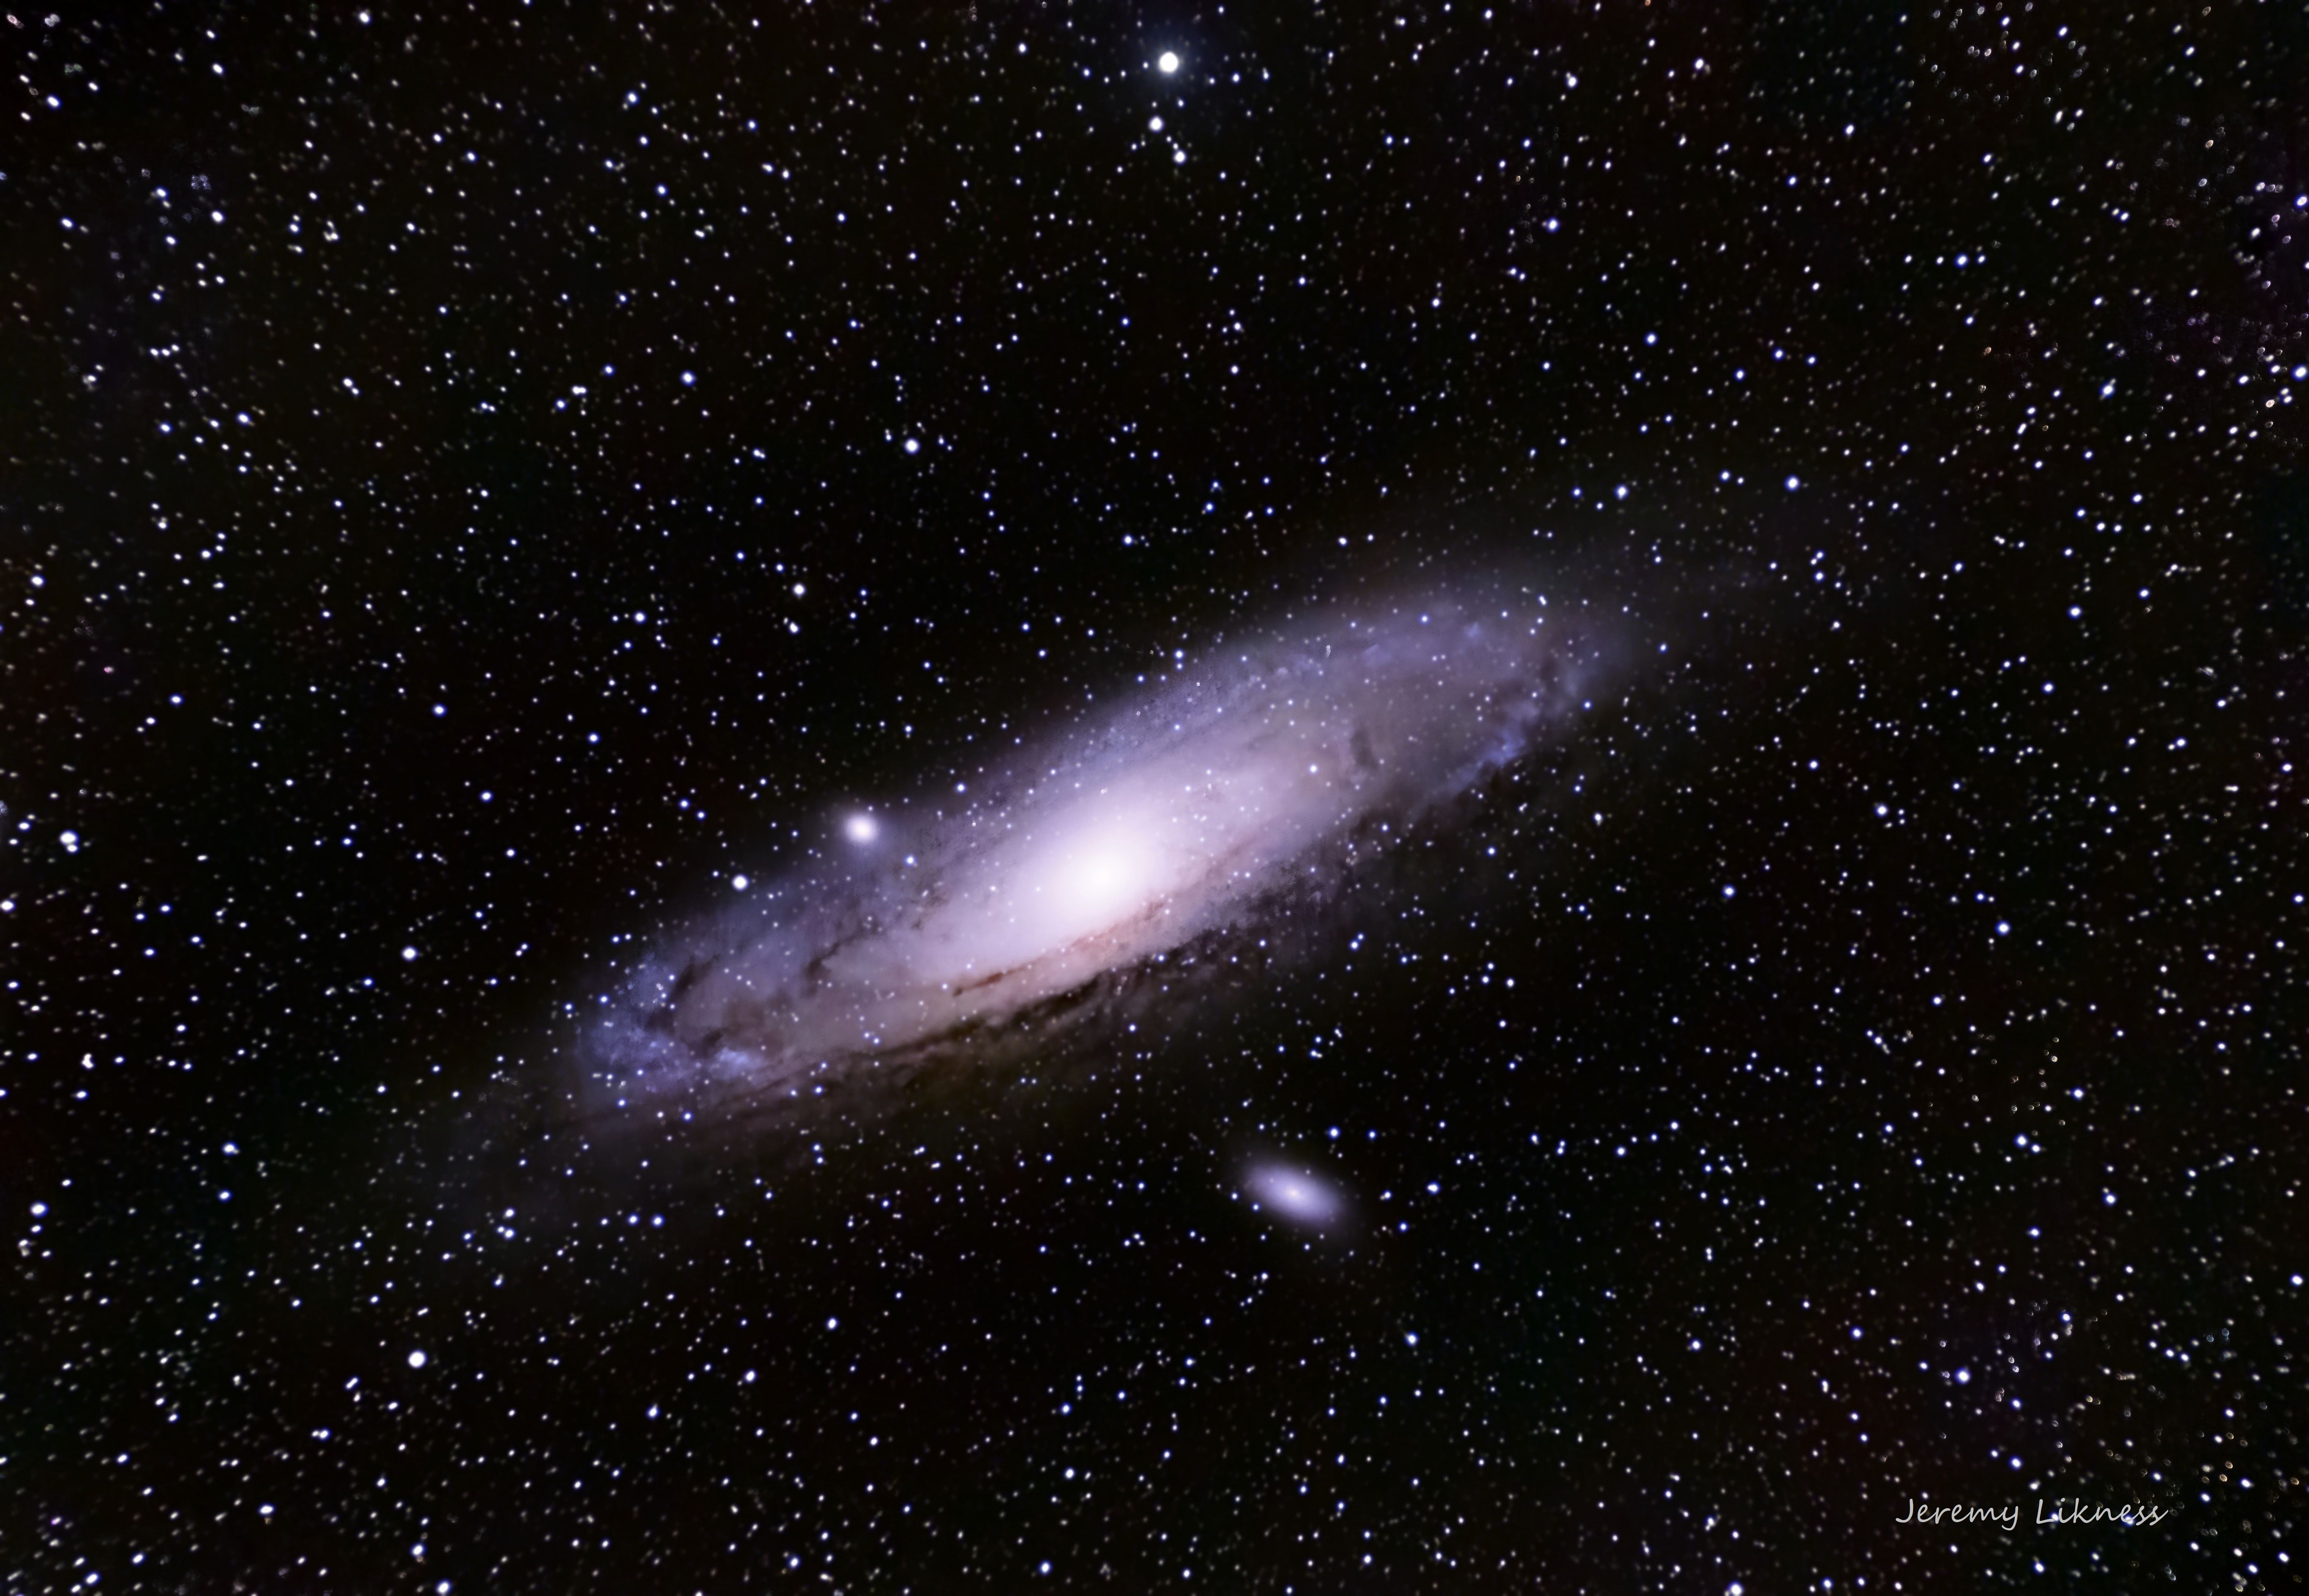
This is a very portable system that performs well. I’ve loaded it to its 11 pound (5kg) capacity and had it track accurately for 5-minute exposures in a completely battery-powered setup. All of the sky images taken in my Cayman collection used this mount including this image of the Andromeda galaxy.
Counterweights and bars
One key to successful imaging is balancing your imaging train in both the RA and DEC axis. I have a video that shows how I balance my mount.
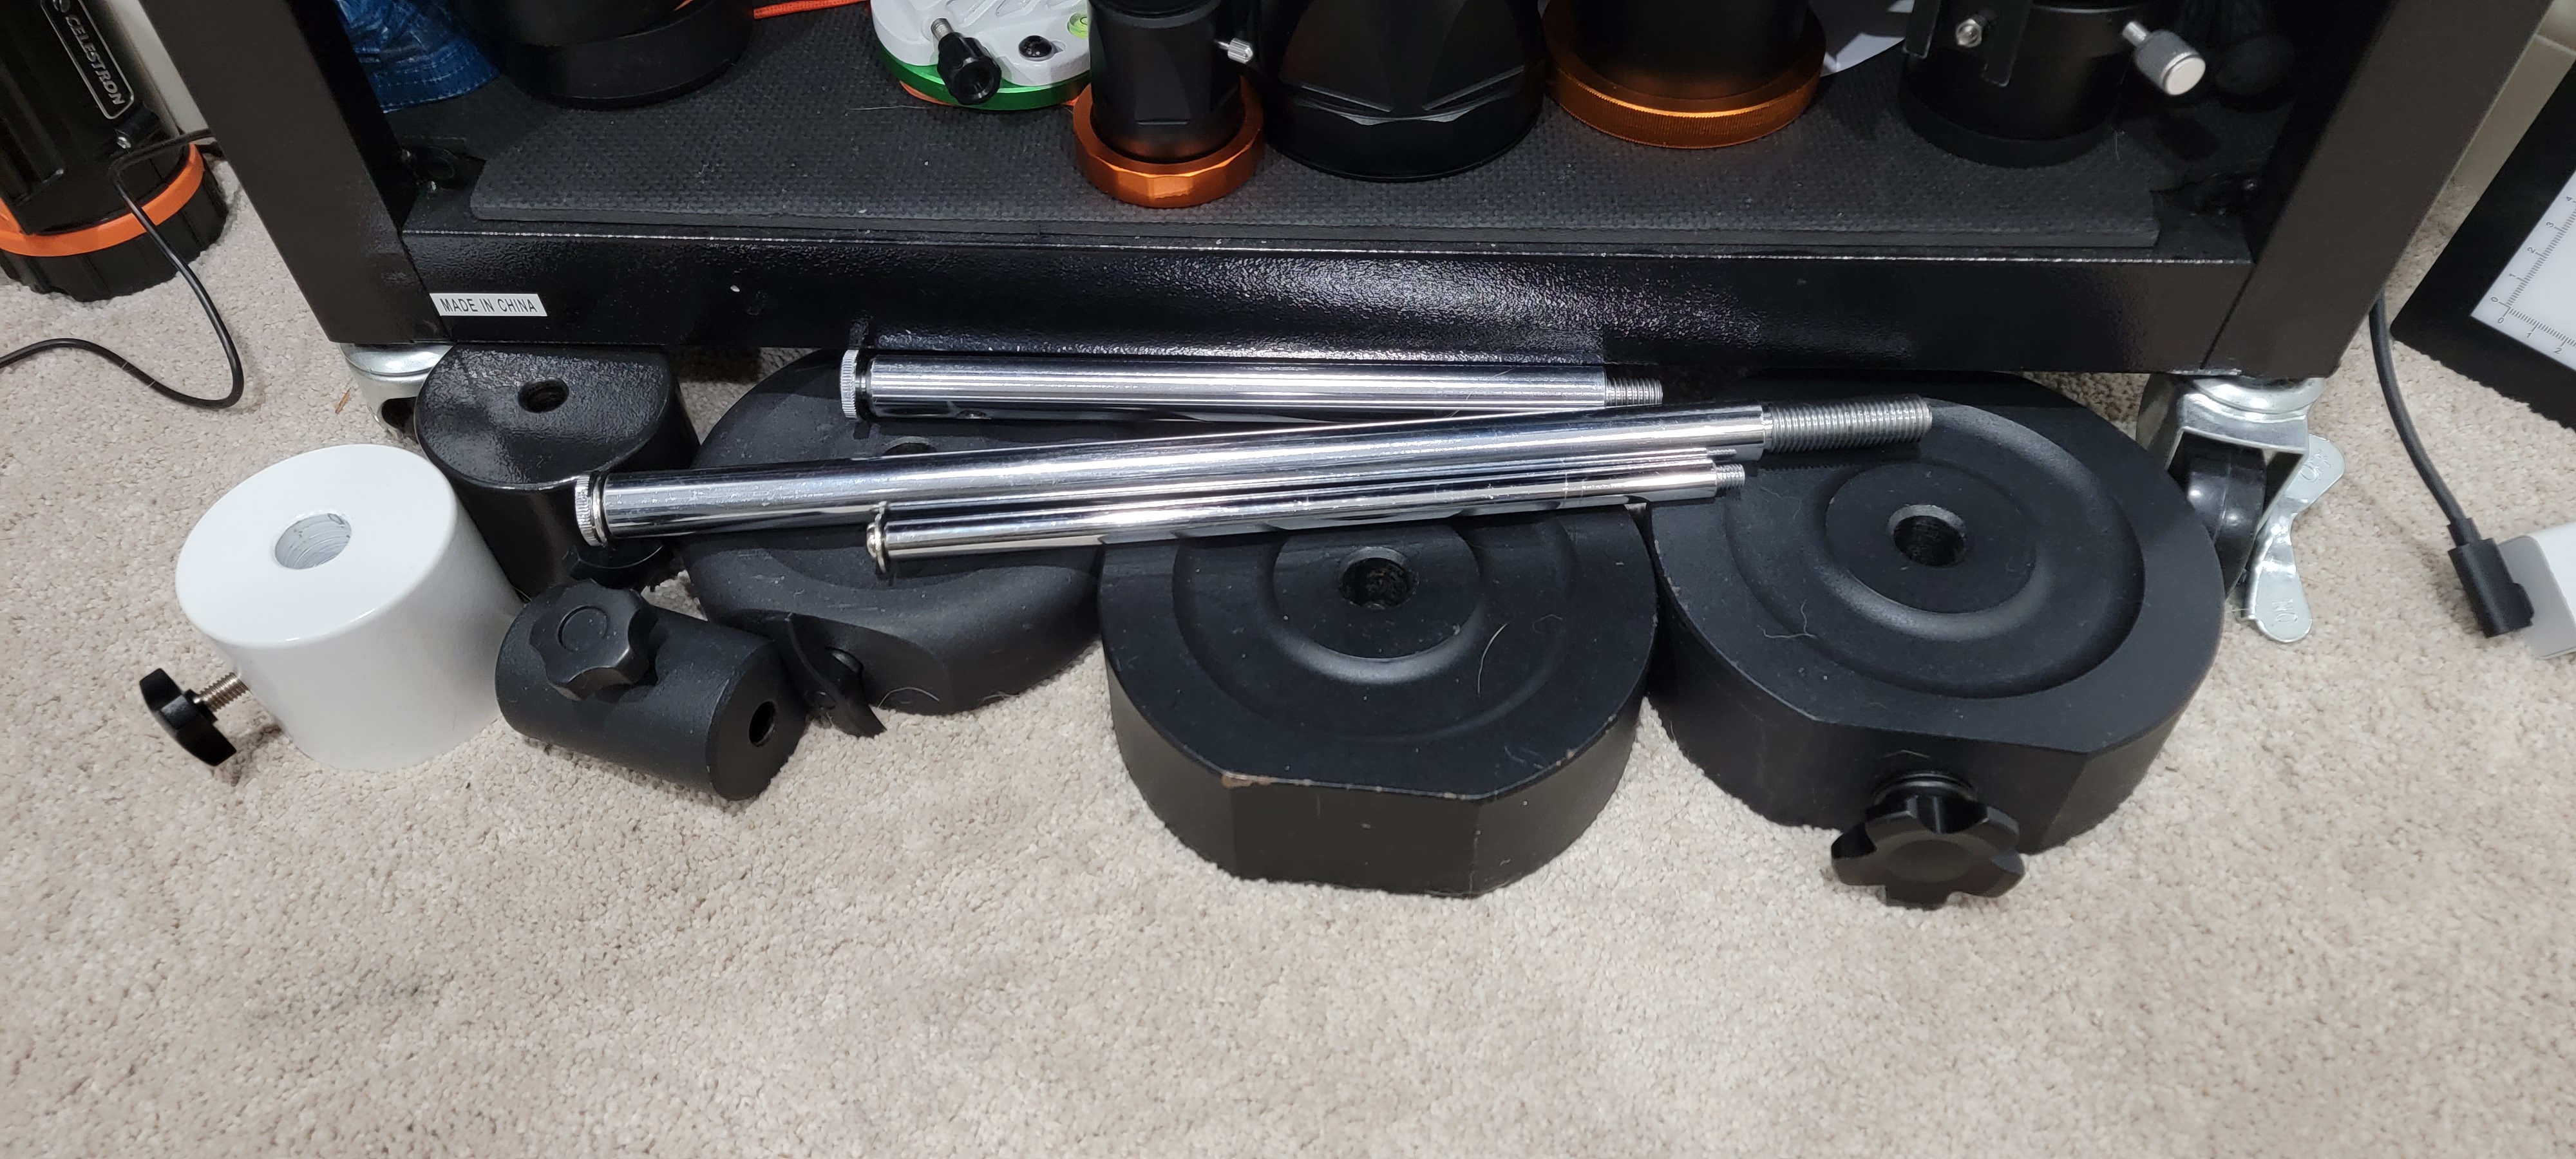
Pictured are counterweight bars for the CGEM-II, Star Adventurer Mini (SAM) and Star Adventurer GTi. For the CGEM-II, I picked up an additional weight.
All-weather cover
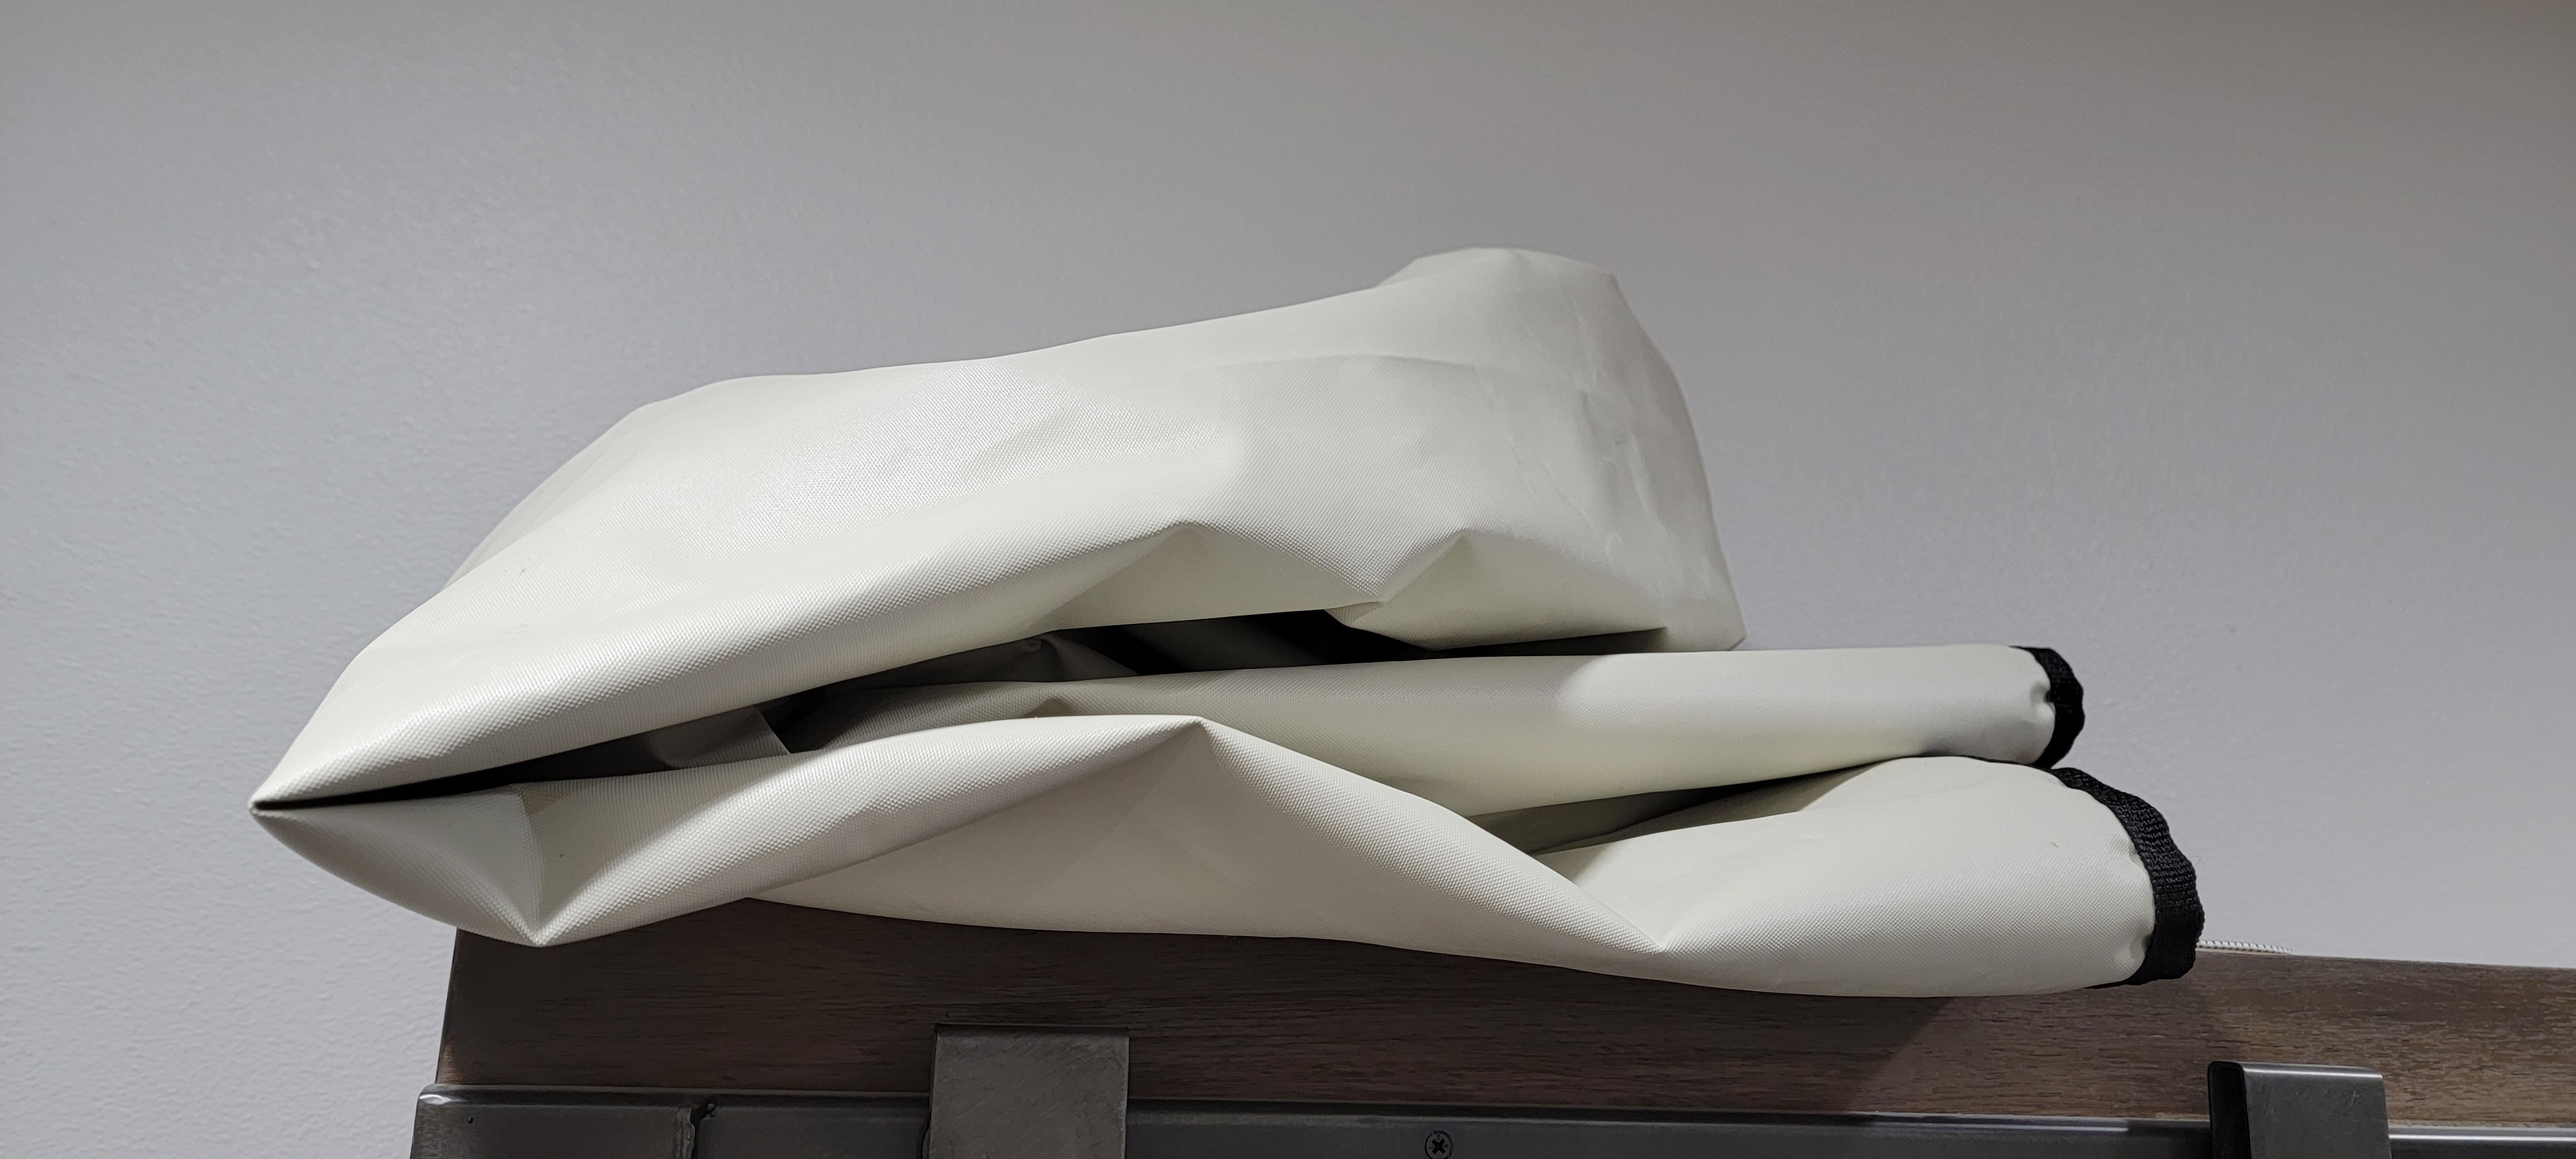
An all-weather cover saves significant time (and effort) when I have aligned my rig and want to leave it out for multiple nights of imaging.
I chose the TeleGizmos 365 series cover because of its reputation and level of coverage. I don’t leave my scope out in extreme weather conditions. However, weather is unpredictable in my area of the Pacific Northwest and it can rain when the forecast calls for perfectly clear weather. The cover gives me piece of mind that my equipment is protected from unexpected weather events. It also has a dual function: I use it to keep my equipment clean and dry during imaging sessions in the extreme cold.
The pegboard: cables and adapters
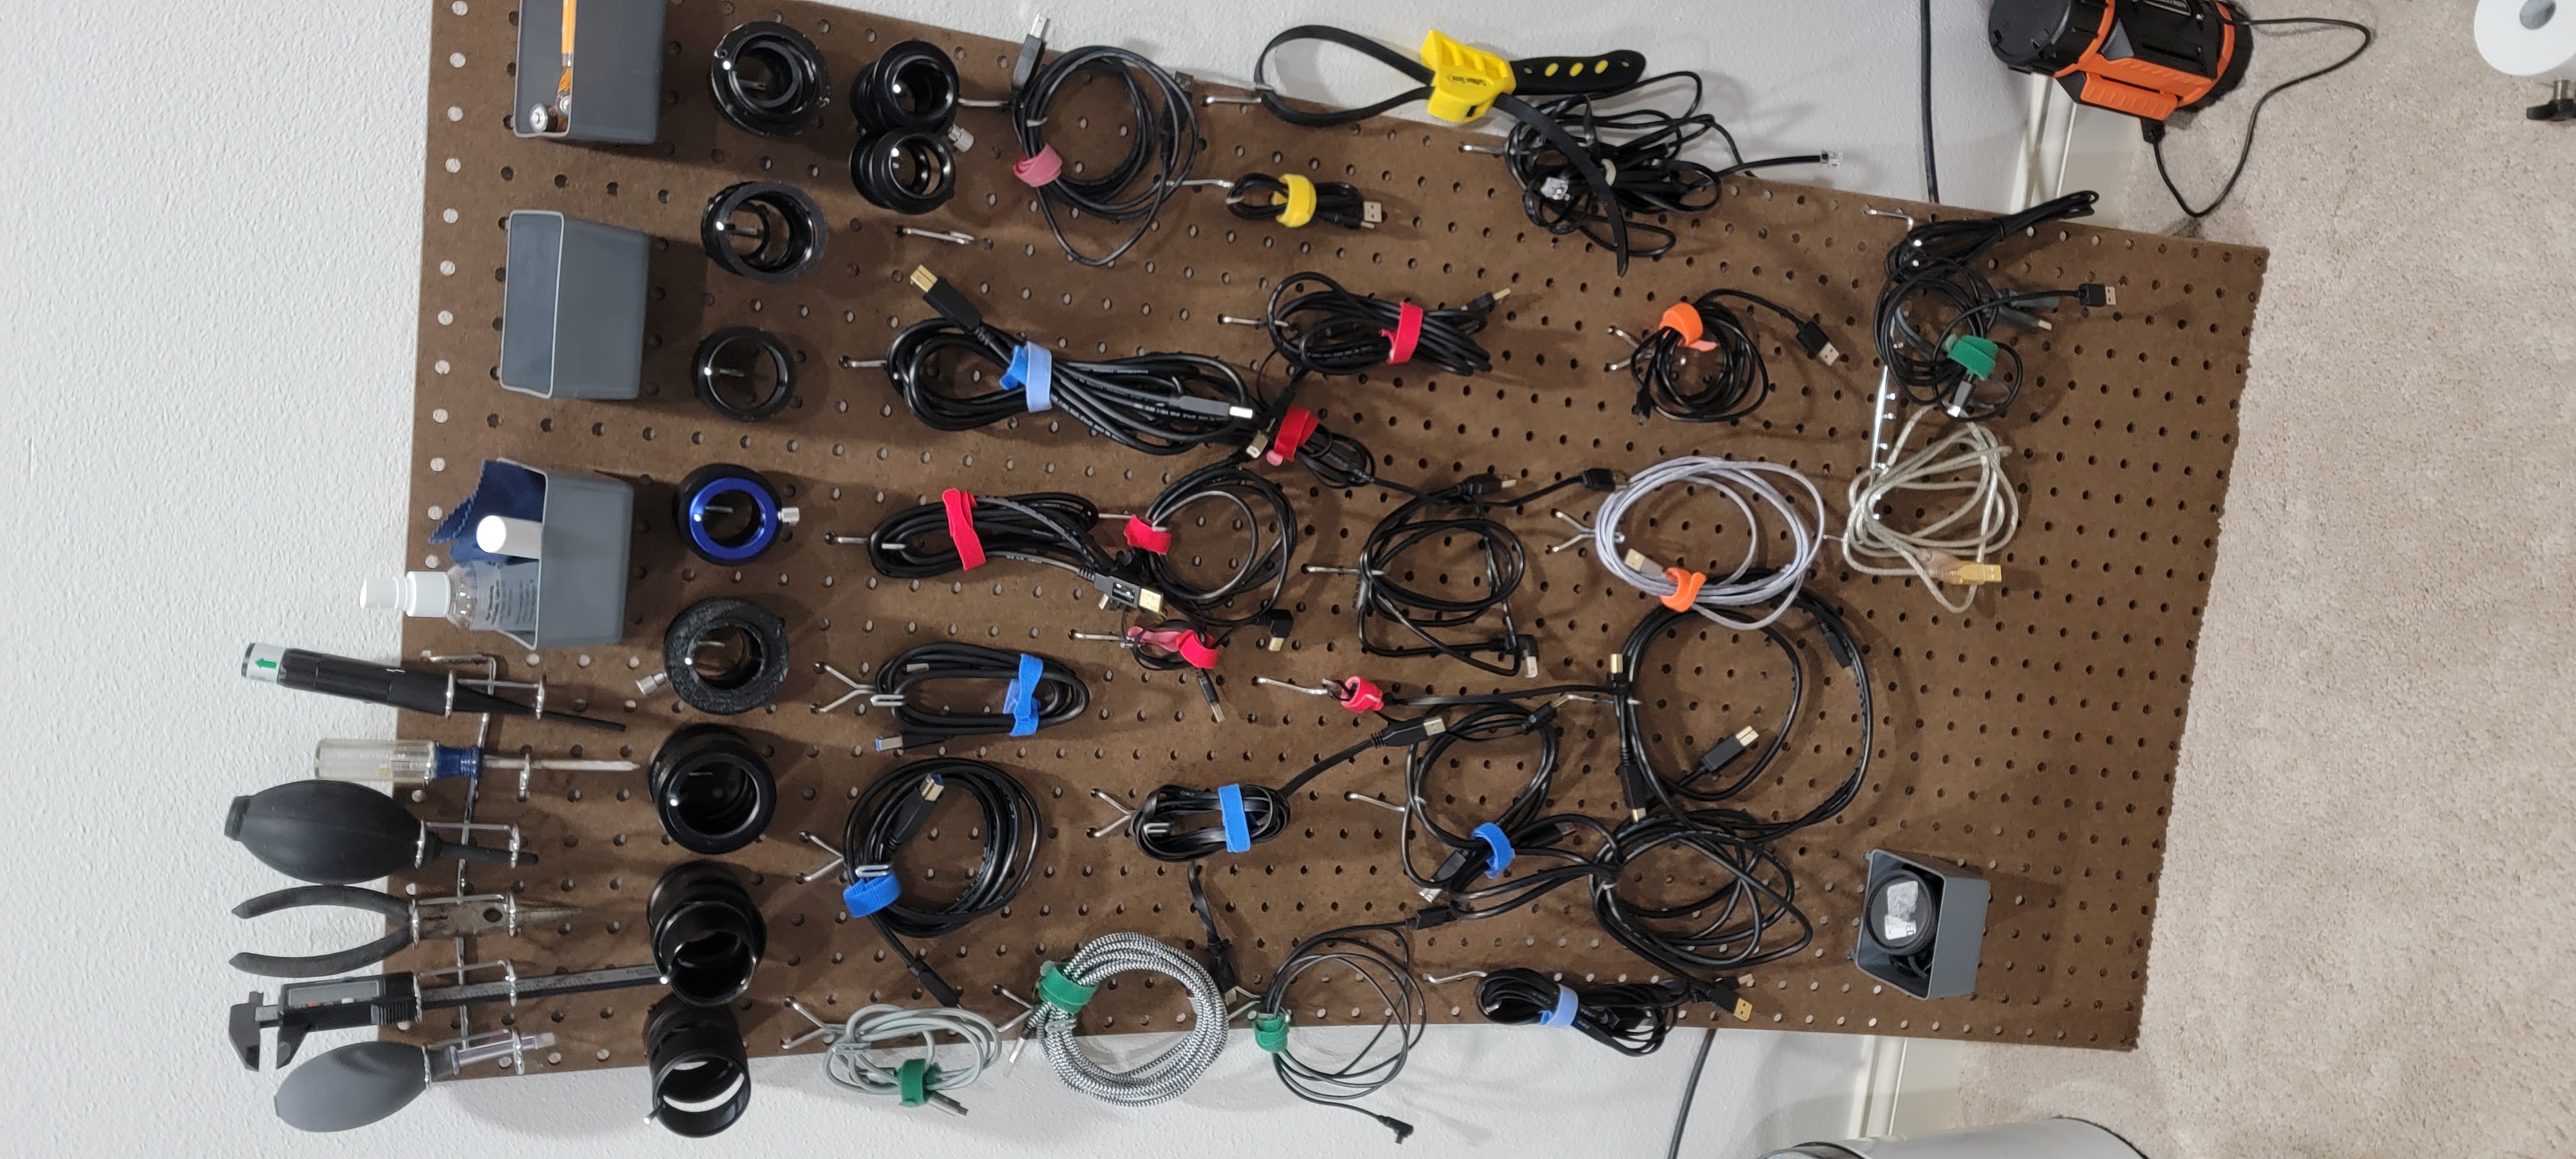
The pegboard revolutionized how I keep track of my astrophotography gear. I picked one up at a local home improvement store and purchased a variety pack of pegs online.
Color-coding the cables has been extremely helpful. I picked up a set of colored Velcro bands to identify the different types of cables. I can now easily find the cable that I need at a glance, while winding and storing is easy with the Velcro to close the loop. In the field, the Velcro helps with cable management.
Looking across the top, left to right, top to bottom, you can see:
- A few blowers to keep lenses clean.
- A set of digital calipers for measuring extensions and adapters to achieve back focus.
- Pliers for grip.
- A screwdriver.
- A green laser that was designed for guns but works just as well to help find targets with the scope. I simply brace the laser against the tube, ensure there are no planes nearby, then turn on the laser and move the scope until it is shining on my target. If I’m not 100% on target in the scope, I’m very close.
- A cleaning kit for lenses including soft cloth, brush, and cleaning fluid.
- Screws and allen wrench (hex keys) that fit most of my astro pieces.
- Batteries because electricity.
- I have a huge collection of extensions and adapters for attaching cameras, telescopes, filter wheels, and other gear. Some connect different sized threads, while others act as spacers to achieve proper backfocus.
- USB Mini B cables (orange) are typical for hand controllers.
- USB Micro B cables (green) are common for phones and consumer cameras.
- USB 3.0 type A to type B (blue) are what most of my dedicated astrophotography cameras use.
- USB 2.0 type A to type B (red) is common for focusers, filter wheels, and slower cameras.
- The strap wrench is a life-saver. See my astrophotography tip “Unbind a stuck adapter or extension” if you’re curious how it works.
- RS232/RJ11 cables to connect hand controllers and accessories to the mount.
- USB extension cords for more reach.
- Miscellaneous caps for cameras and parts of the imaging train.
On the floor is a Celestron power brick for powering my mount in the field.
The organizer: bits and pieces
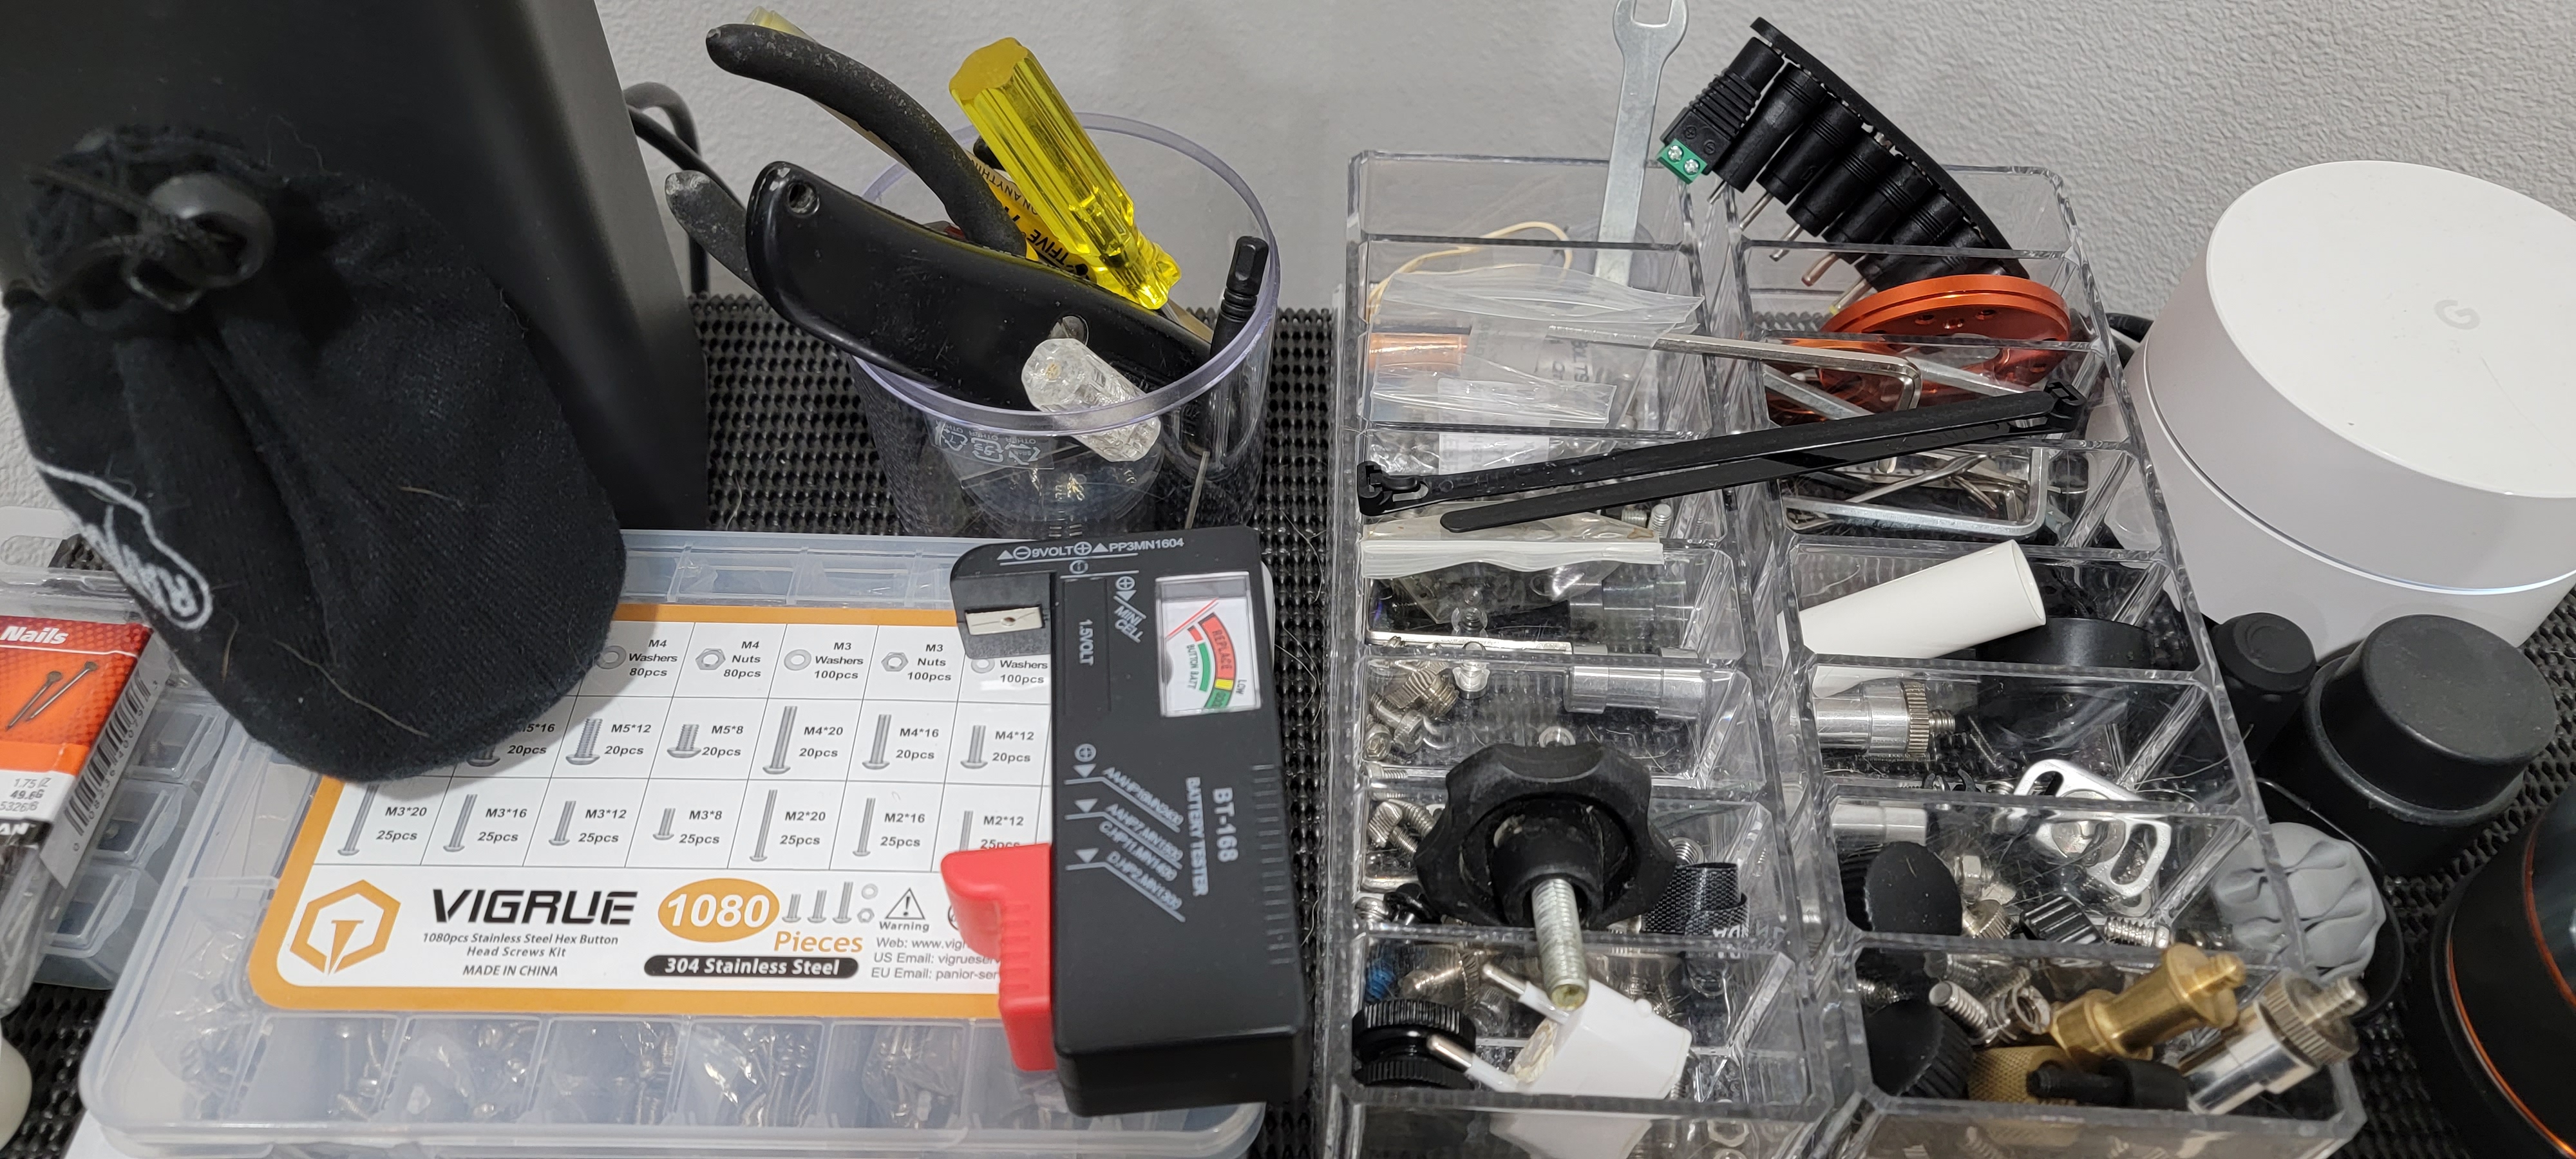
Another great investment for me was a tool chest that I bought on sale from a local home improvement store. Instead of storing tools, I store astrophotography gear. I picked up these bins to organize some items on top.
What you see includes:
- More batteries (inside the black pouch).
- A battery tester that uses the current of the battery you’re testing.
- More pliers.
- Screwdrivers, including jewelers size for some camera and adapter screws.
- Zip ties.
- Tripod adapter screws for various ways of switching between 1/4” and 3/8” threads.
- Several sets of astrophotography screws.
- Removable knobs.
- Extenders for tripod connections.
- Lots of Allen wrenches (hex keys).
Filters and tools
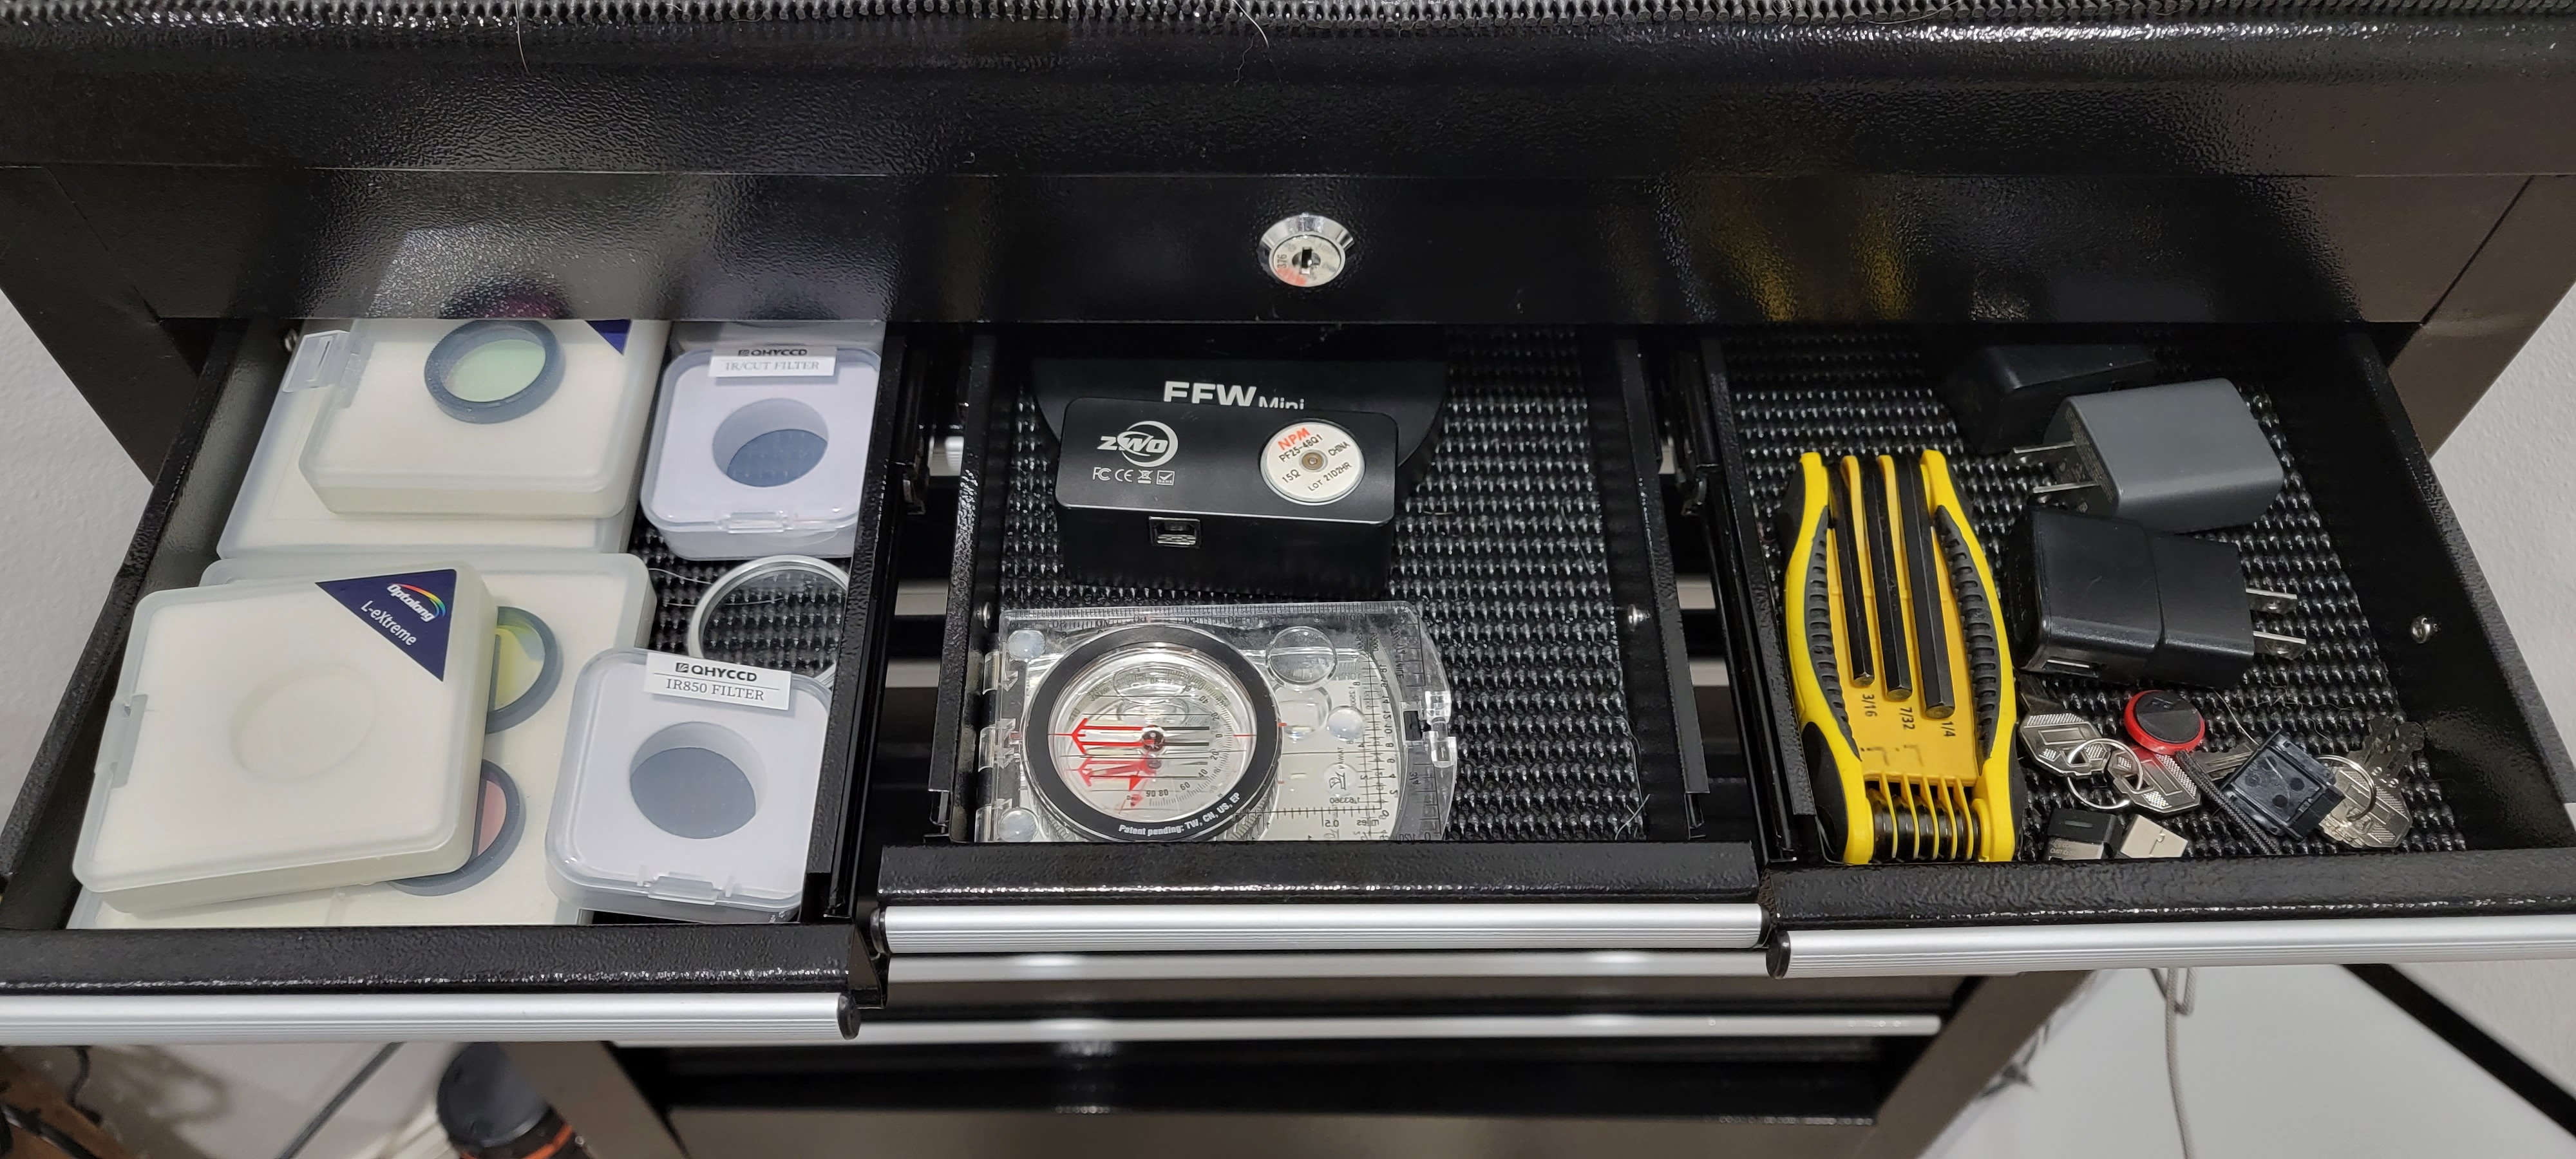
Next stop is the top set of drawers in my tool chest.
Filters
In the left drawer I keep all of my filters. These include:
- The Optolong L-Pro 1.25” light pollution filter.
- The Optolong L-eXtreme 1.25” narrowband pass filter.
- An IR850 pass filter (blocks visible light and passes infrared for cameras that can sense it).
- A CH4 methane pass filter that can enhance the details of certain planets by adding detail to the luminosity channel.
- I have standard UV/IR cut filter by Svbony and another one by ZWO.
- The red, green, and blue (RGB) filters needed by my monochrome planetary imaging camera.
💡 TIP: read the fine print, but the “L” or “luminance” filter you receive with RGB filters is often a UV/IR cut filter as well.
Tools
The other small drawers hold a variety of tools.
- An Electronic Filter Wheel (EFW) for automatically changing filters. This one is a 5-spot carousel for 1.25” filters that adds 20mm to the image train.
- In case we need to find our way: a compass. OK, so less dramatically, it helps me find North to do a rough alignment of my scope and mount.
- I already mentioned all the Allens, and this wrench is great at providing most of the available hex key sizes for me.
- I also keep extra USB plug adapters.
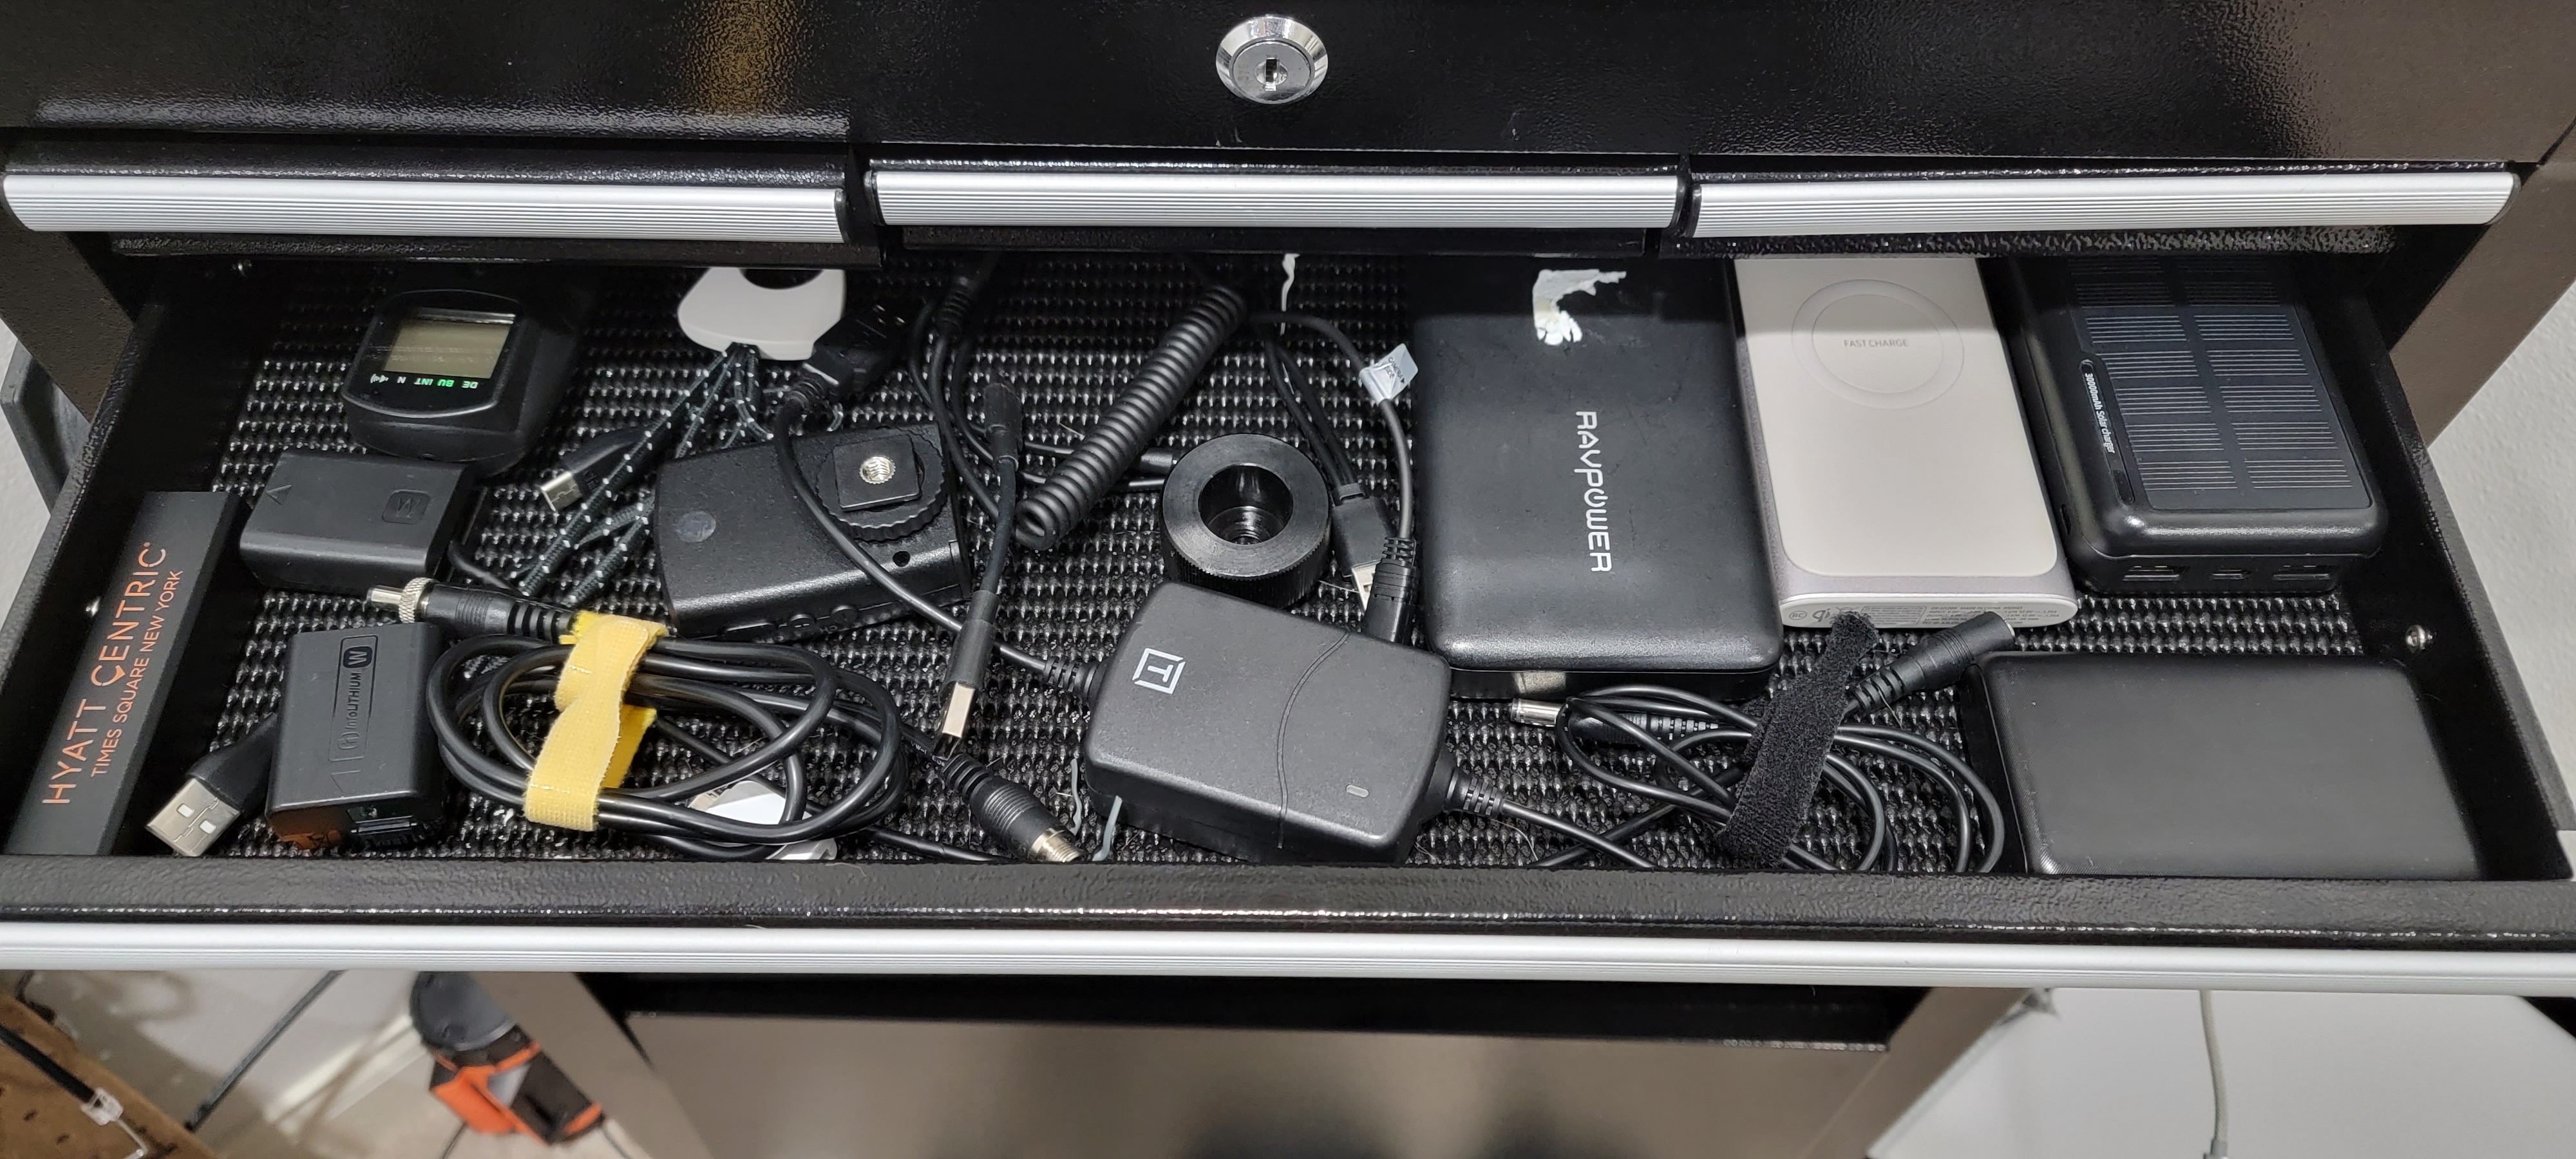
Phones and chargers
To keep things simple, I try to keep most phone-related items together.
- I can power most of my setup with power bricks. I keep several and always bring more than one with me on trips just in case.
- For my camera, I use an infinity battery. There is an adapter for my camera that looks like a standard battery with a long USB tail. The tail part plugs into the “infinity battery” which of course does not have infinite capacity and itself plugs into a power supply. The “infinity” part is because I can disconnect the battery from the power brick and it will still hold a charge. This allows me to swap batteries on-the-fly without interrupting an imaging session because power flows even after I detach it from the base. If I have grid power, I use a plug adapter for the USB, otherwise I use one of my “bricks.” These are also great for spur of the moment setup.
- Sometimes I use an “old school” intervalometer for my camera shots.
- Finally there are extensions for cabling that both extend the distance my mount can reach from the power source and help manage cables.
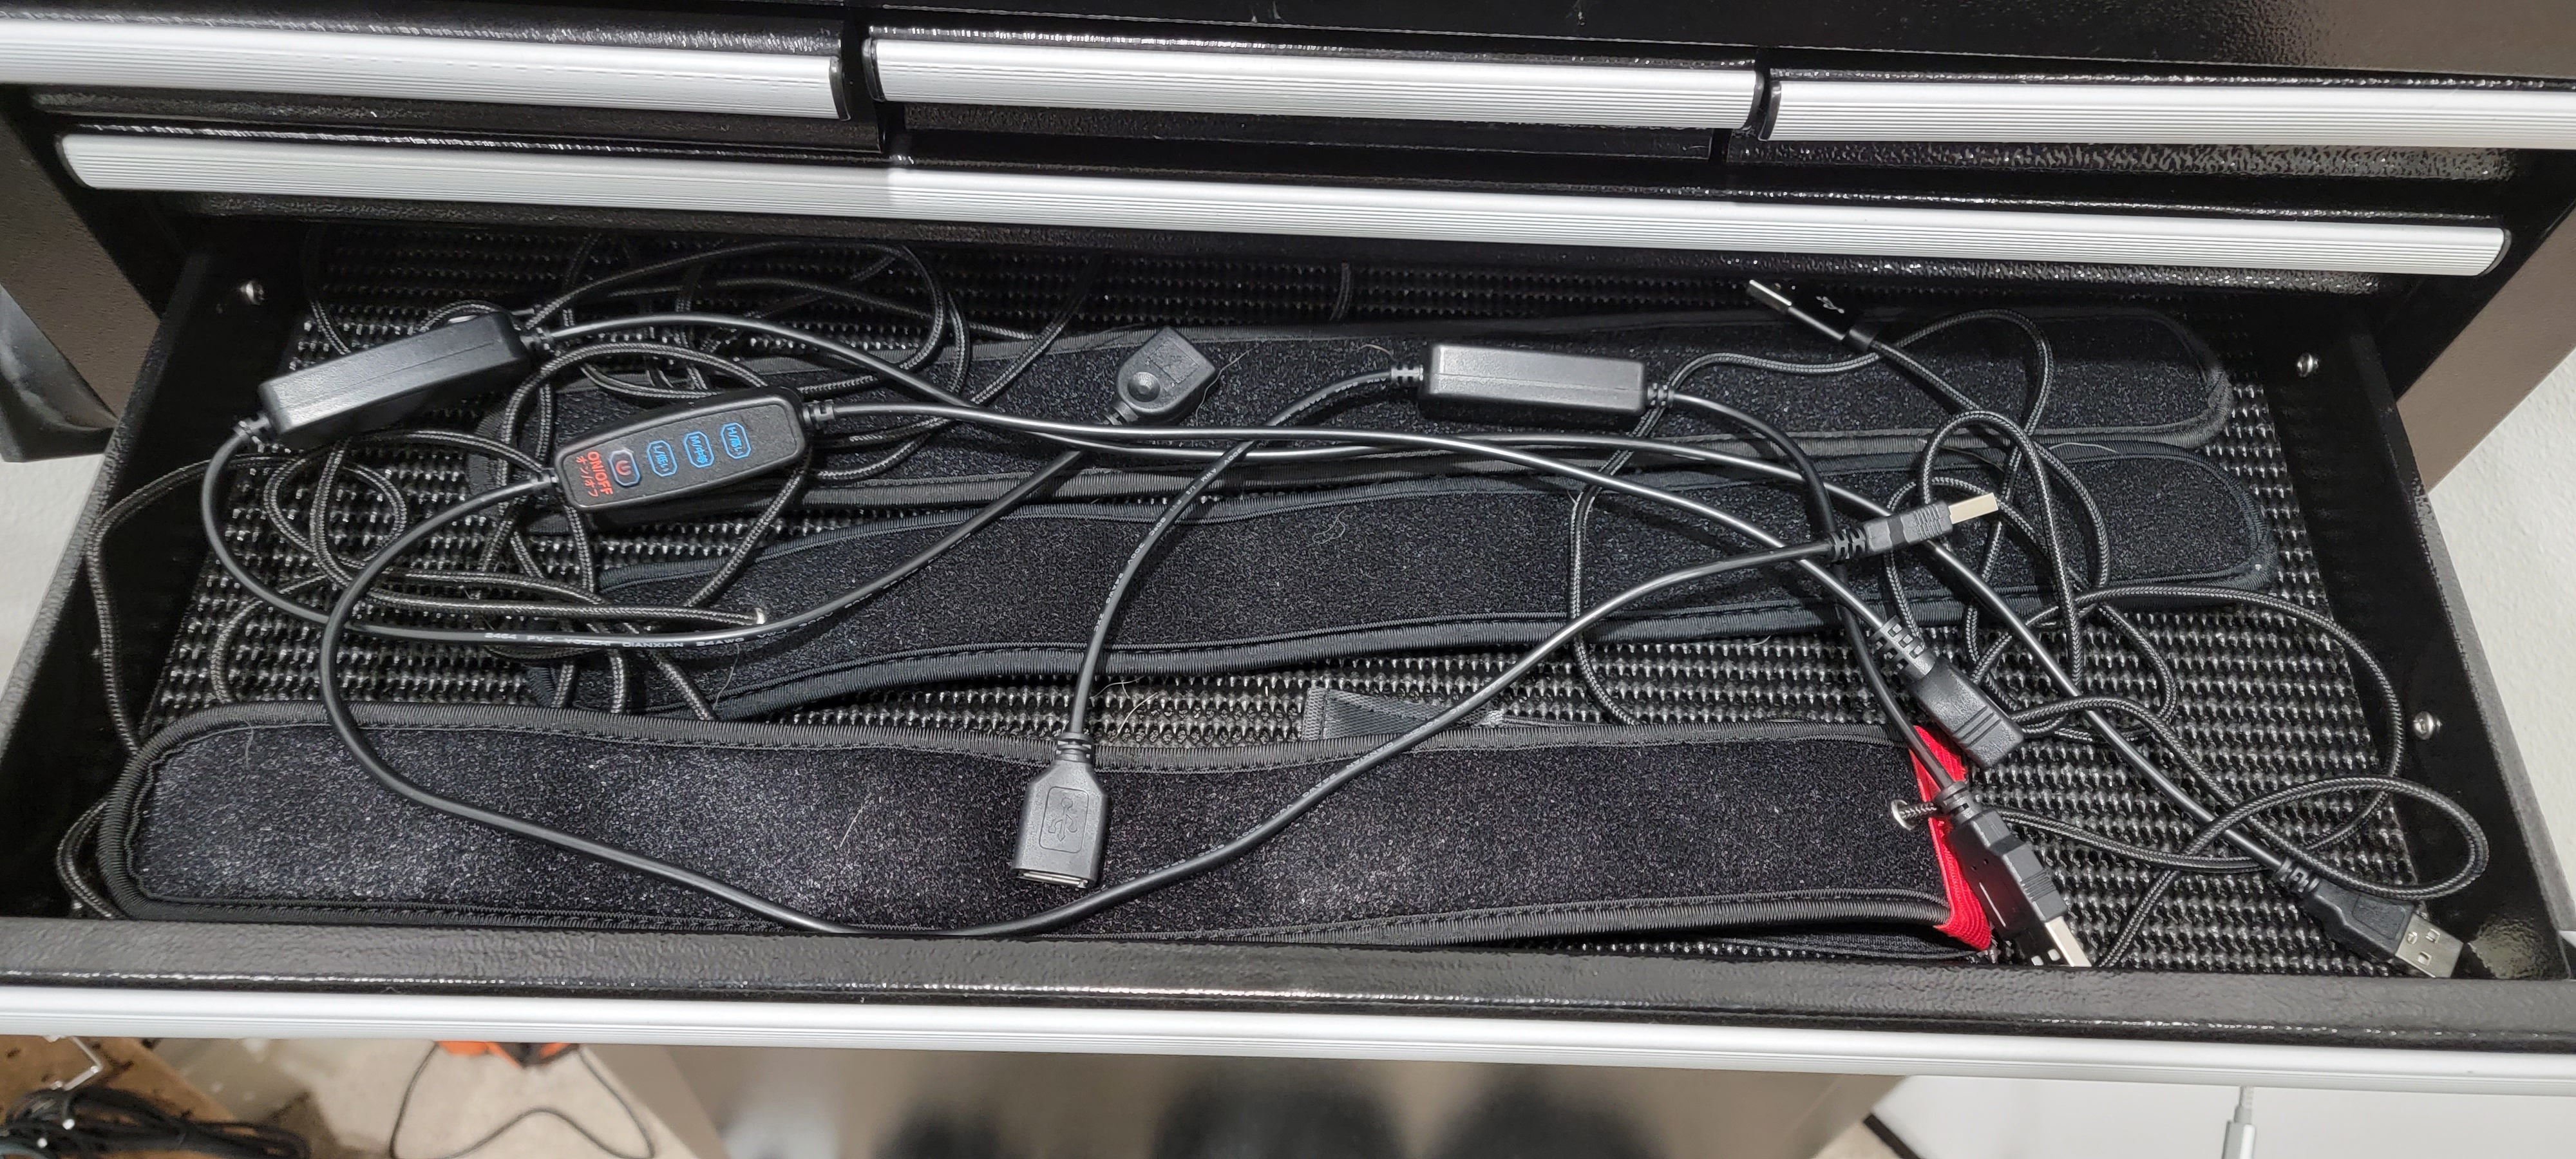
Dew protection
It gets damp and foggy quite frequently where I leave, so dew heaters are a must.
My big telescope has a ring integrated onto the lens that heats it. For the rest of my gear, I use a simple heater strip with regulator. It so far has worked flawlessly for me.
Hardware
There’s no other way to describe the contents of the next drawer other than “hardware.”
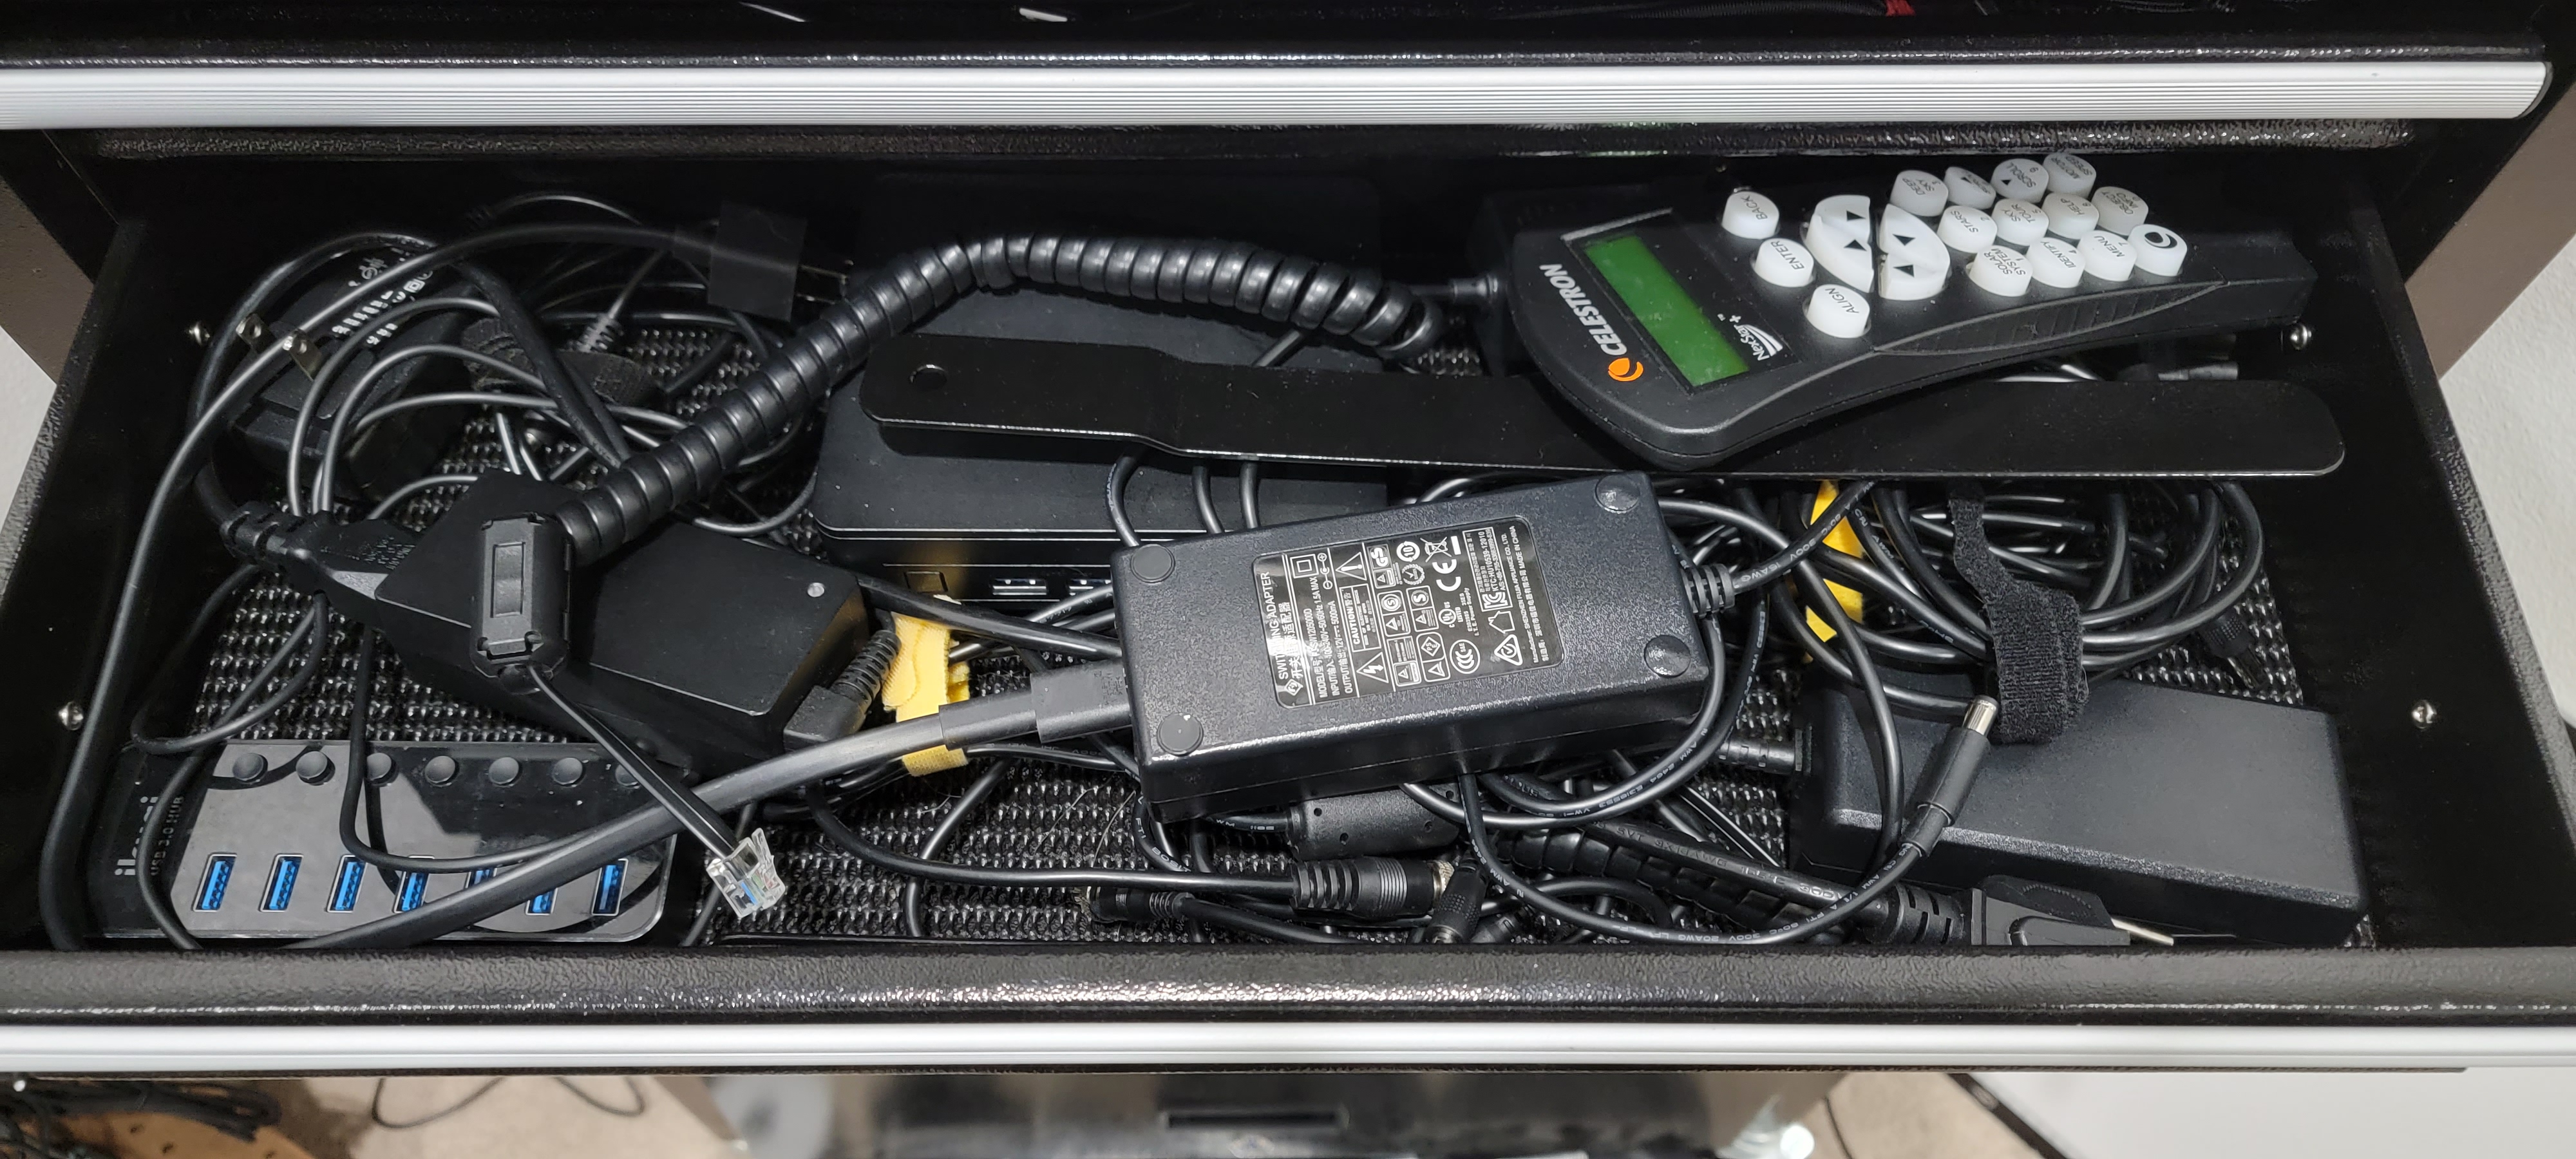
This drawer contains many elements crucial to a successful night of imaging.
- The powered USB hub can be attached to the mount and simplify routing of USB cables while powering some devices as well.
- I have a variety of different AC/DC adapters from 5V to 12V that run the various mounts or power the cooler in my camera.
- The brain of my gear is the Intel NUC. This small, square device acts like a mini-desktop. I chose it over the ASIAir so I can customize the installation. All of my astrophotography programs are installed on the NUC. By keeping it next to my rig, I can remote from my laptop and control it from anywhere. That’s a must for evenings that drop well below freezing. It also has a generous amount of USB ports so I don’t have to worry about traffic issues using a hub.
- The Celestron NexStar hand controller is actually quite useful for slewing the scope, especially when I’m trying to align on a star and planet.
Cameras and lenses
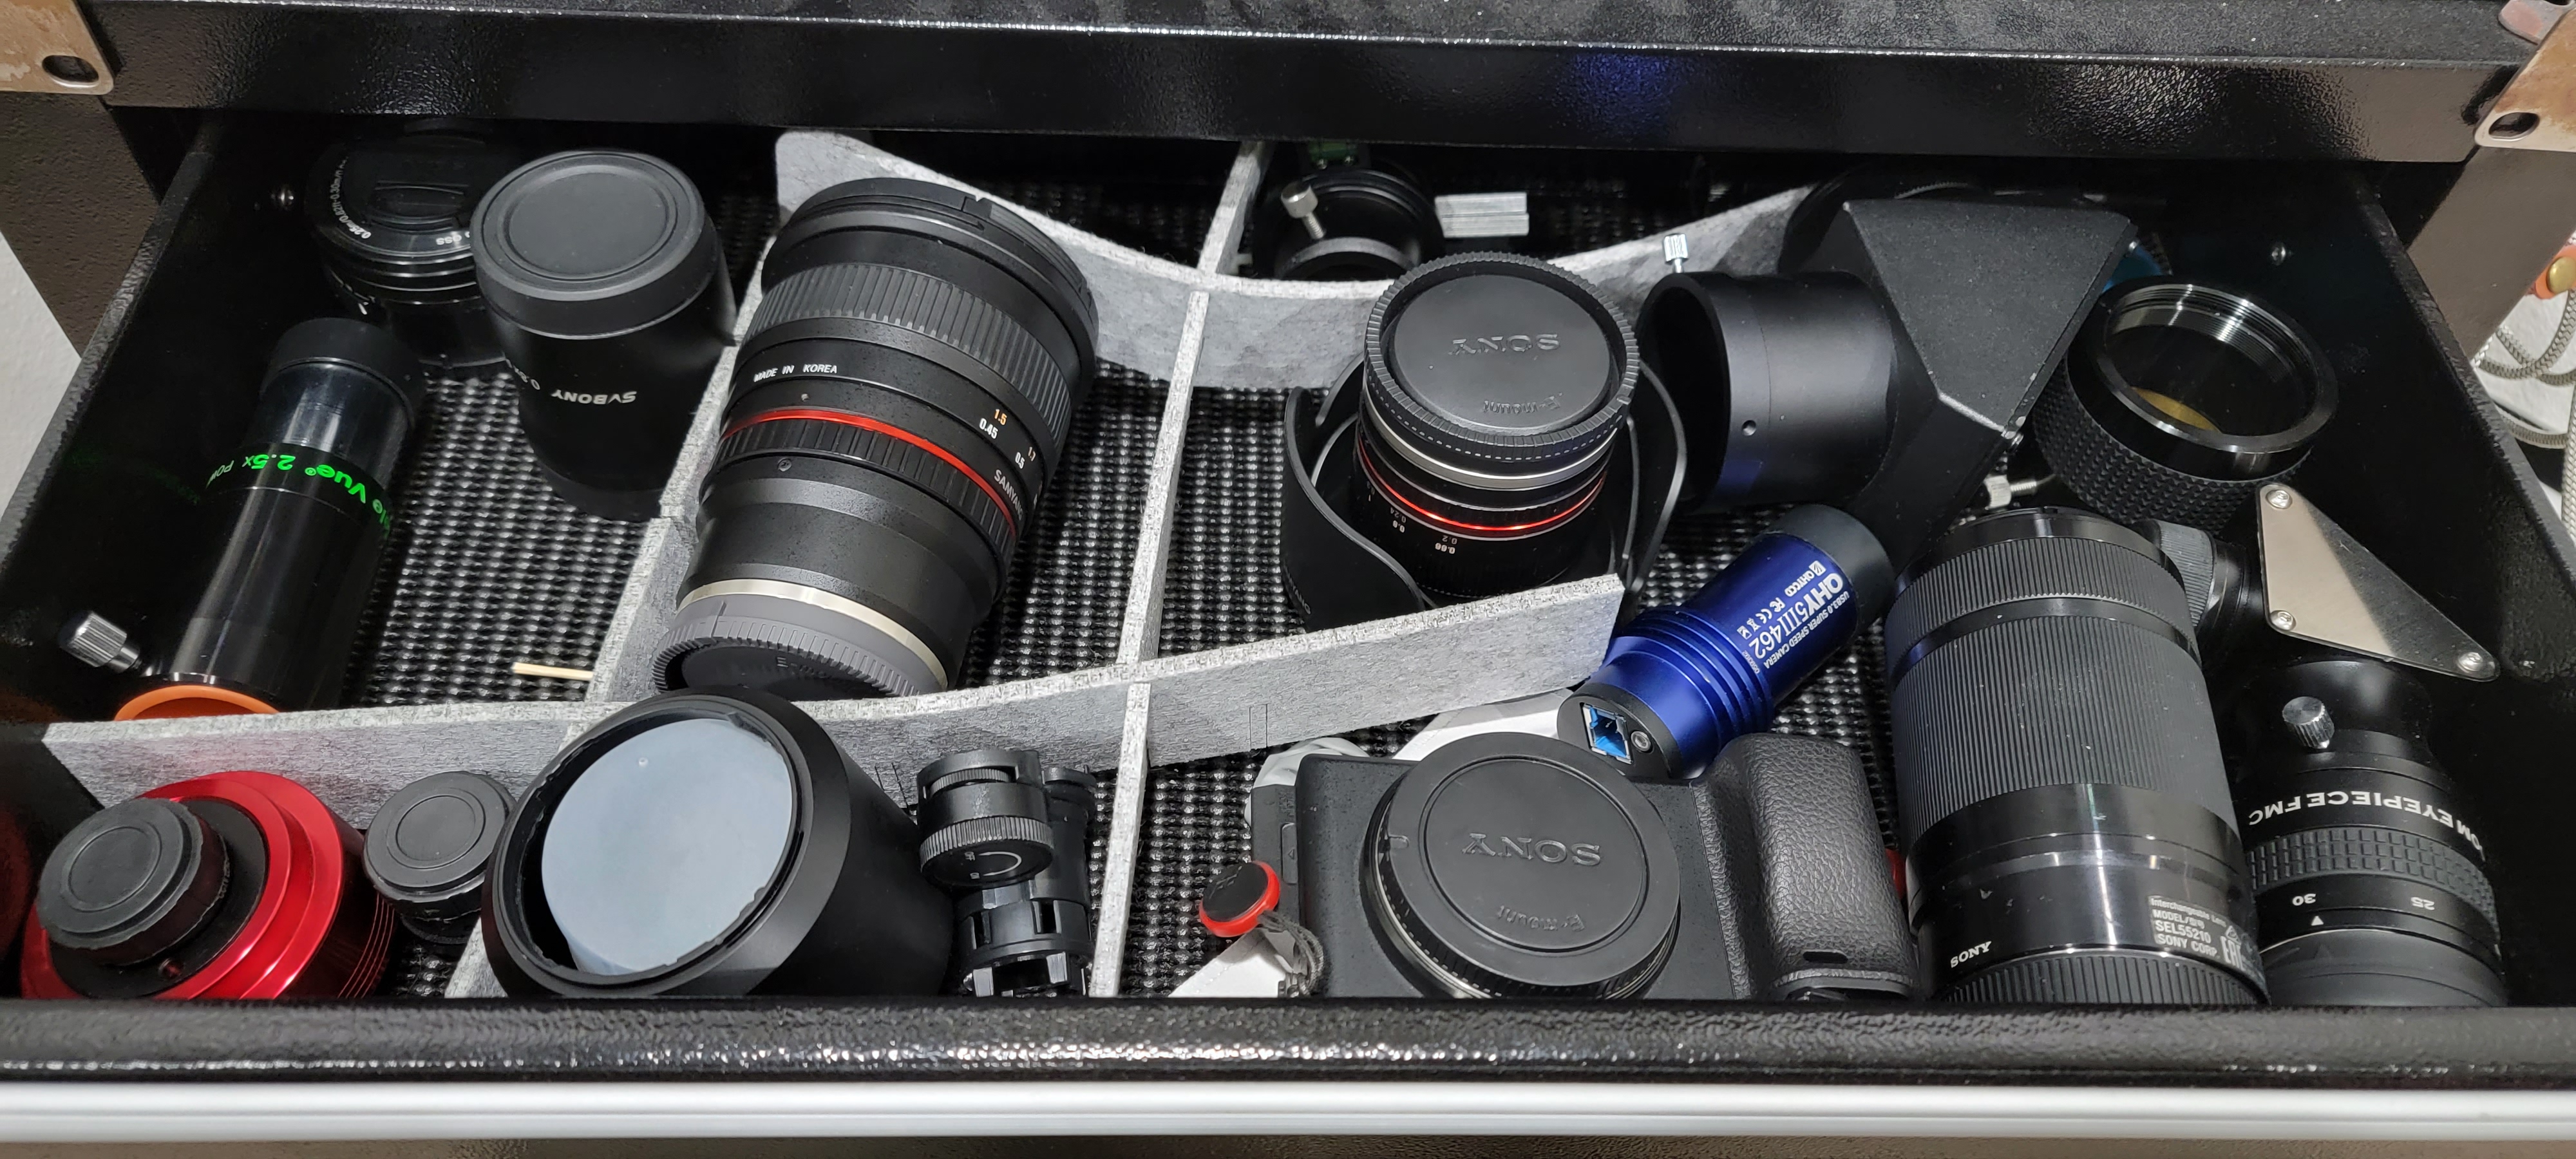
I try to keep all of my optics in the same place.
- The mirrorless camera I use is a Sony Alpha 6300.
- My favorite wide field “Milky Way” lens is the Samyang 12mm f/2.0 MF.
- My favorite wide field constellation lens is the Samyang 50mm f/1.4 MF.
- The planetary camera (color) I use is the QHY5III462C.
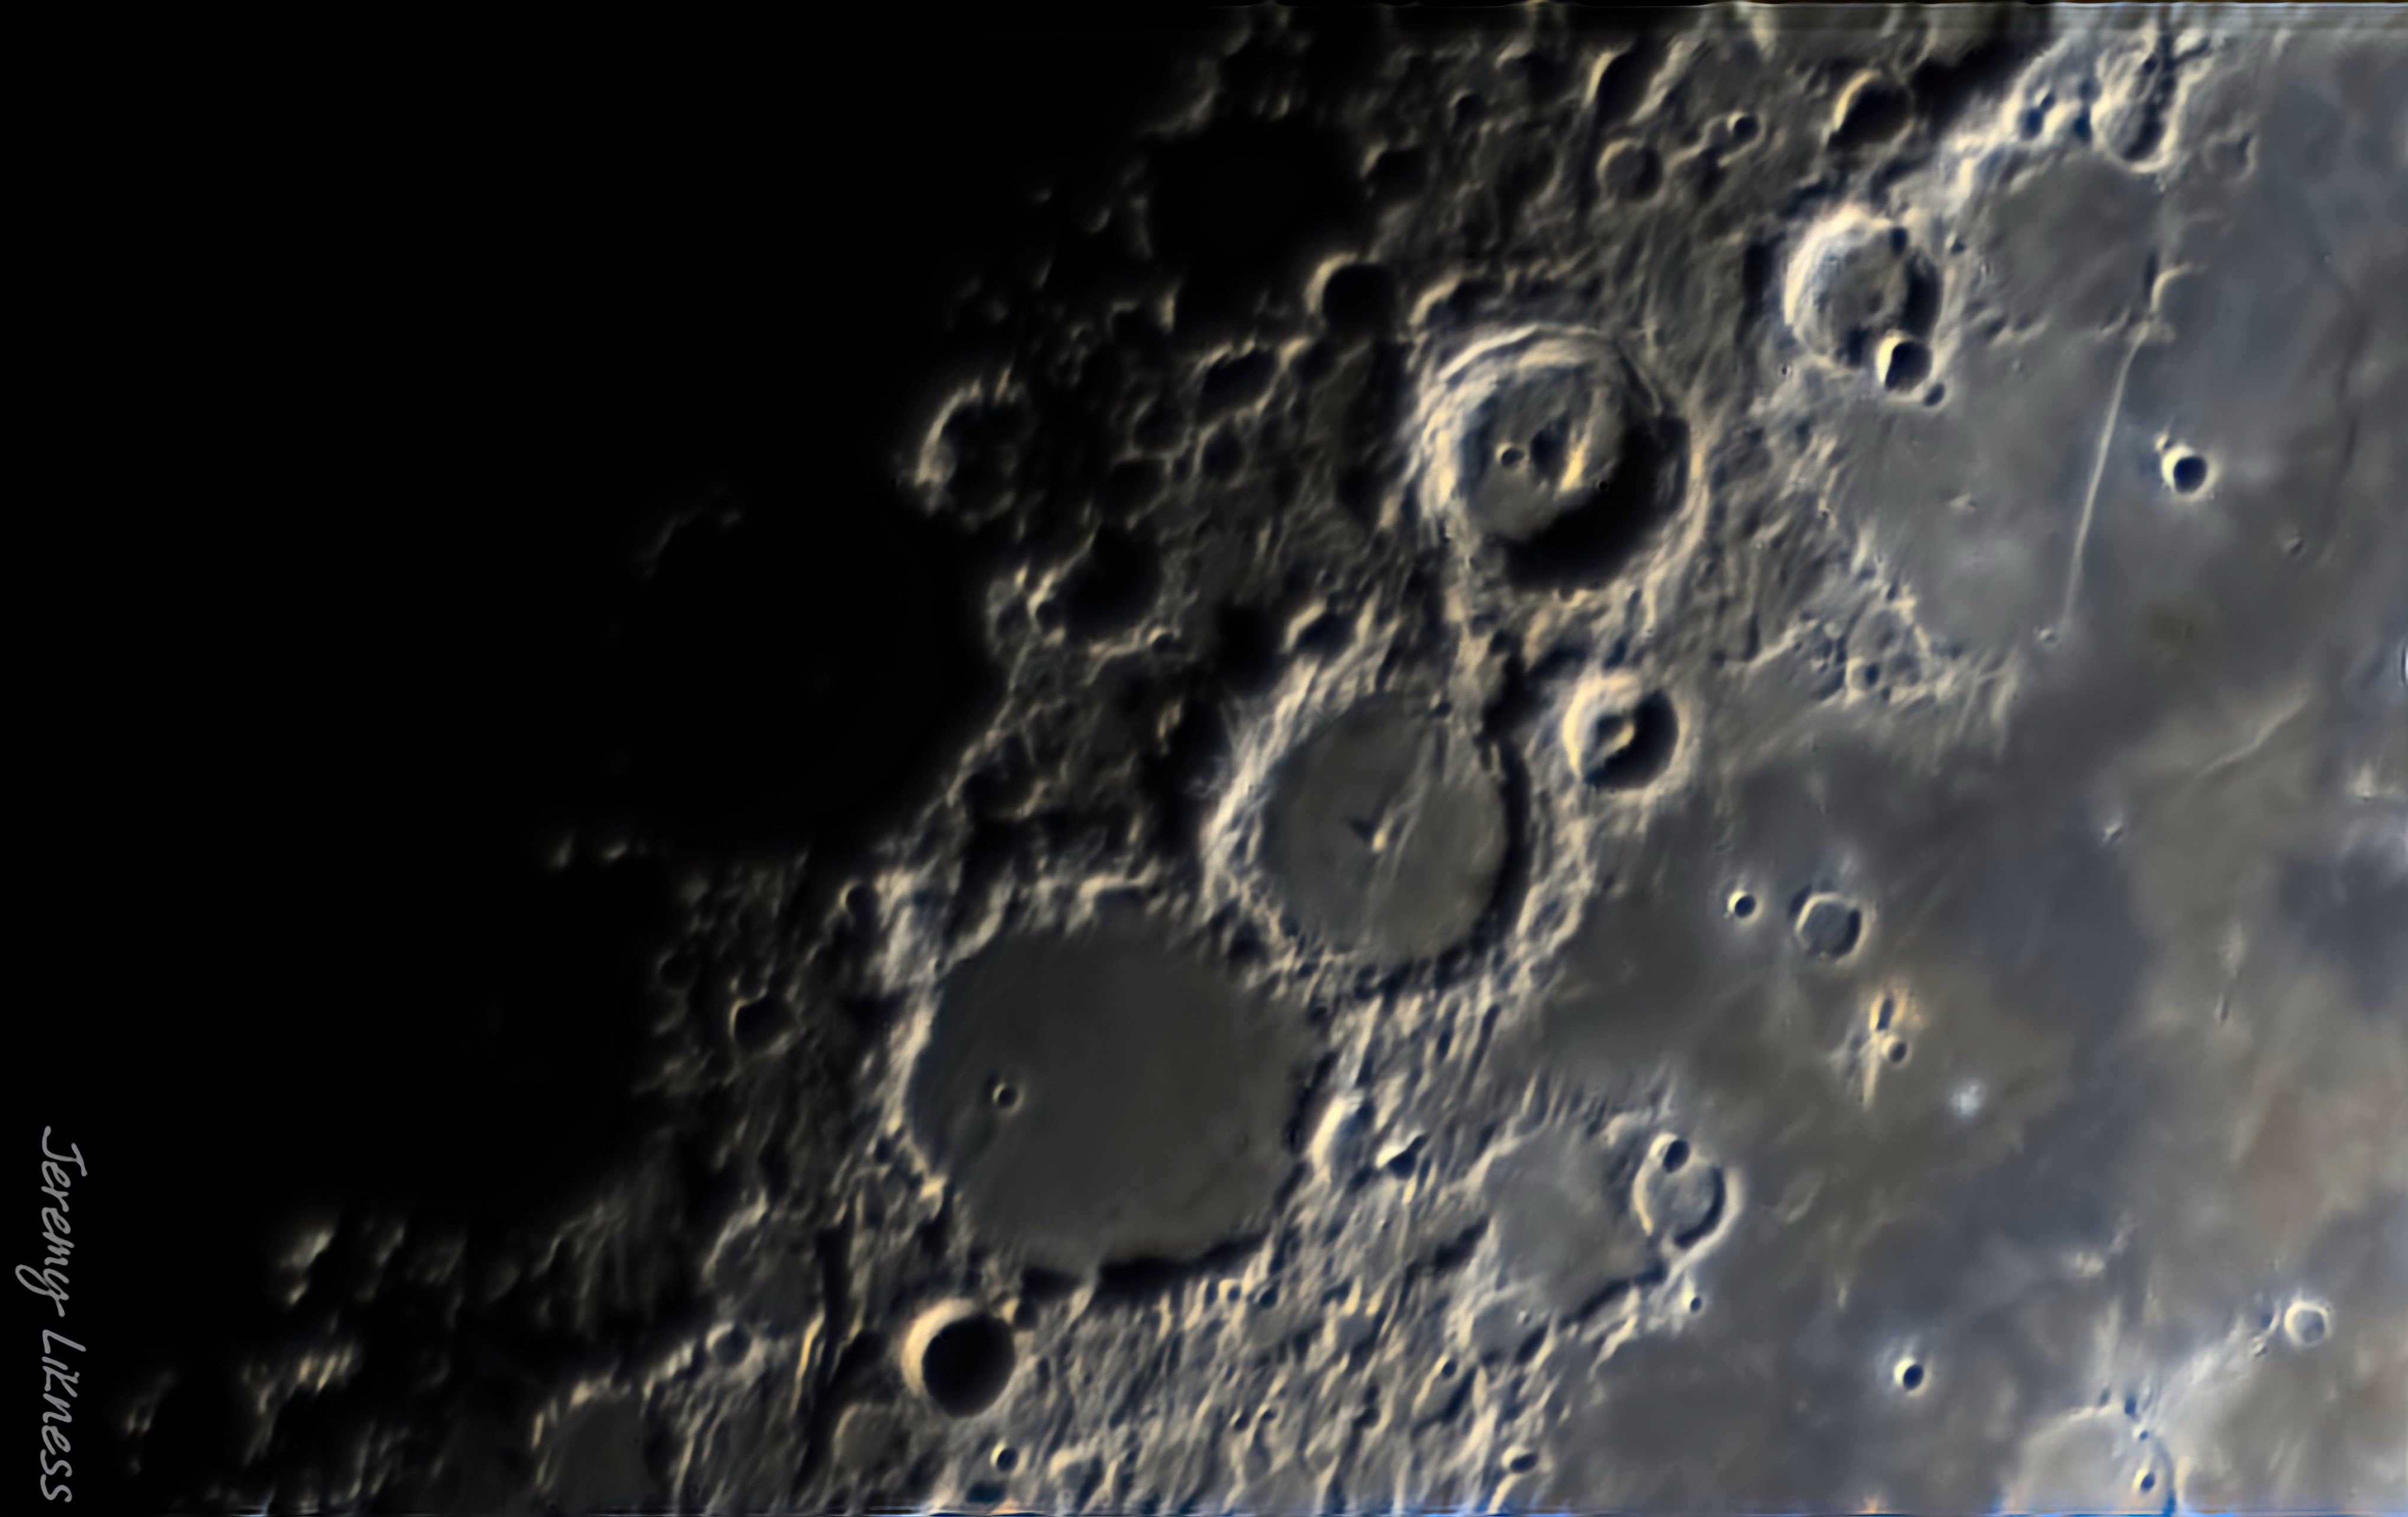
Here’s an example picture I took with the QHY camera:
- For planetary (mono) and guiding I use the ZWO ASI120MM-S.
- For planetary, I increase my focal length up to 2.5 times using the TeleVue PowerMate 2.5x.
- I also use the Zhumell Barlow 2x.
- For extremely wide fields I use the Apertura 0.5x reducer.
- My Svbony 0.8x reducer flattens the field of view for better astrophotography results.
- The ZWO ADC (Atmospheric Dispersion Corrector) helps correct distortion caused by the atmosphere when I image with a color planetary camera.
- The 1.25” diagonal is used for visual observation and connects to my doublet refractor.
- I use the 2” diagonal on my bigger Celestron.
- The 10mm-30mm zoom eyepiece helps me find my target in a wide field of view, then zoom in to see the details.
- I also keep the Star Adventurer Mini polar scope and illuminator here.
Lens and tripod accessories
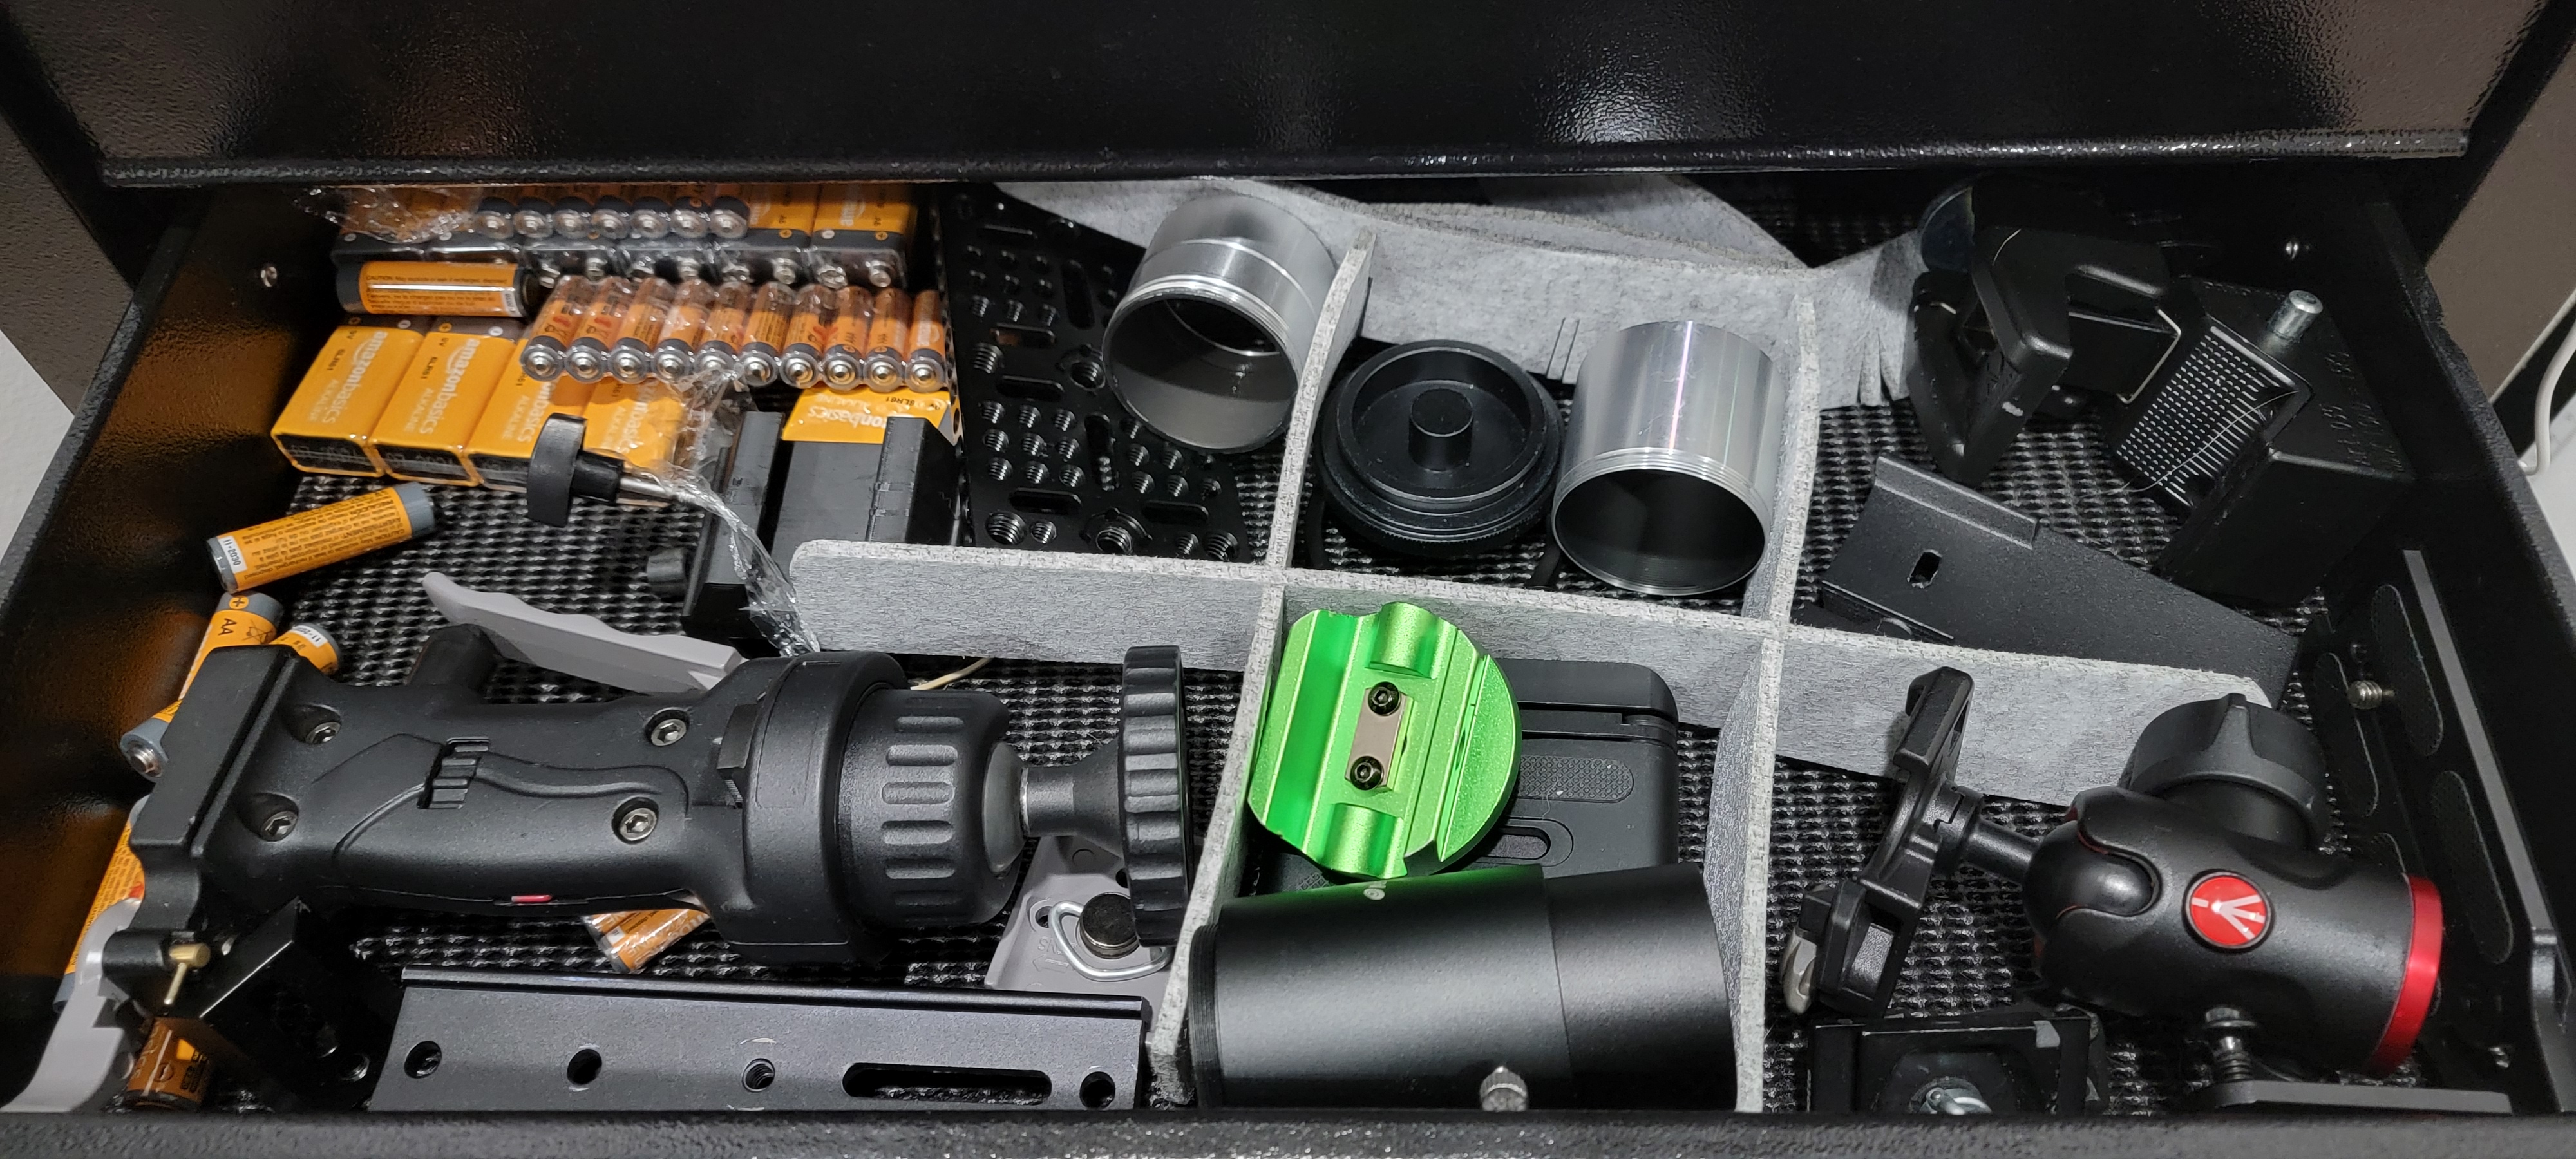
The next drawer is all about attaching things to other things.
- You can never too many replacement batteries.
- A trigger grip for my tripod.
- A ball head for my tripod.
- The Dovetail camera cheese plate makes it easy to attach accessories and scopes and is easily locked into a Dovetail clamp.
- The rail serves a similar function.
- I use a flexible extension tube with Barlow lenses to help achieve focus.
- A dovetail clamp is handy for attaching accessories like guide scopes.
- The green device is a dovetail rail camera adapter that makes it easy to attach my mirrorless camera to a telescope mount.
- I also am a huge fan of “The clamp“ which is a multi-purpose clamp with tripod and camera threads. I use it to add extra weight for balance or to hang weights to stabilize the tripod.
Scopes and what not
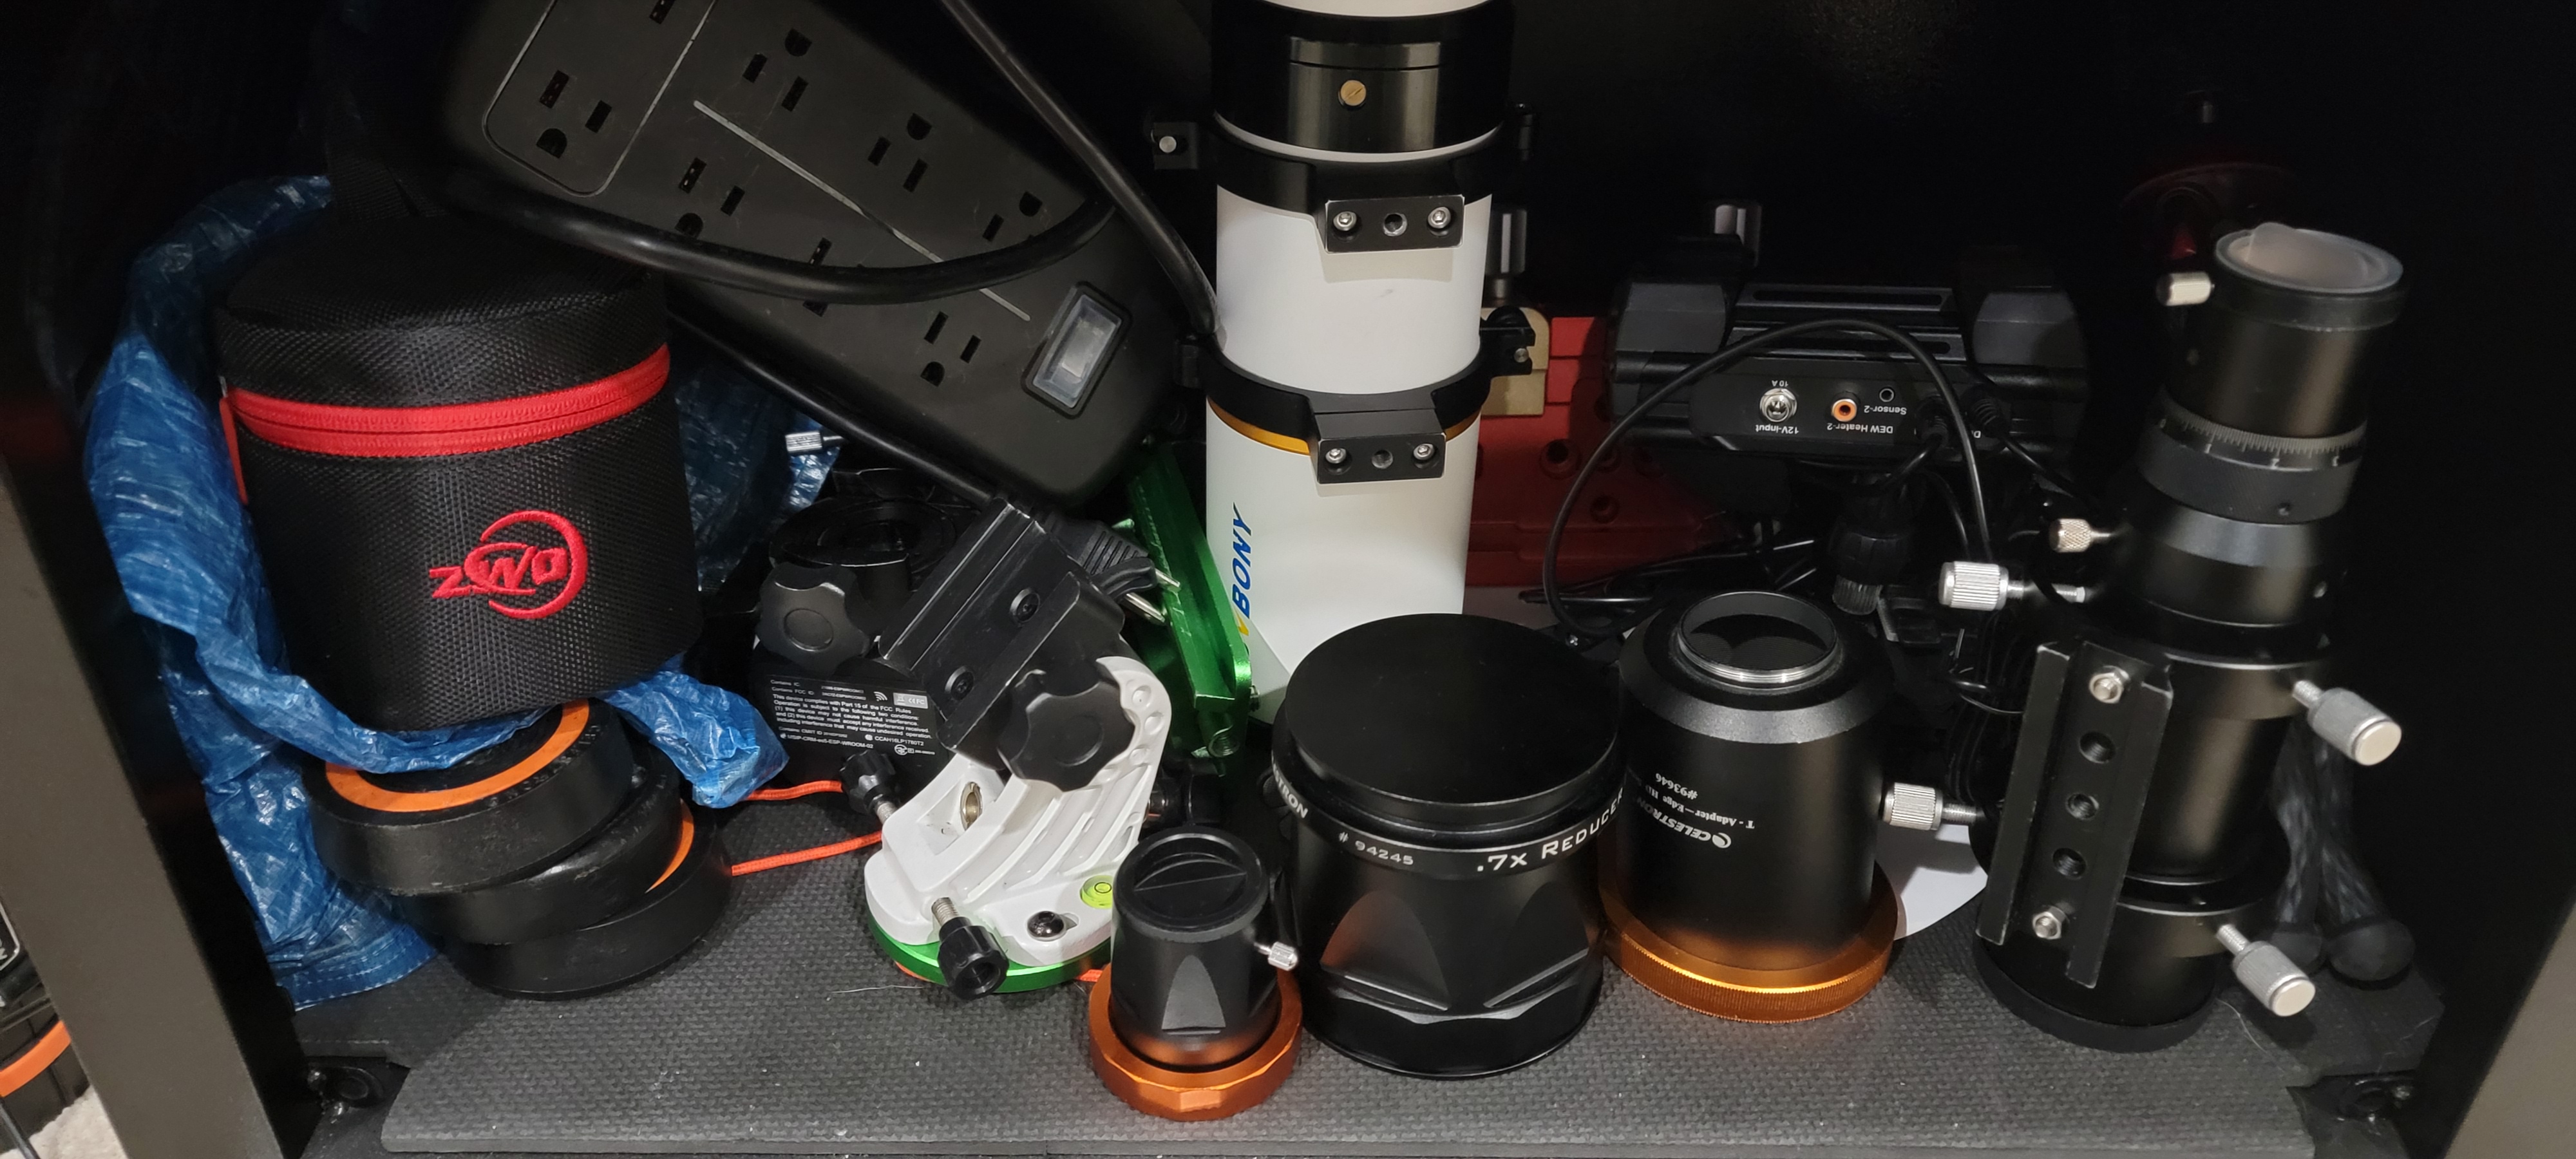
The bottom space in my tool chest is where the largest items end up.
- My “wider” field of view (336mm w/ reducer to 840mm w/ Barlow) Svbony sv503 70ED doublet refractor.
This is an incredibly affordable scope that takes phenomenal shots! If you’re interested, watch my Svbony sv503 70ED review.
- The 50mm Svbony SV106 guide scope.
- Various SCT adapters for attaching accessories to the tube.
- A Celestron 0.7x reducer to flatten the field of view for astrophotography.
- The Celestron dew controller to manage the dew ring and keep the lens from fogging over.
- A versatile cell phone tripod usually for recording my rig and me in the field.
- A cell phone eyepiece adapter for using your phone camera to record the view through an eyepiece.
- A Vixen/Losmandy clamp for attaching accessories like extra cameras or guide scopes to the Celestron.
- The ZWO ASI294MC Pro cooled astrophotography camera.
- The parts to my Star Adventurer Mini portable star tracker.
The S.A.M. is an amazing device! Check out my complete guide to the Star Adventurer Mini (SAM) to learn more.
- Vibration suppression pads to stabilize the mount.
- An Outdoor Surge protector to give me plugs while safeguarding against surges.
Storage pegboard
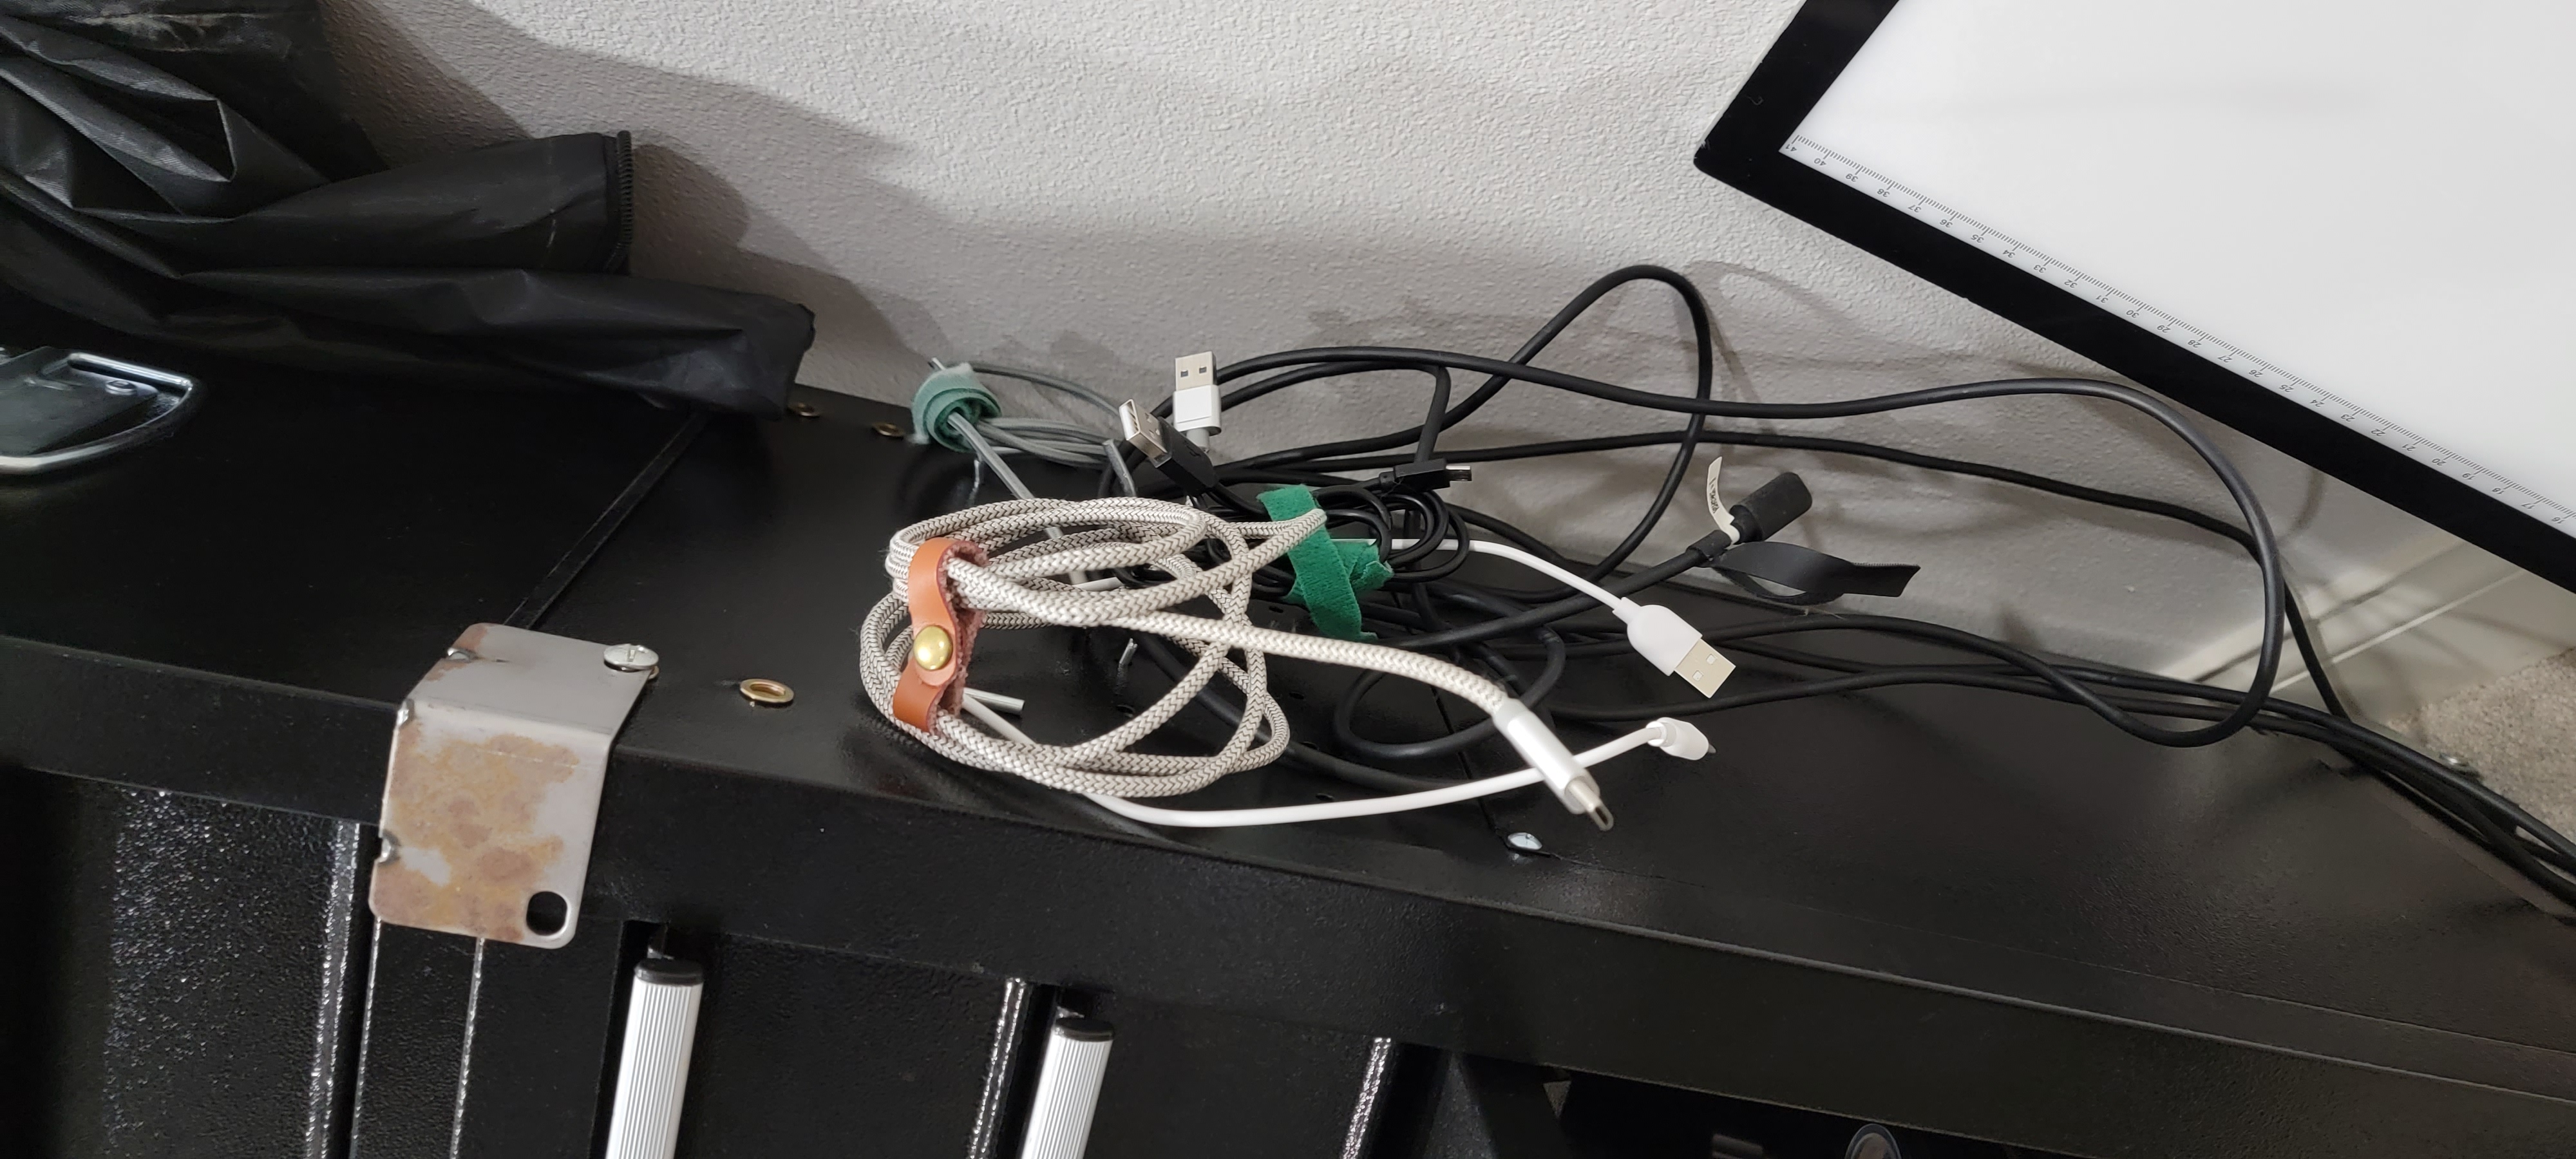
The side of my tool chest has a built-in pegboard.
I use it to hang miscellaneous USB cables.
LED tracing pad
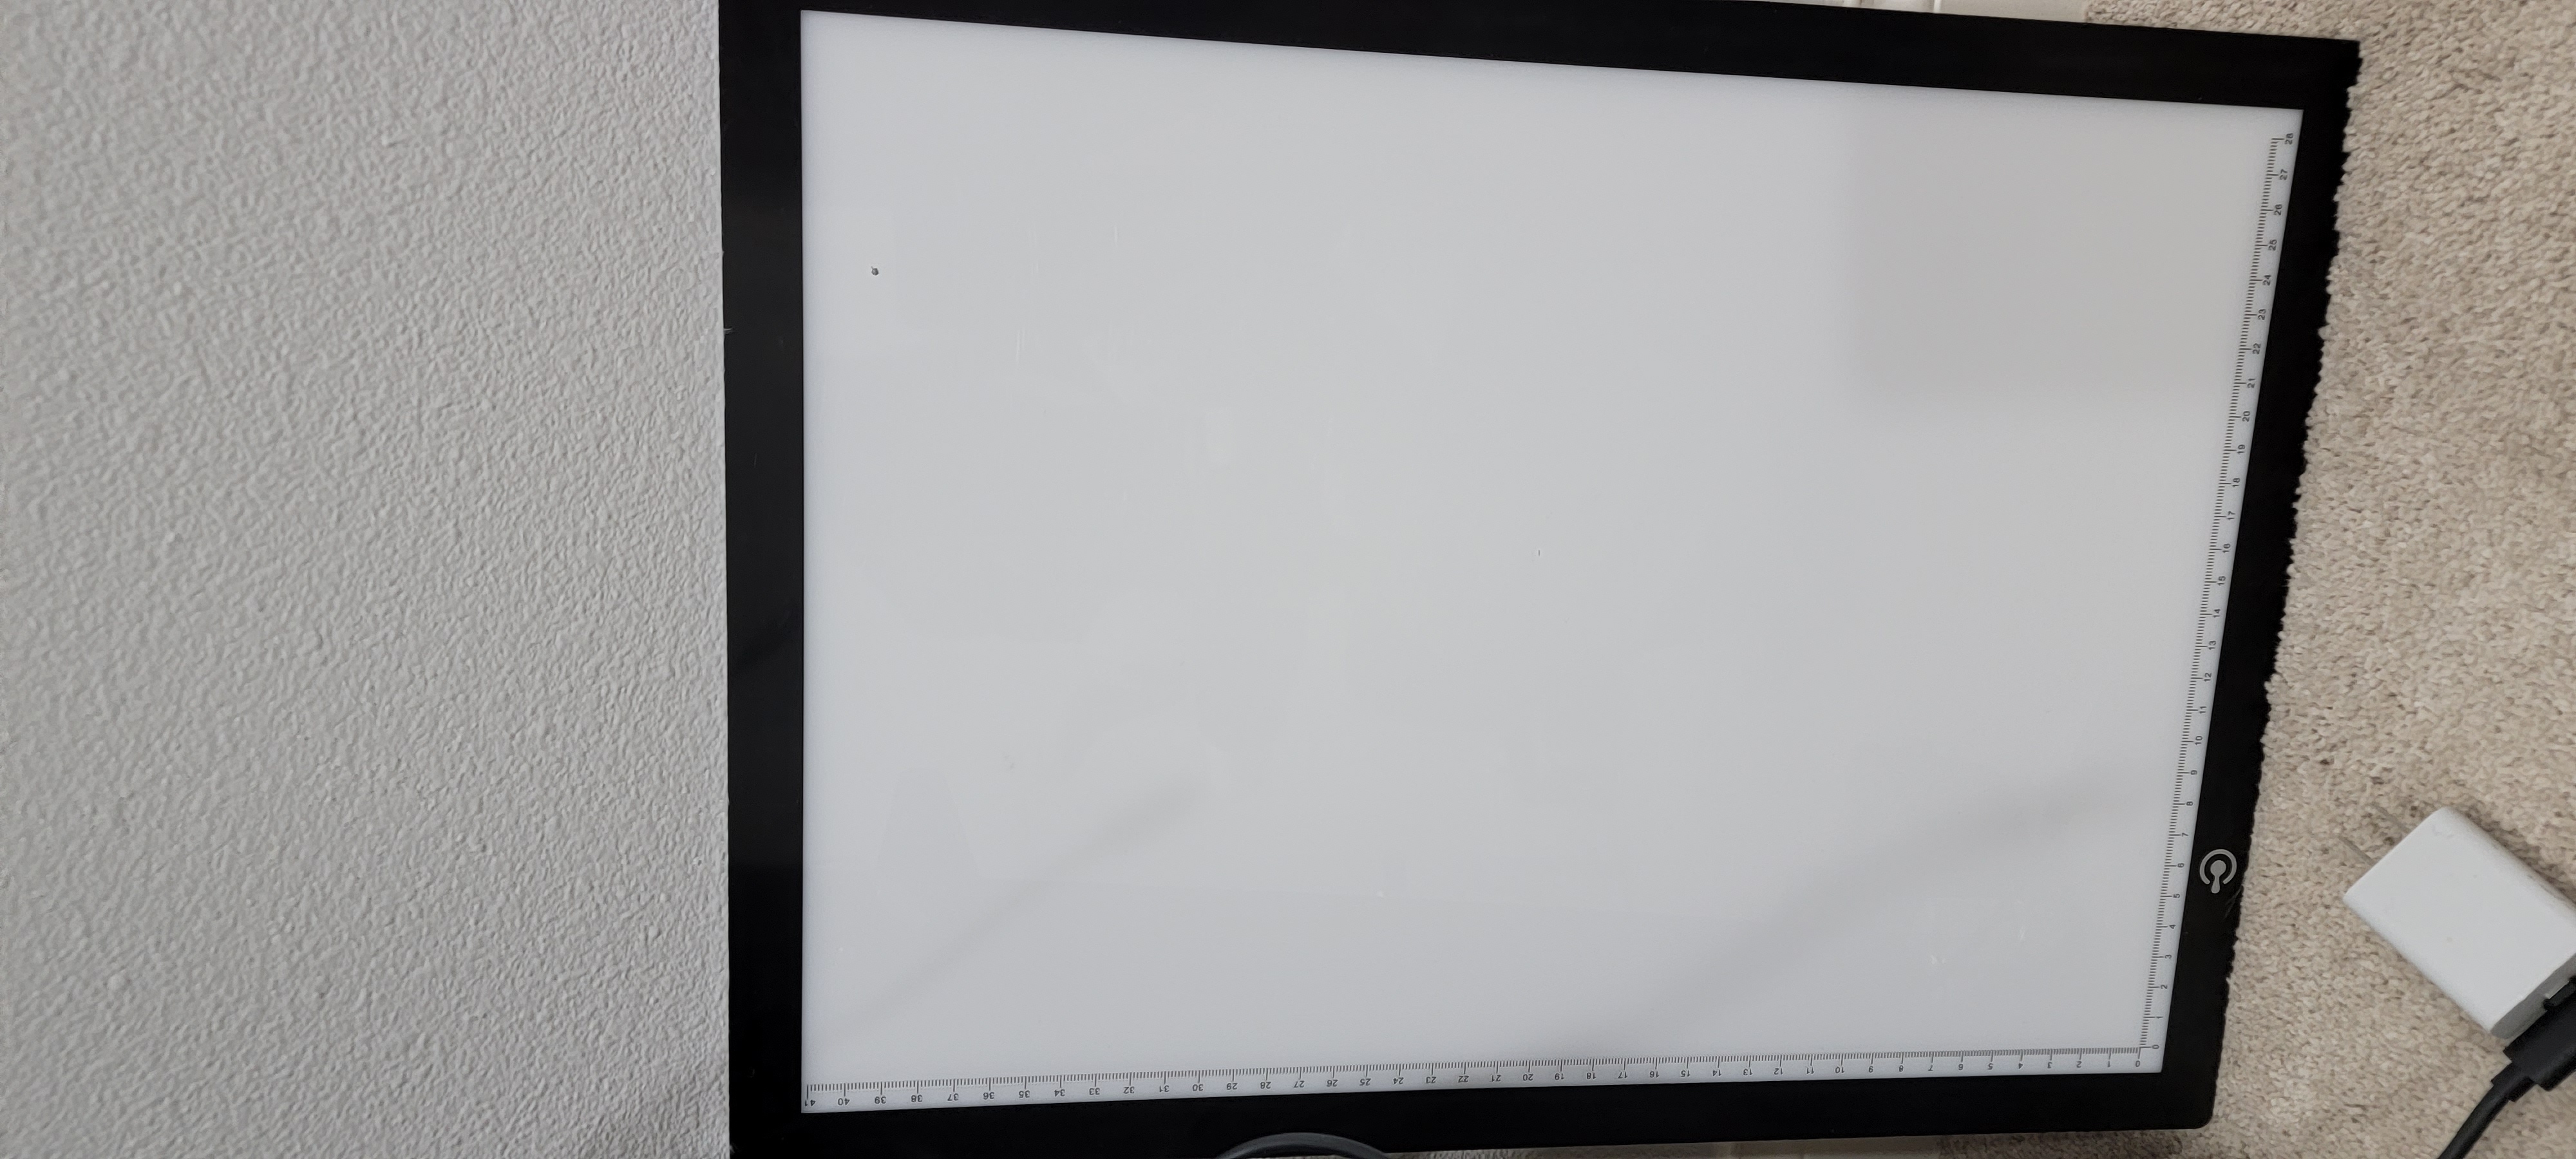
My solution for taking flats.
The LitEnergy LED tracing pad is intended to make it easier to trace over existing drawings, but it works just as well for me to take flats. It has adjustable brightness. At the end of my imaging sessions, I point the telescope to the zenith (so it is facing directly up) then set this bright side down on top of the lens. N.I.N.A.’s flat wizard takes care of the rest.
Plastic bin
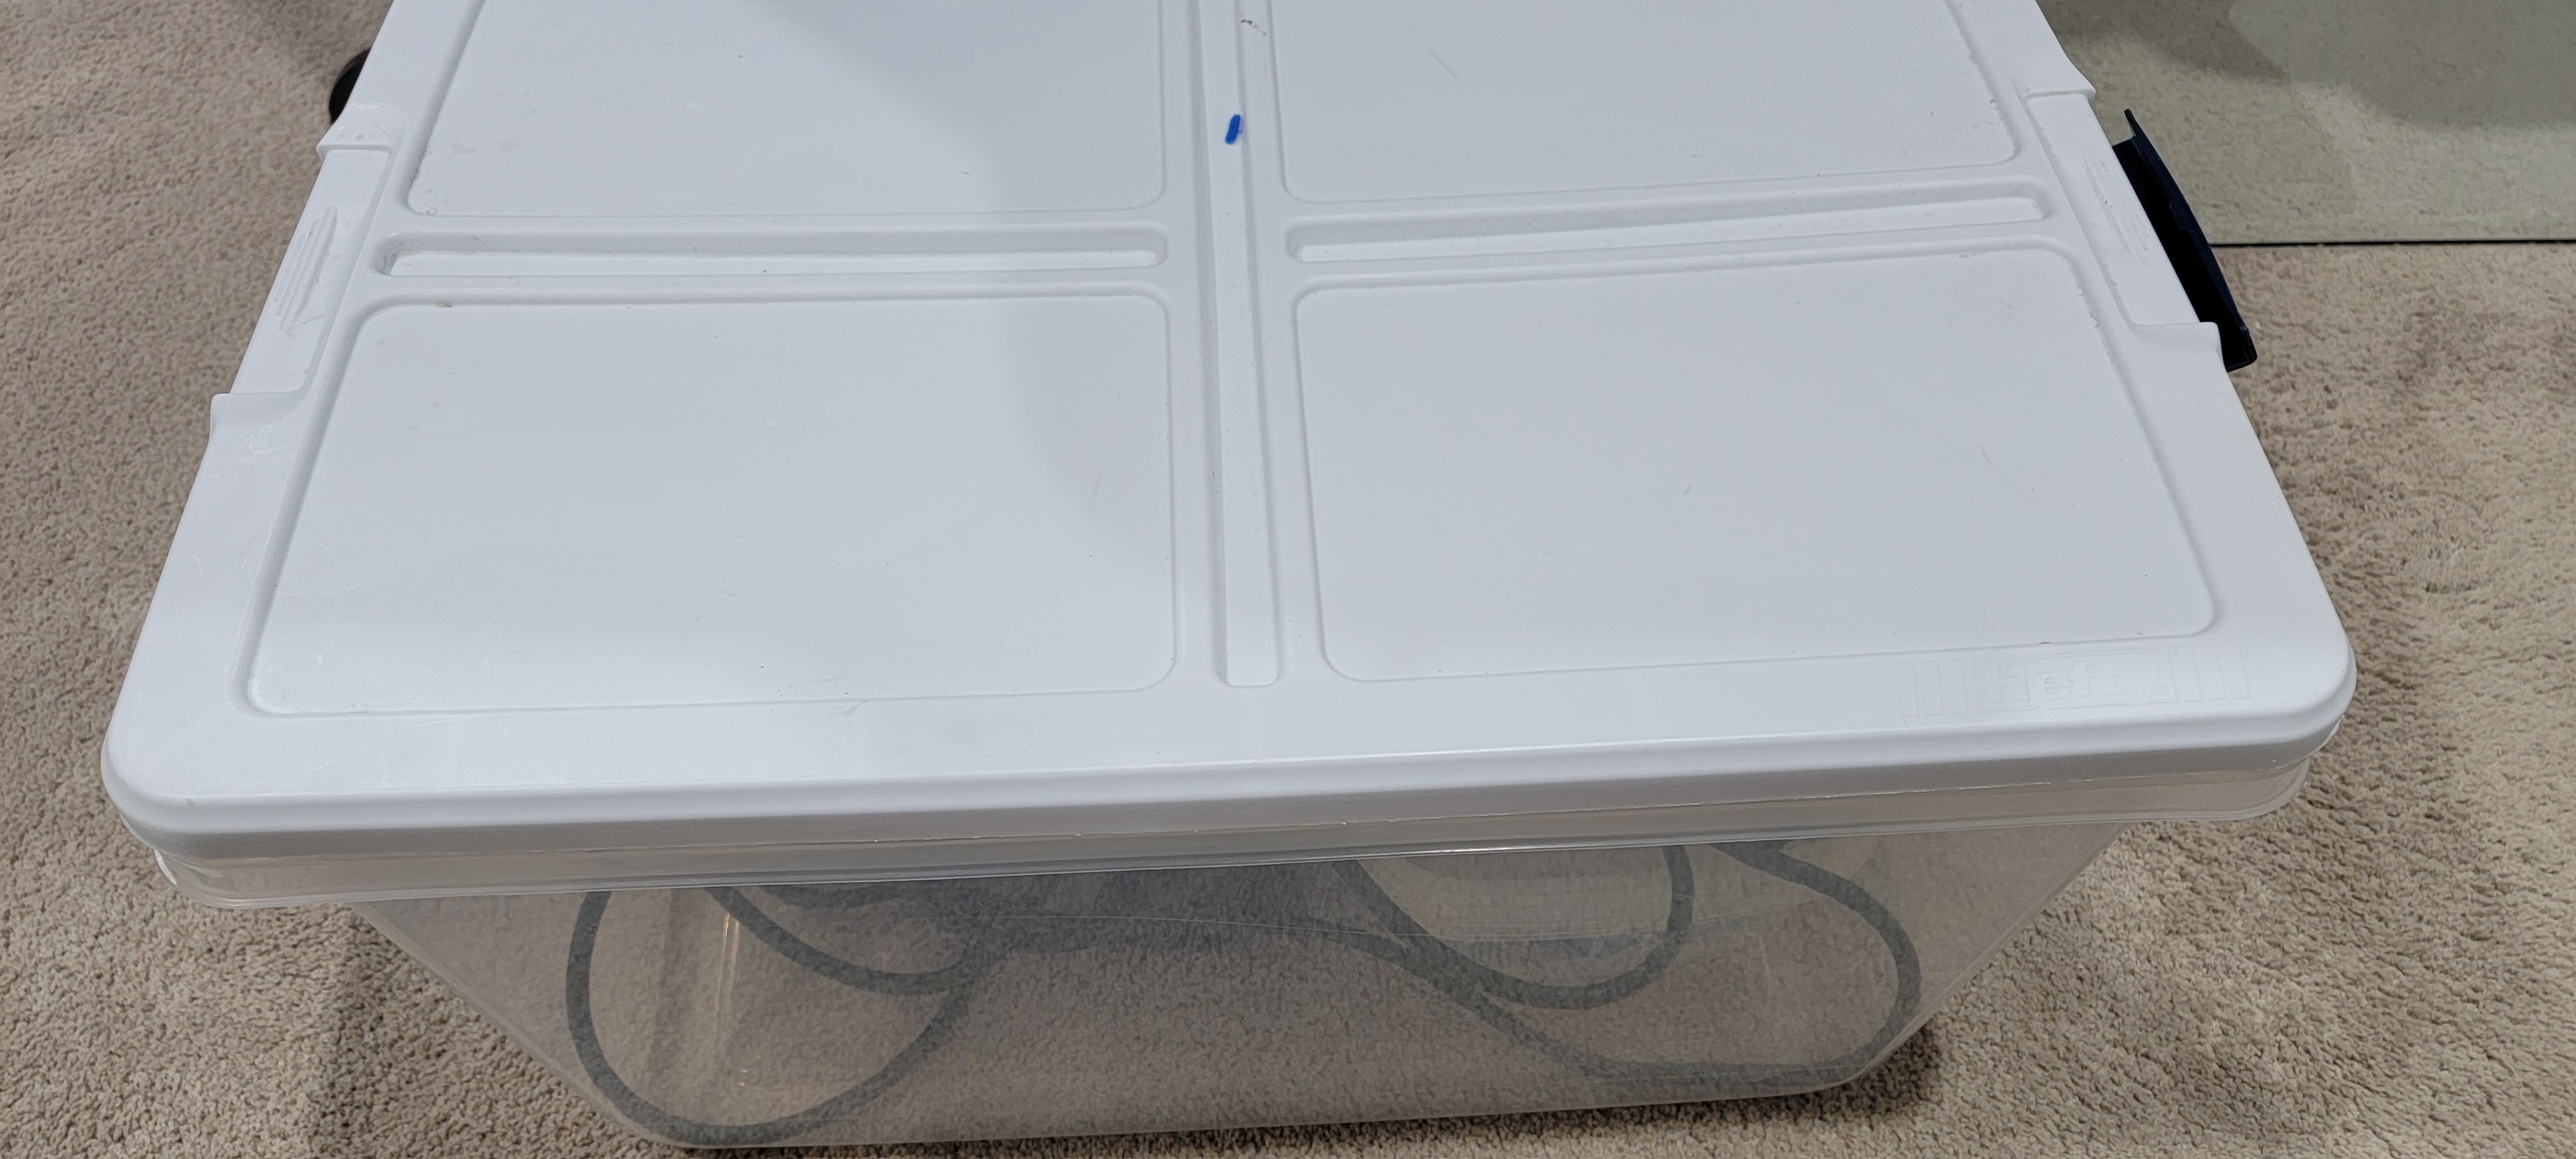
My plastic bin is a multipurpose tool.
I use it to store my long outdoor extension cords. It also holds all of my cables and accessories I need to bring with my scope and mount. In the field, I can flip it and use the bottom as a table to keep plugs off the ground. I also have a hole cut in one corner. On extremely cold nights, I can put my laptop in the bin and run cables through the hole to keep it functional in below freezing temperatures.
Conclusion
Wow. That’s a lot of gear! Much of it has been acquired over several years. I use almost everything because most purchases happened as the result of me realizing I needed something after a failed attempt at imaging. I hope this tour was helpful to see what’s involved beyond the obvious tube and mount. I also wanted to share my solutions for storing equipment and accessories in case you needed inspiration.
Clear skies!
Post categories: Related tags: